
We had planned to put all the new parts I ordered into the powerglide Transmission. However, due to an oversite on my end with part orders, I bought the wrong sized planetery gear. Aparently they come in different shaft lengths. The more you know.
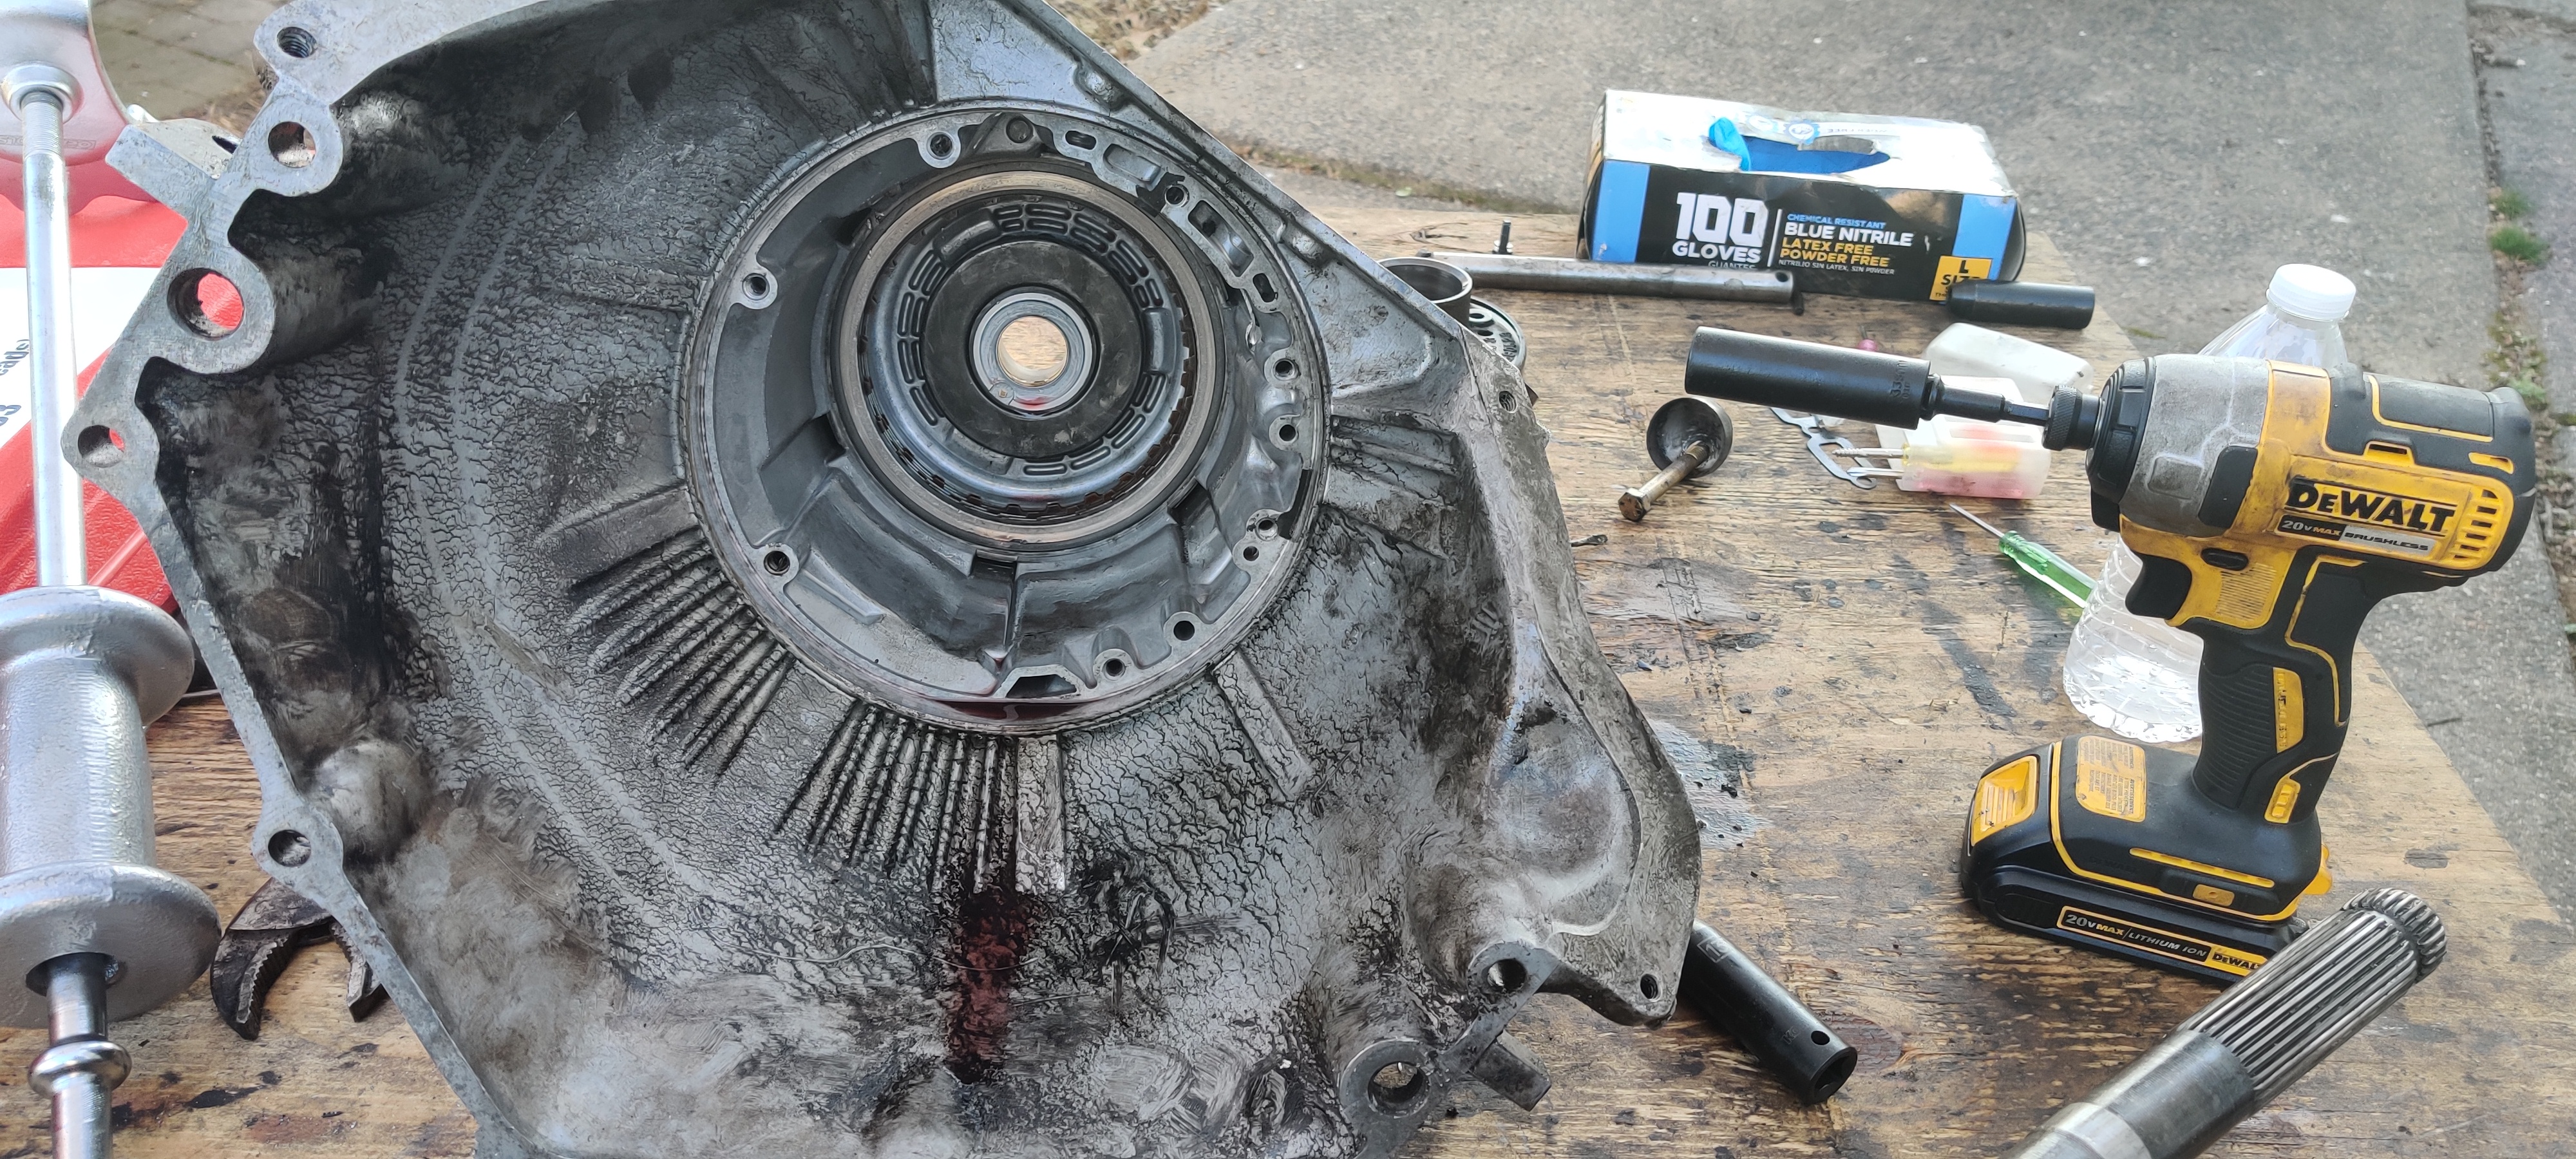
So instead, we cleaned the entire bell housing using Mean Green and a lot of scrubbing with wire brushes. Got the entire thing cleaned and shiny.
Picked up a powerwasher Saturday night from a buddy of mine to use to clean the engine bay, hoping to do that in the next couple weekends.
Also built a car port over the driveway for more shade and cover during the summer months.
Stay tuned! Things are going to pick up speed!
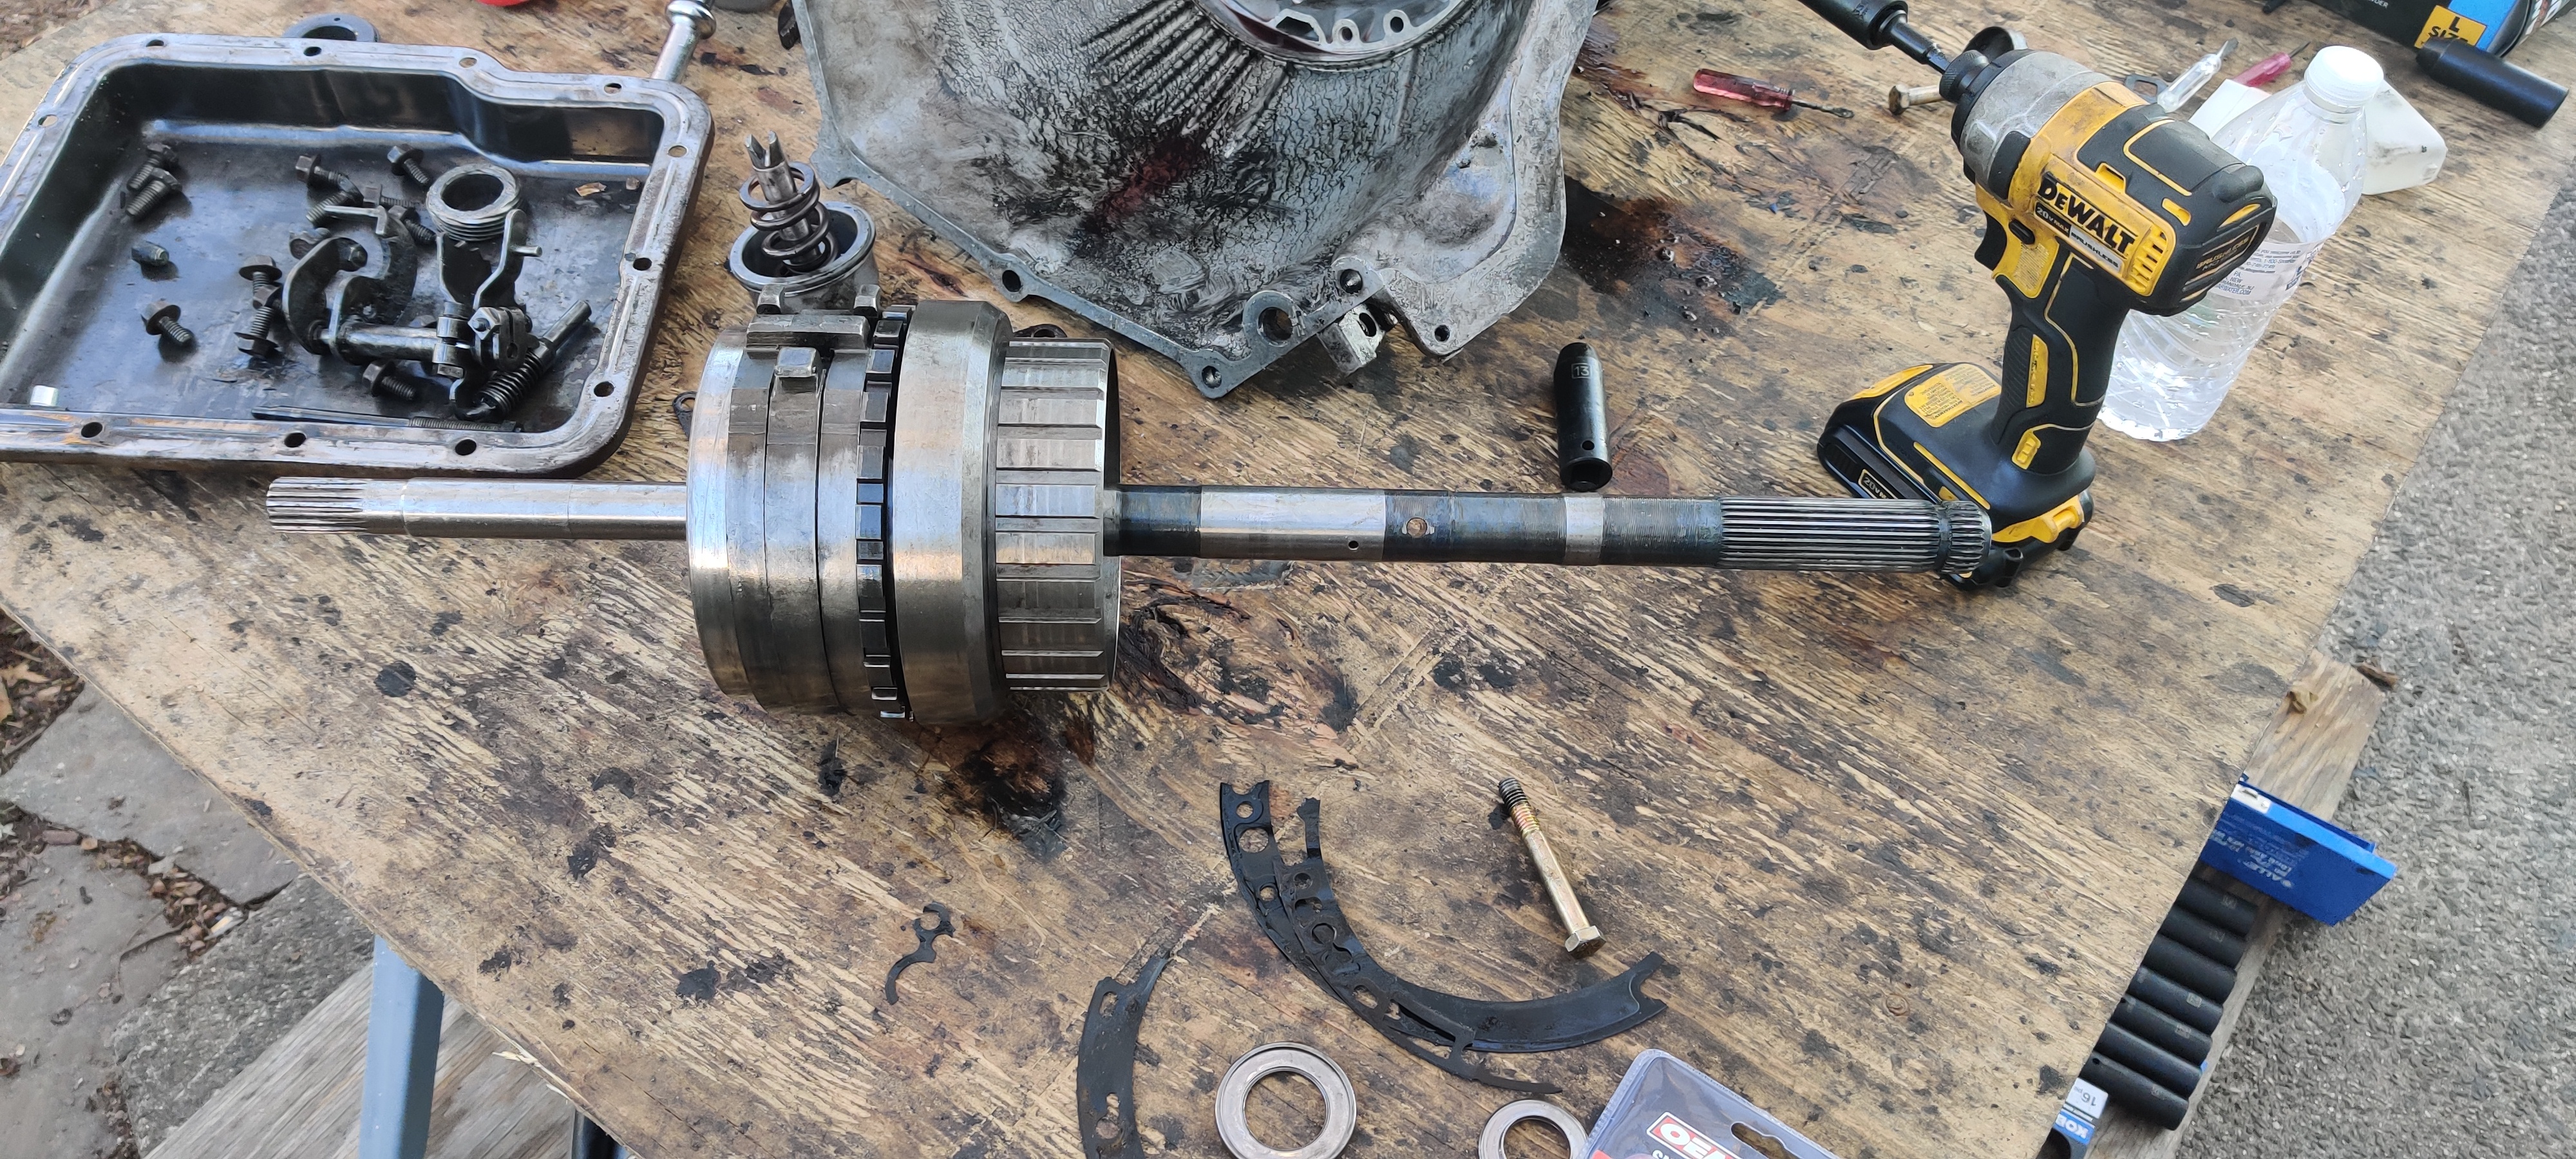
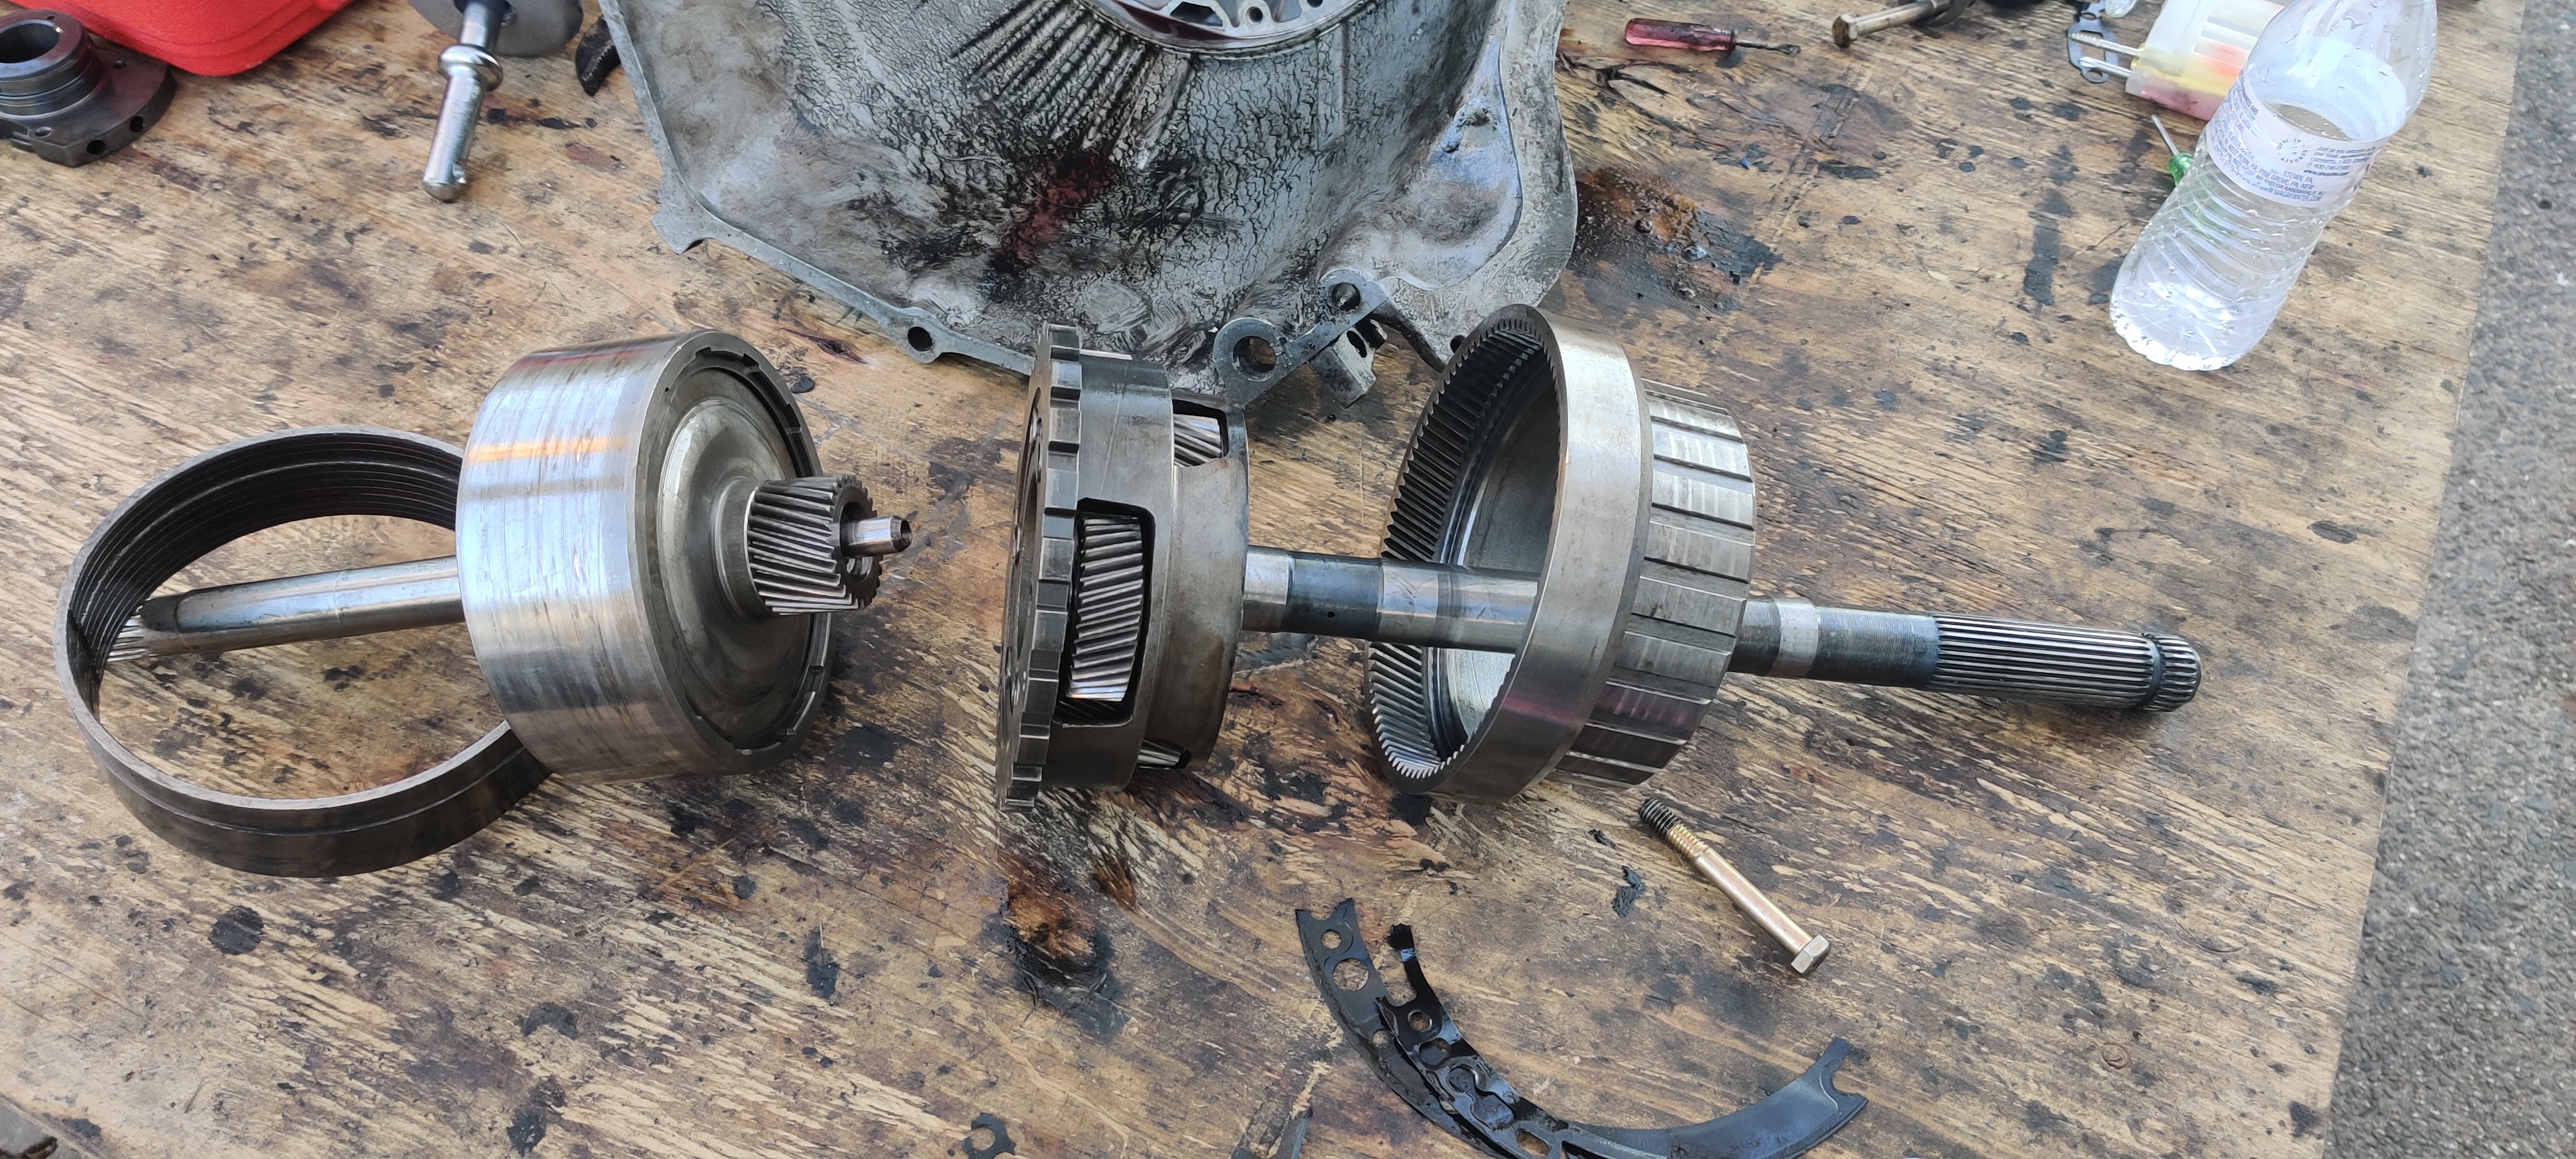
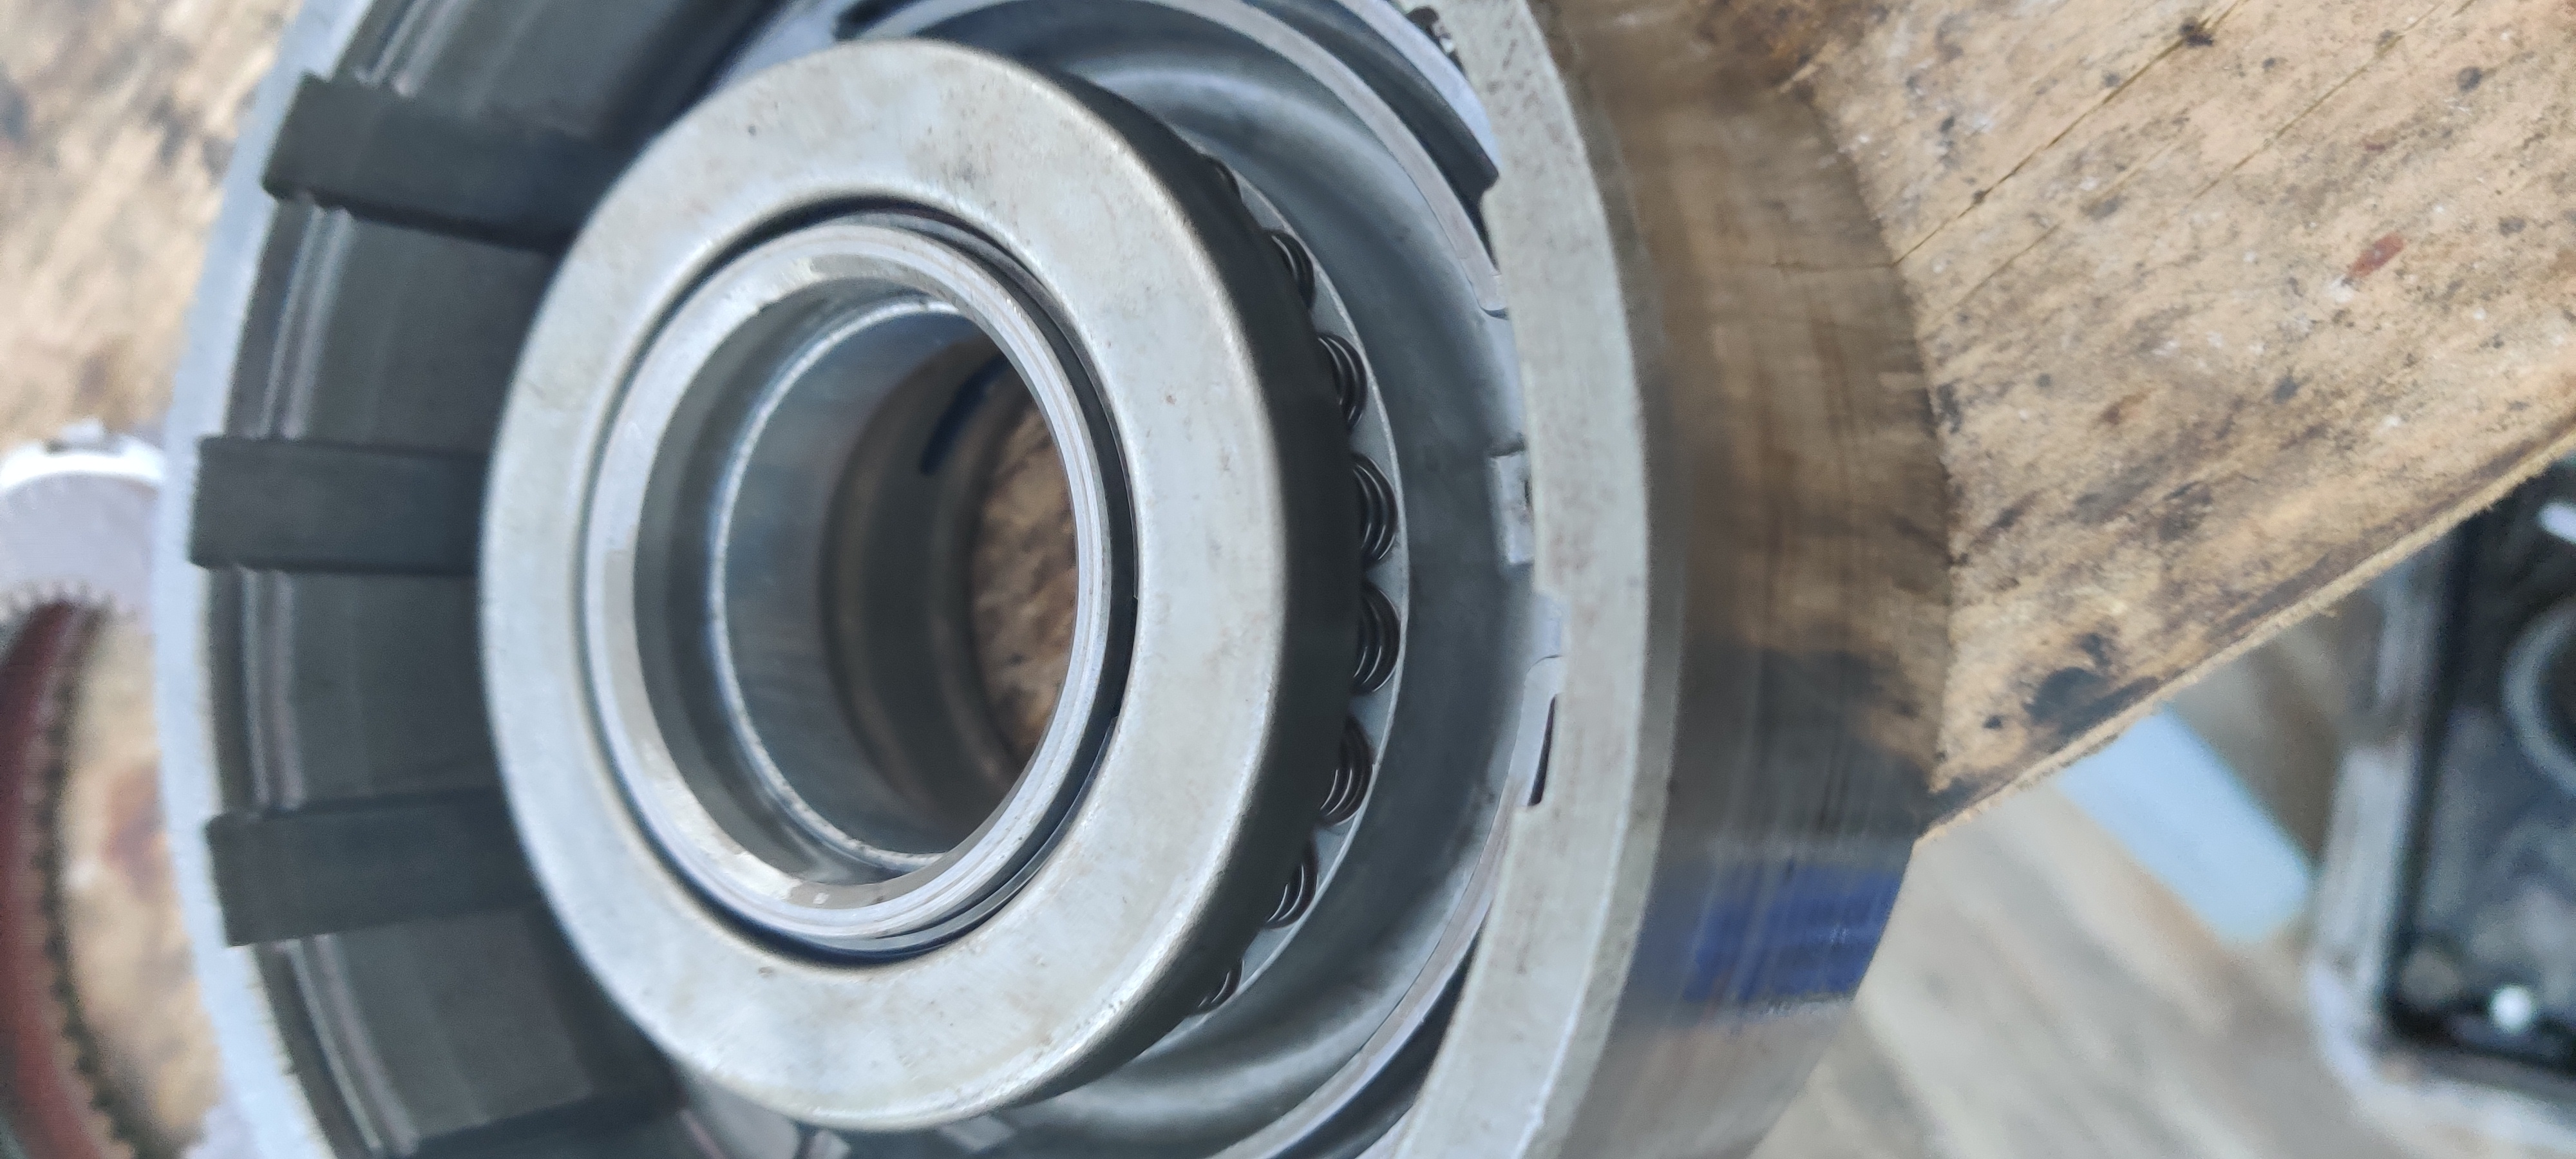
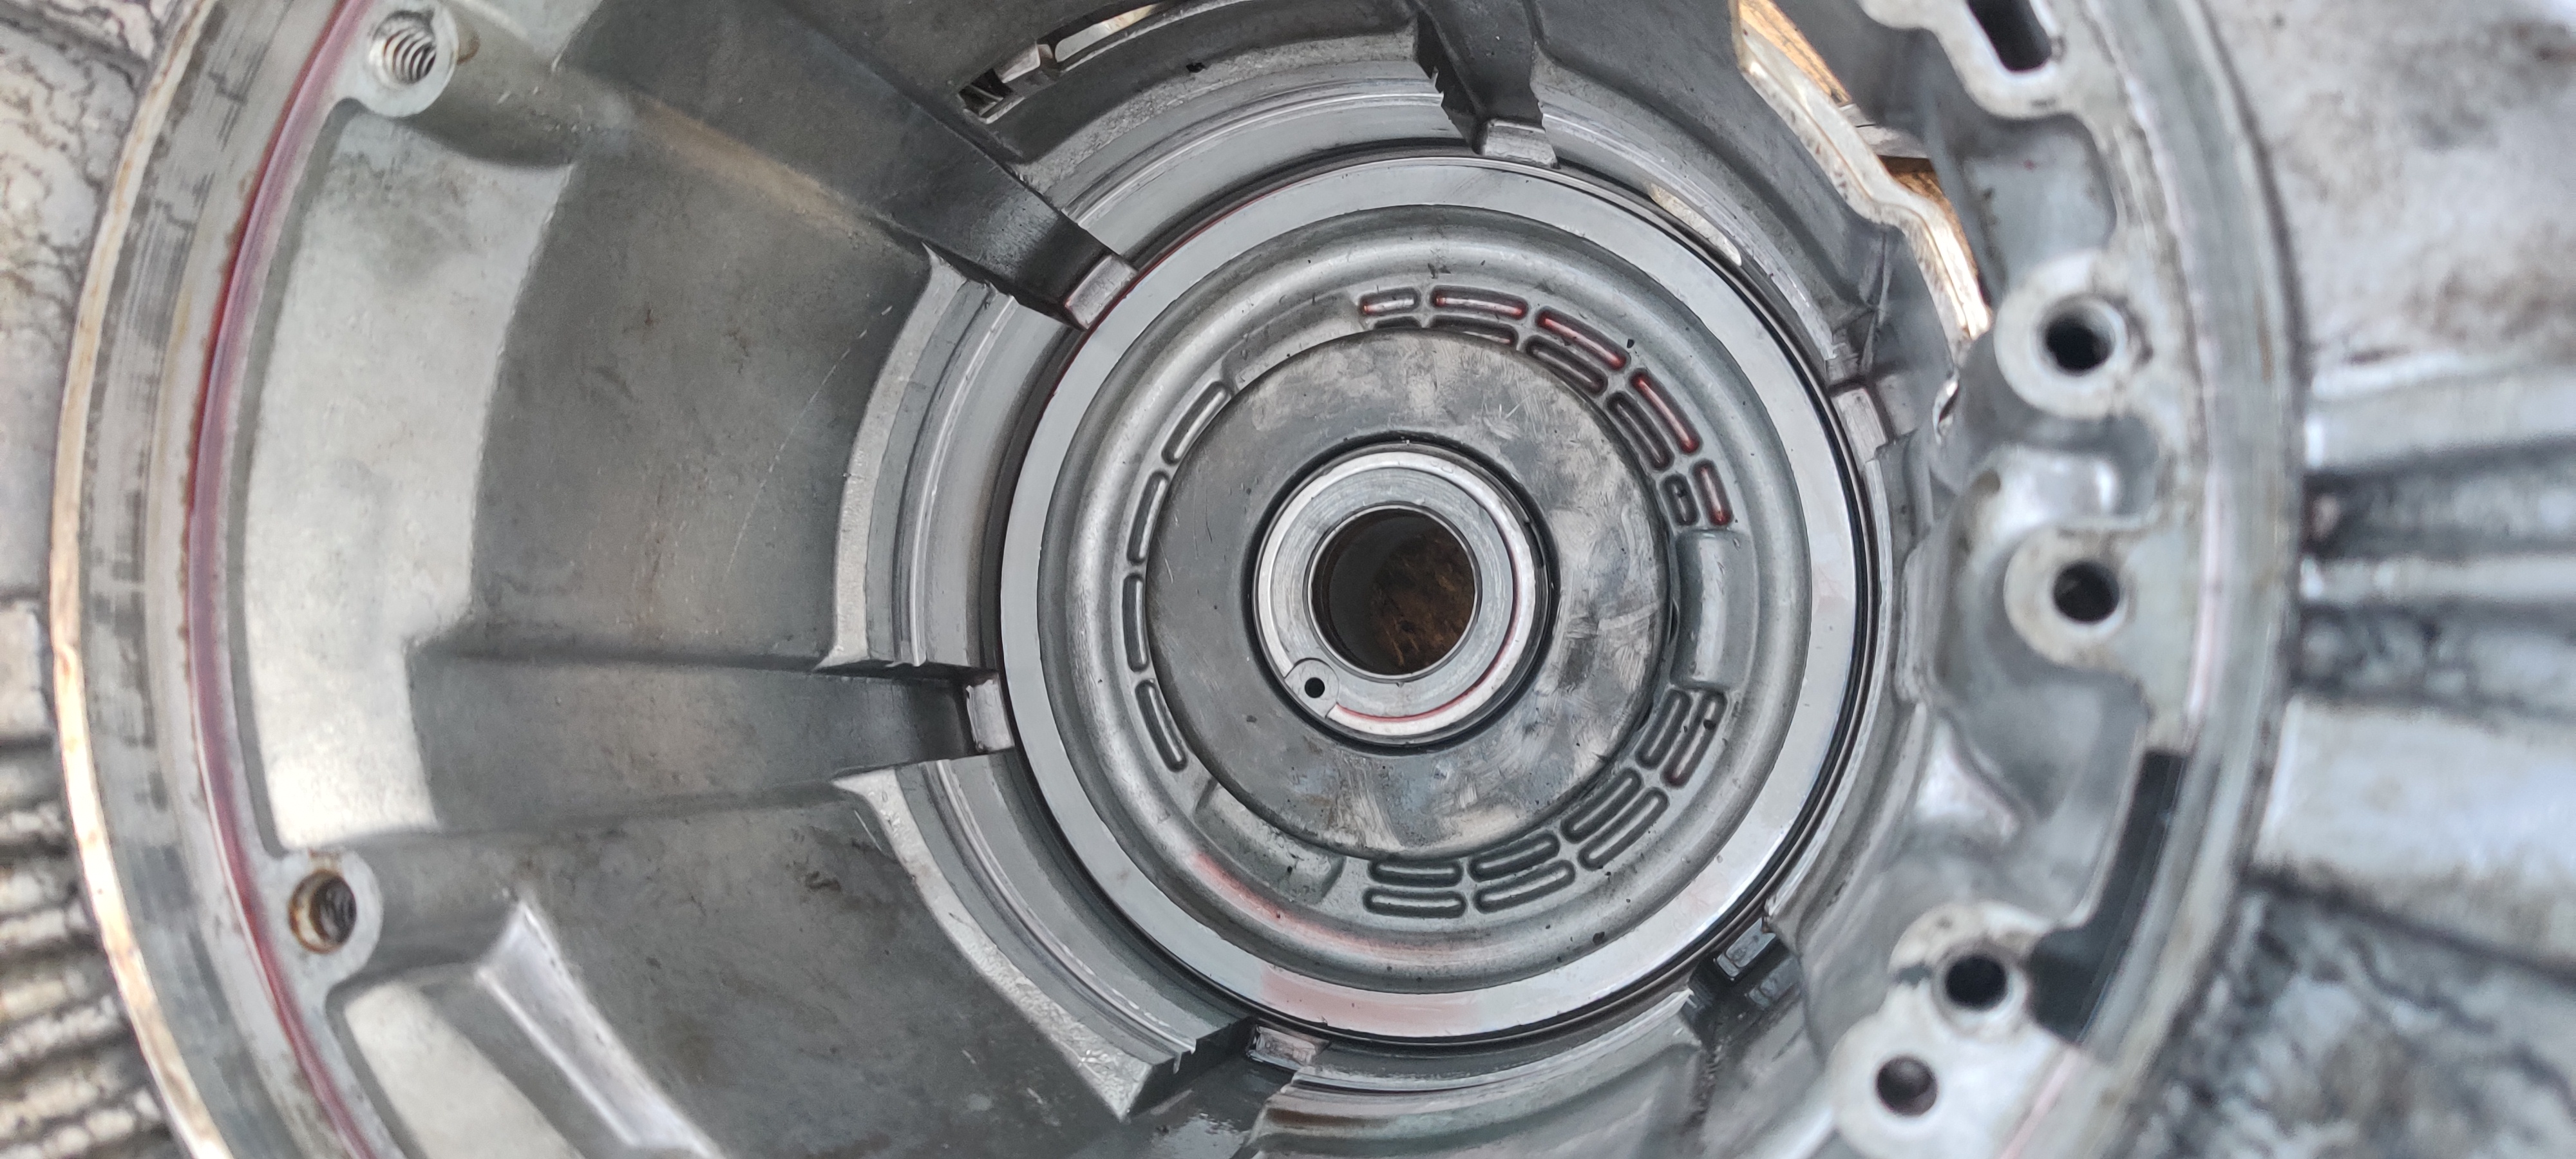
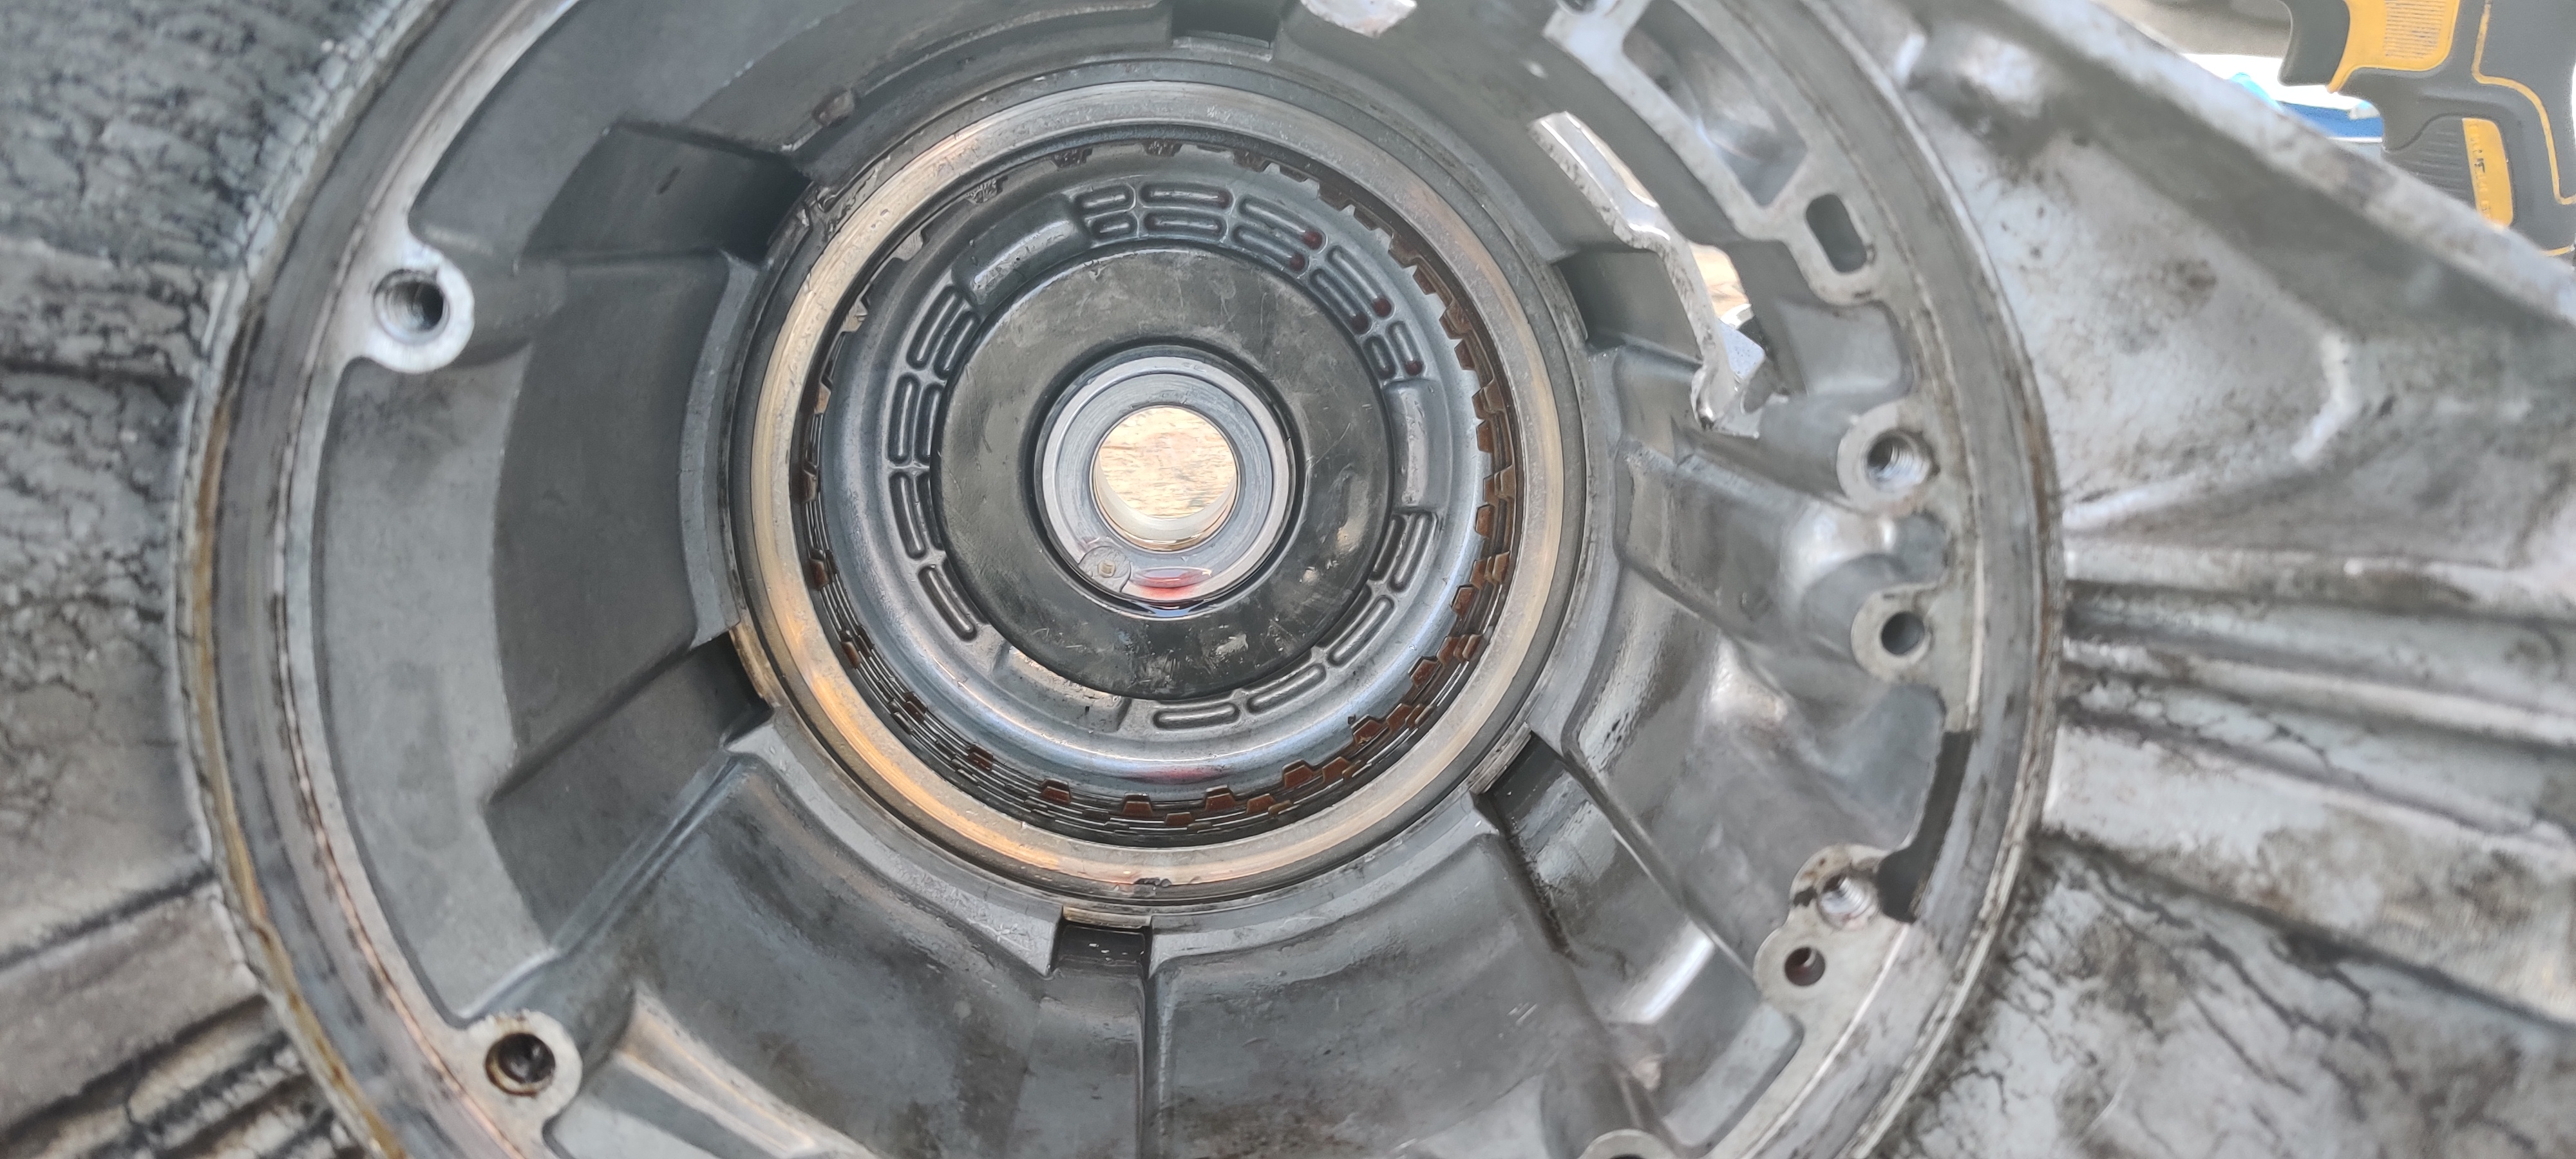
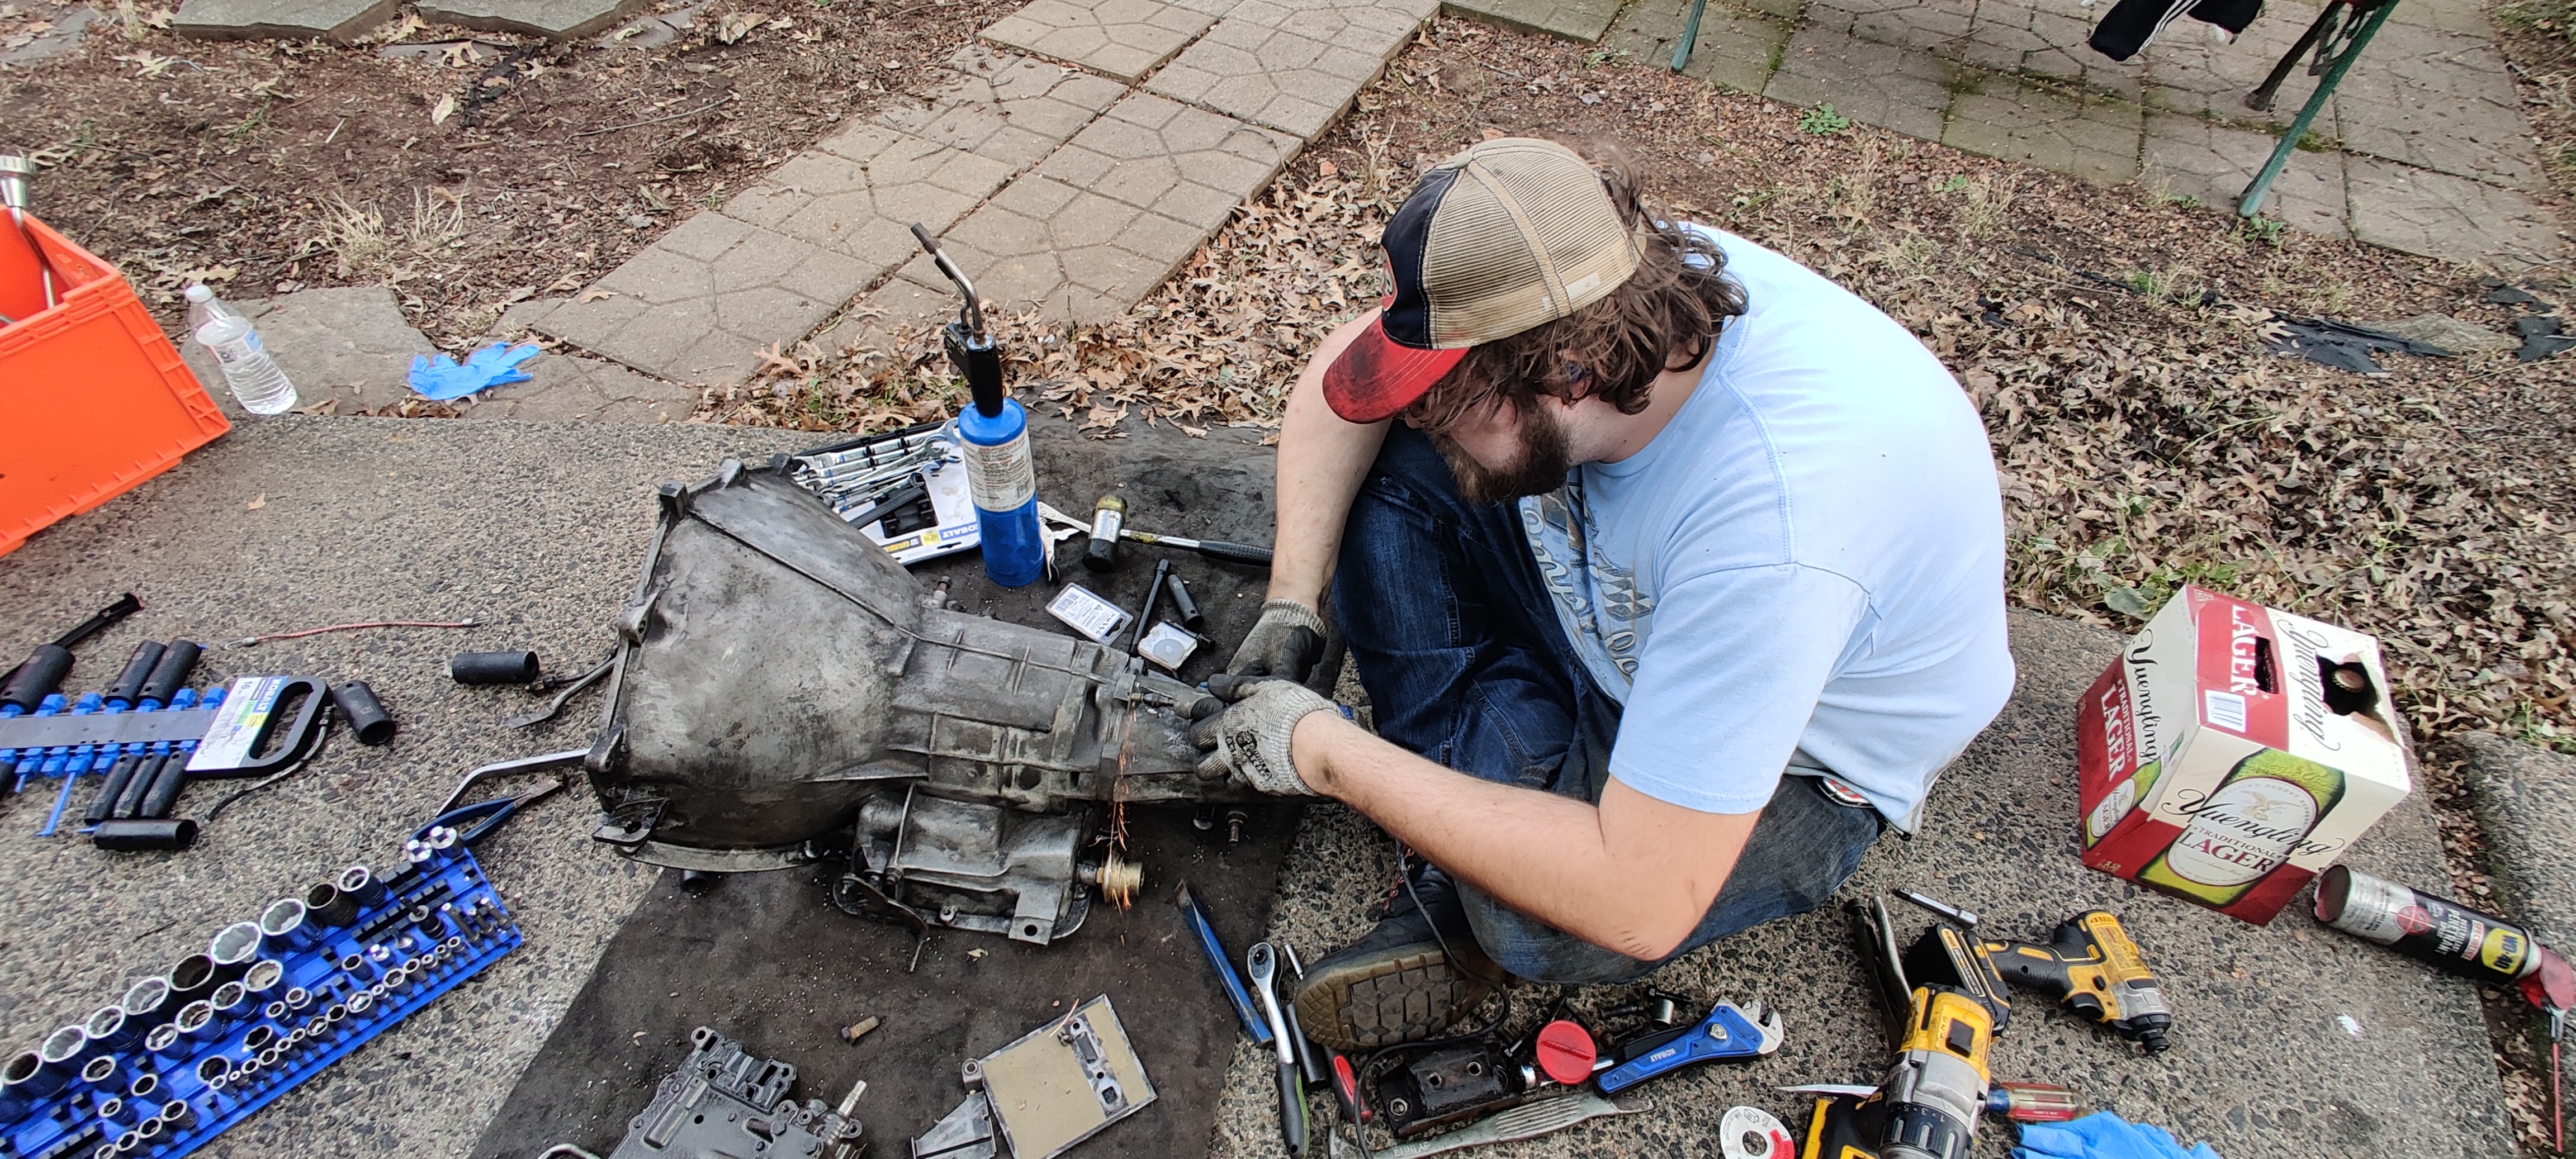
Took advantage of the lovely weather today and took apart the PowerGlide Transmission. Had to make a few stops at AutoZone to rent a slide hammer and some other tools as we got deeper into it. Came apart pretty easily though, once we had the right tools.
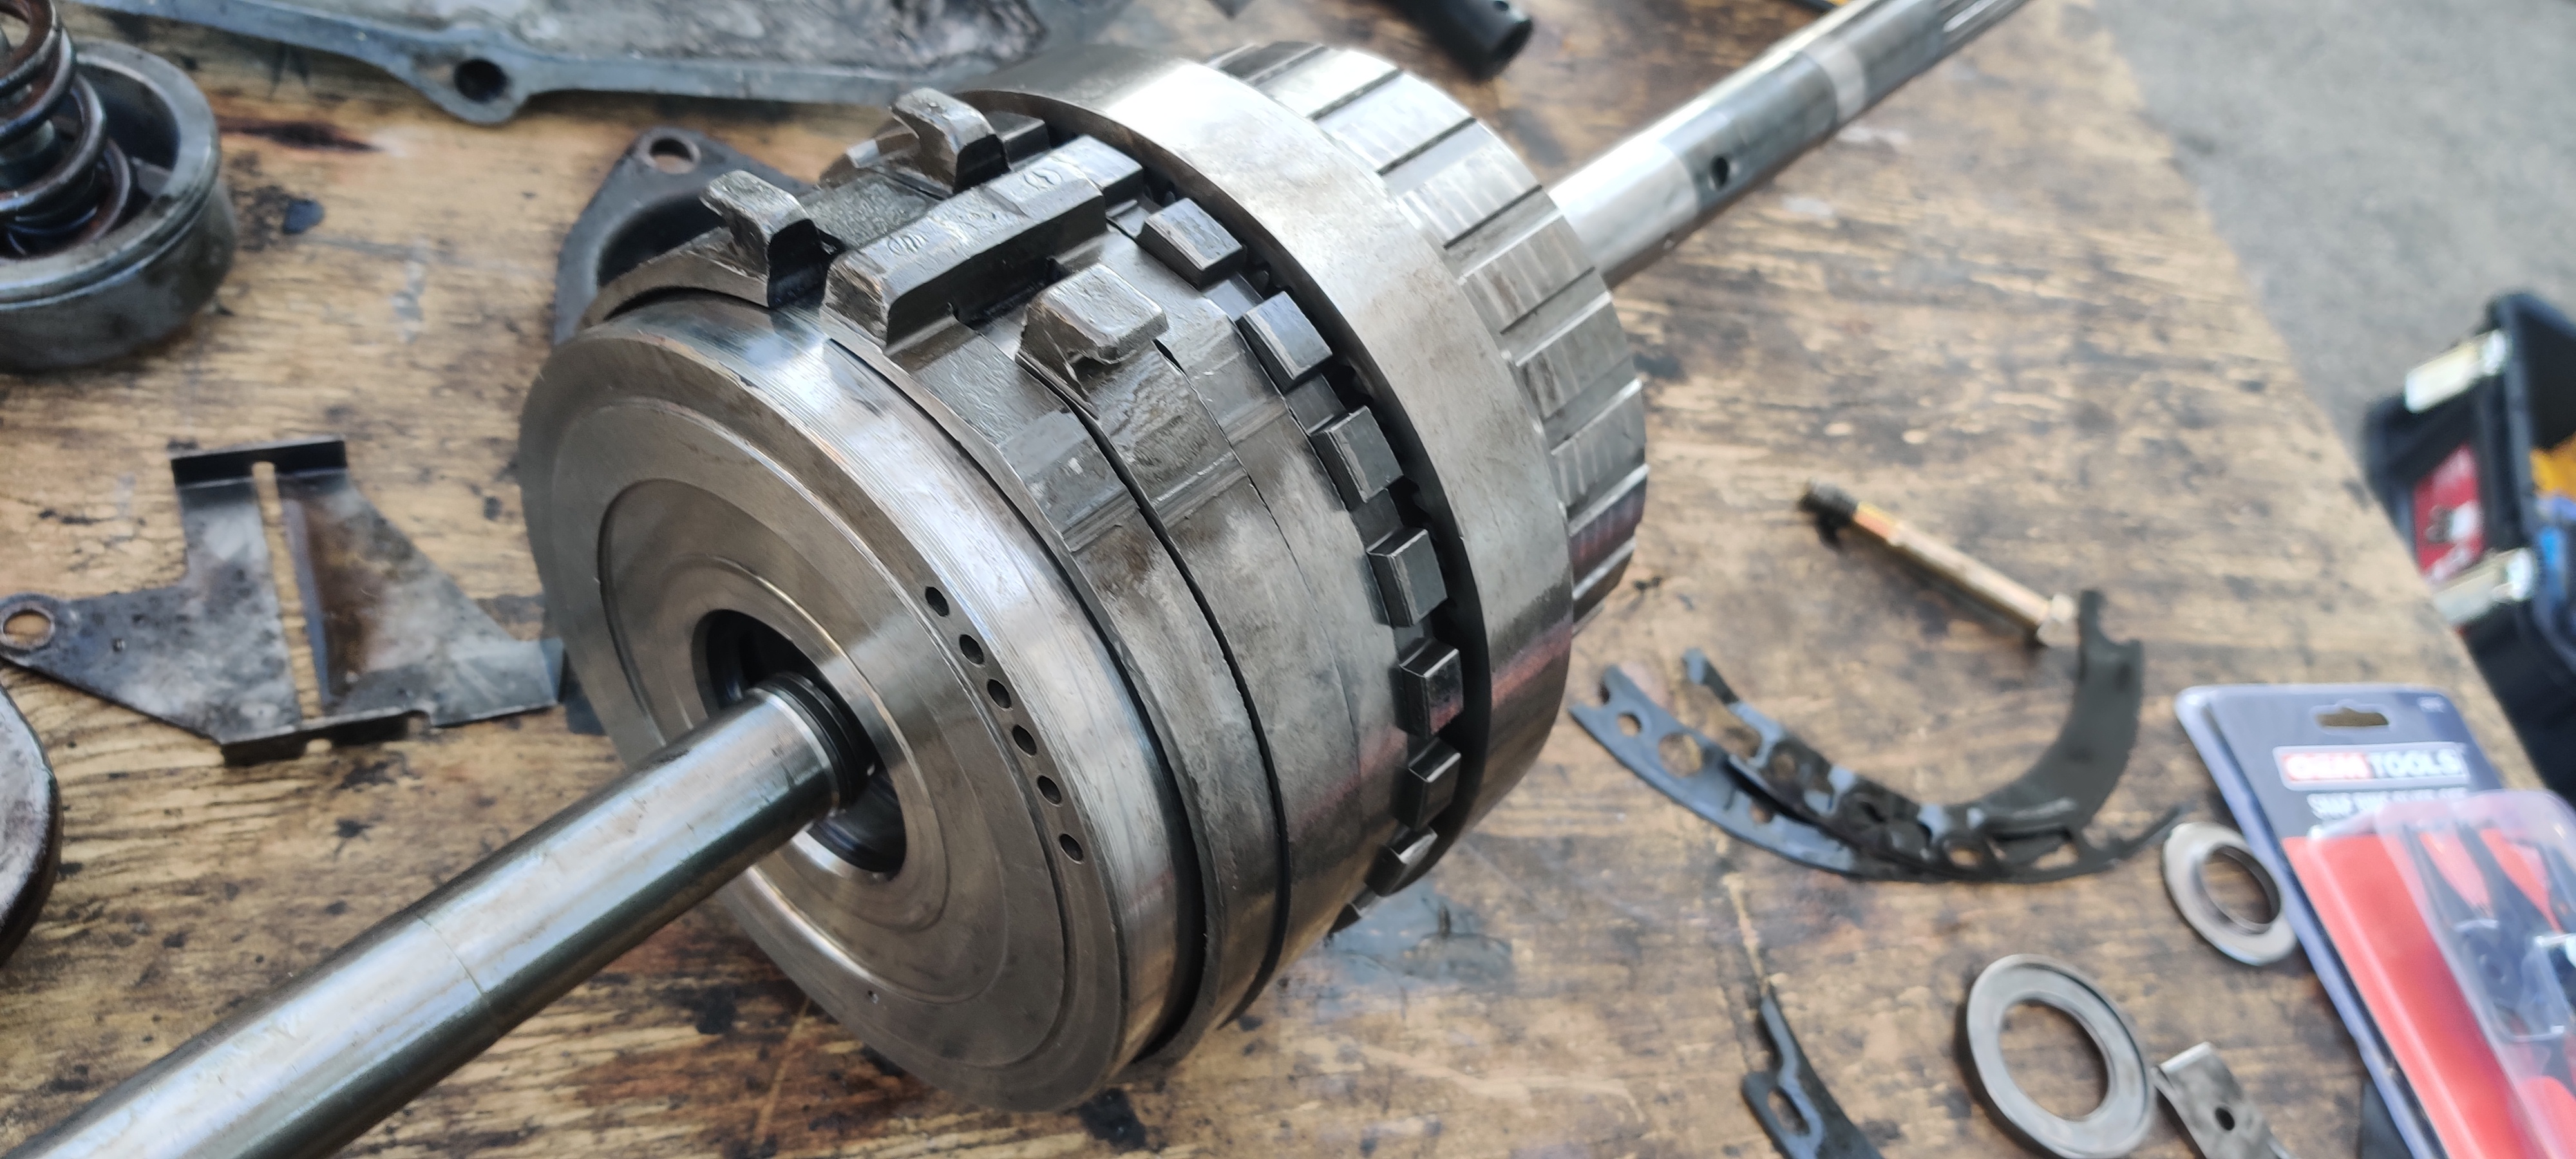
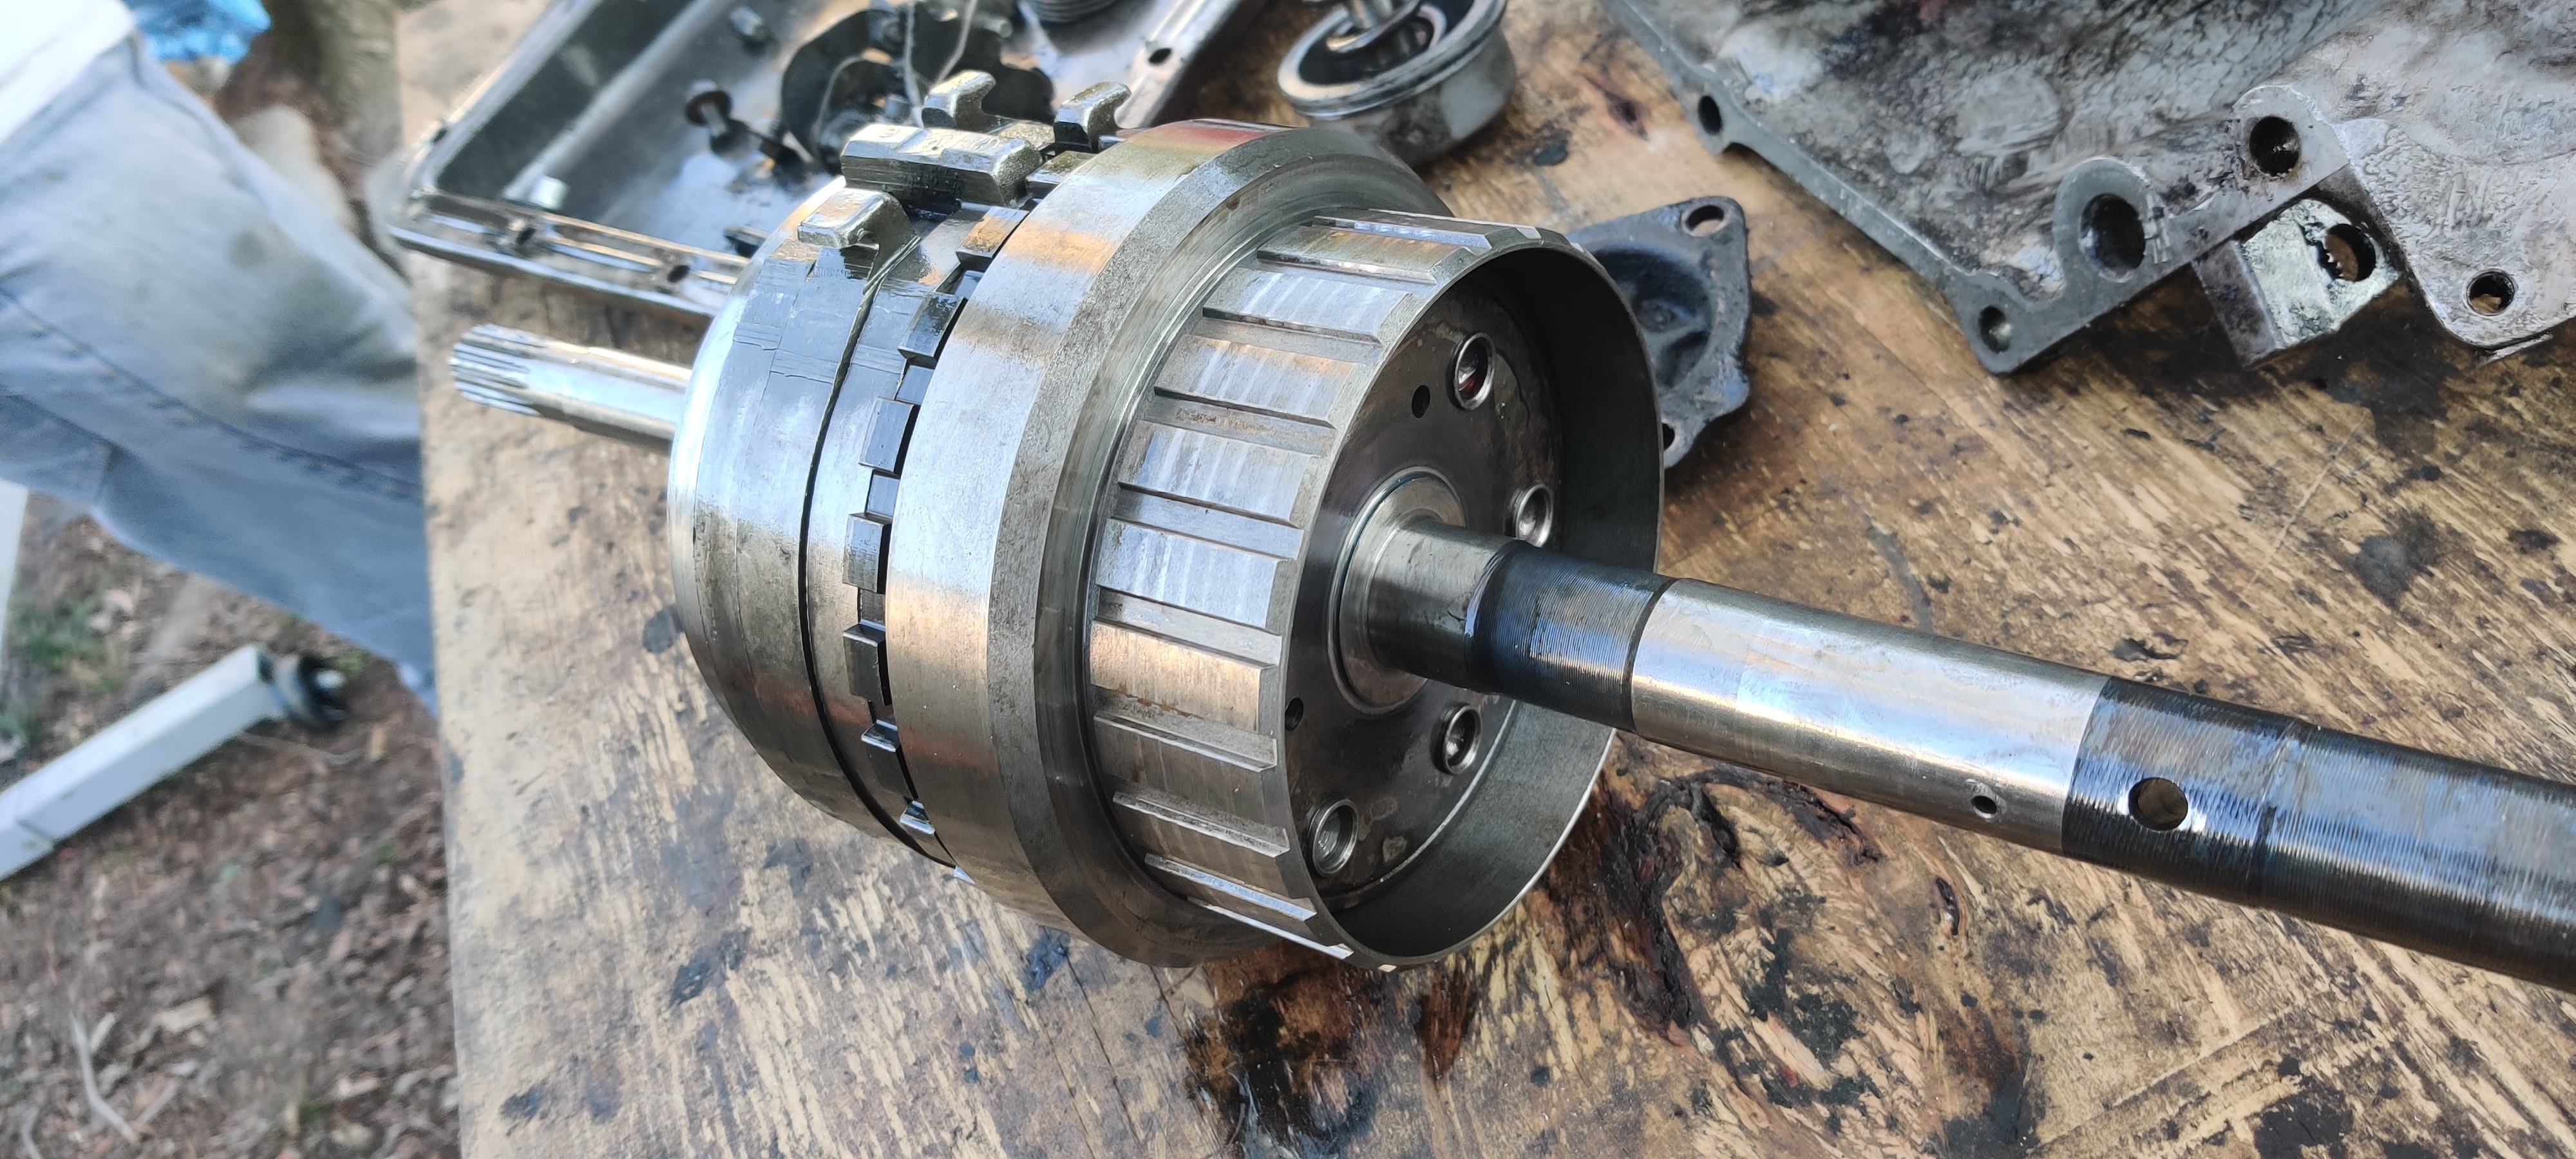
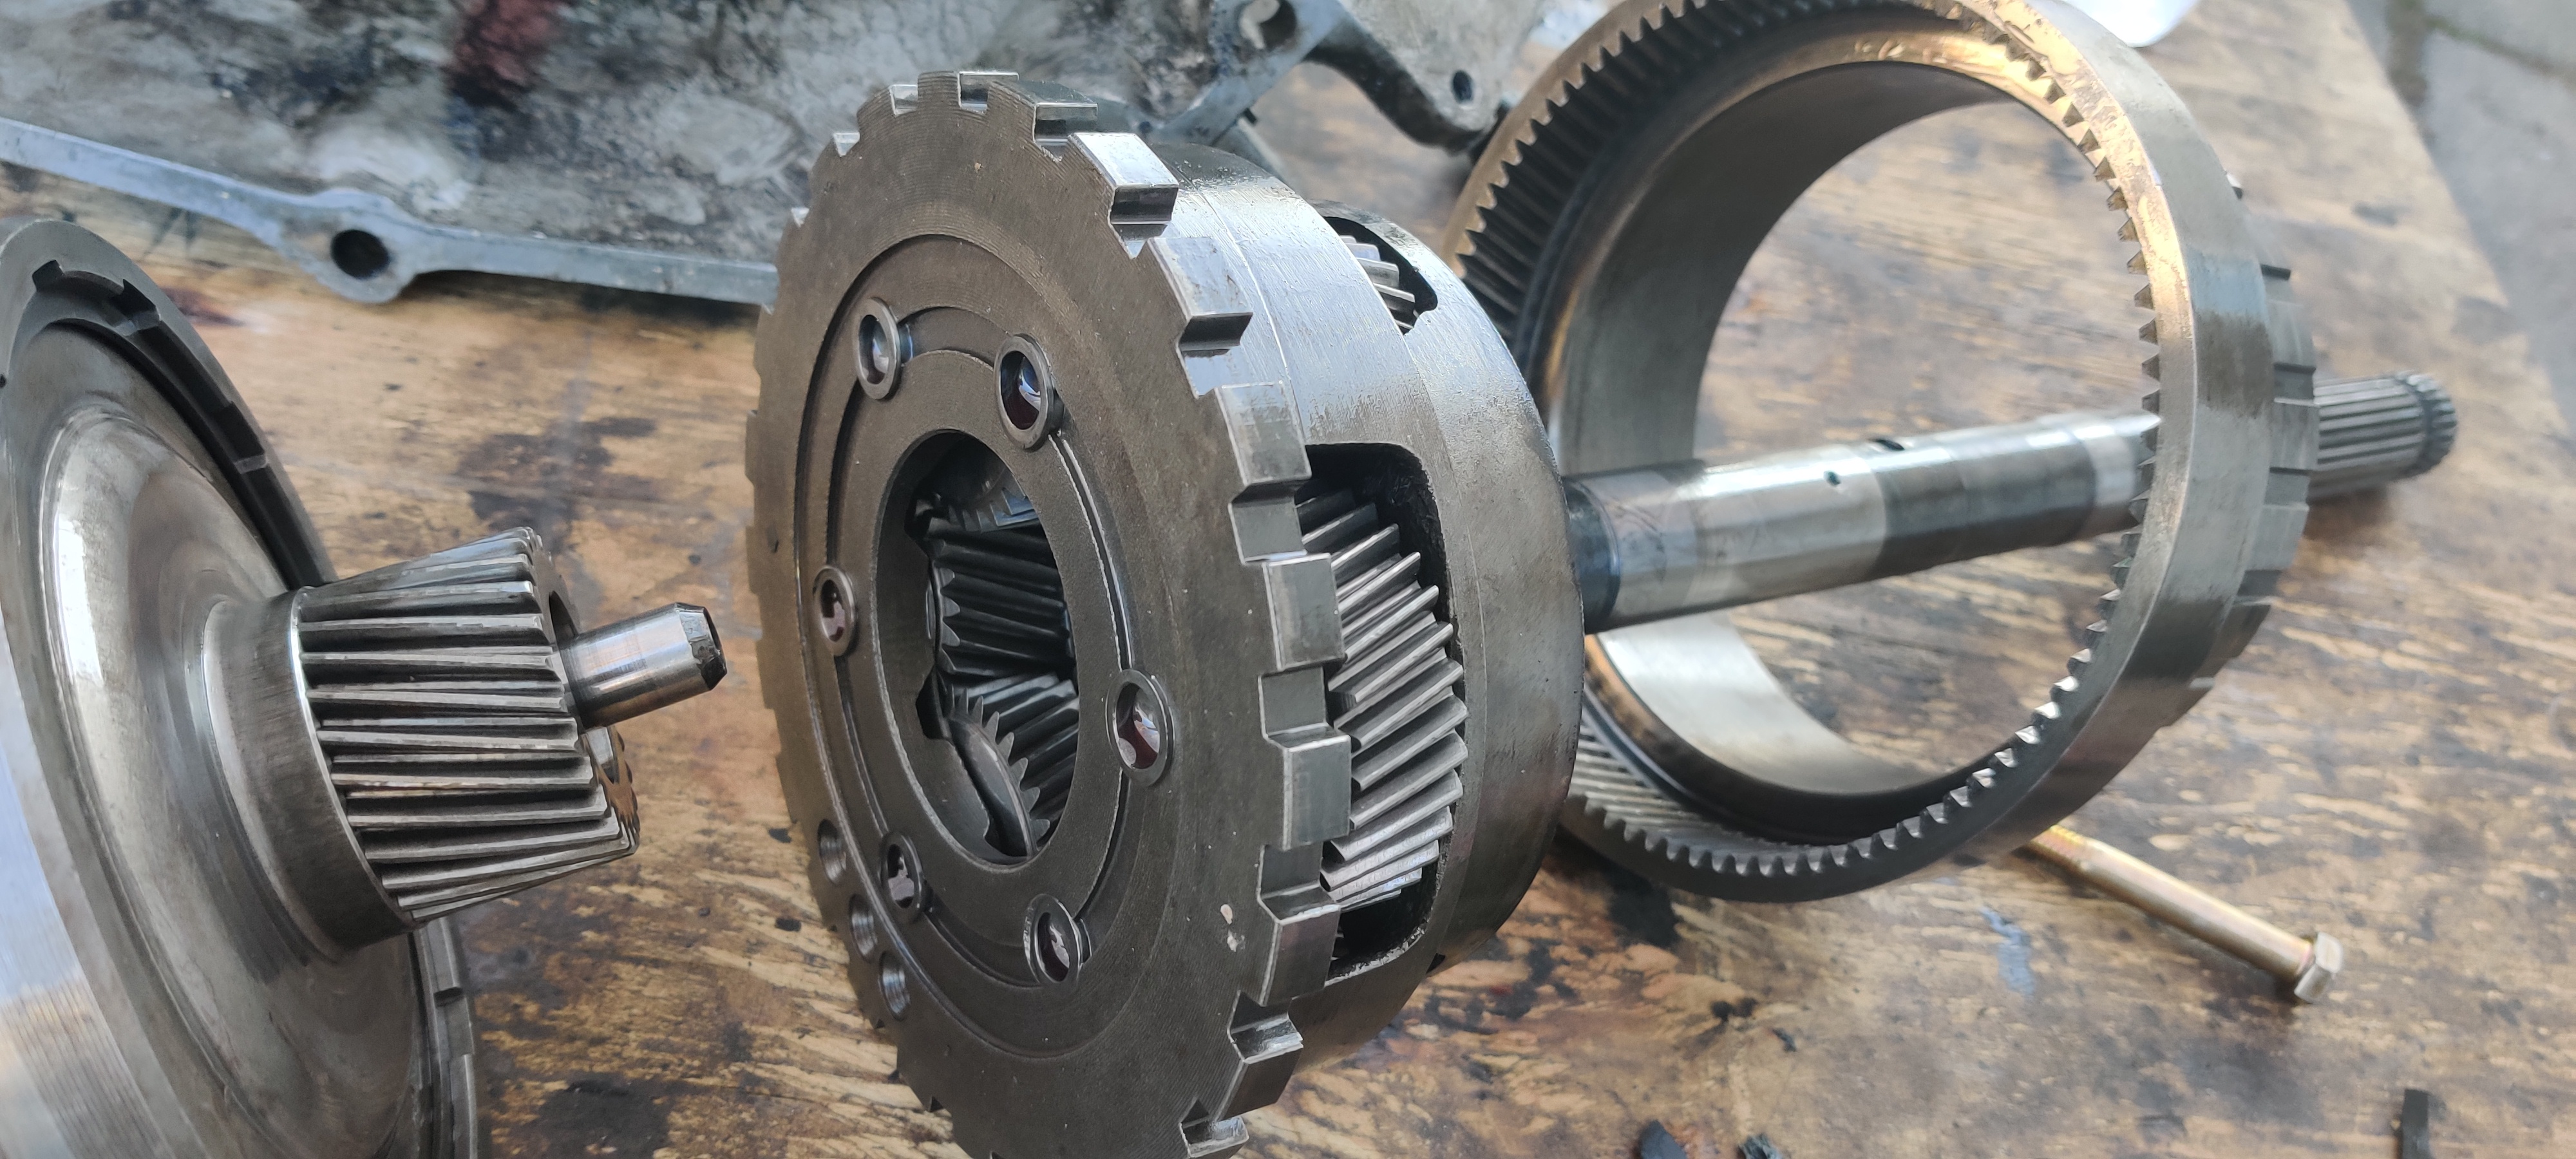
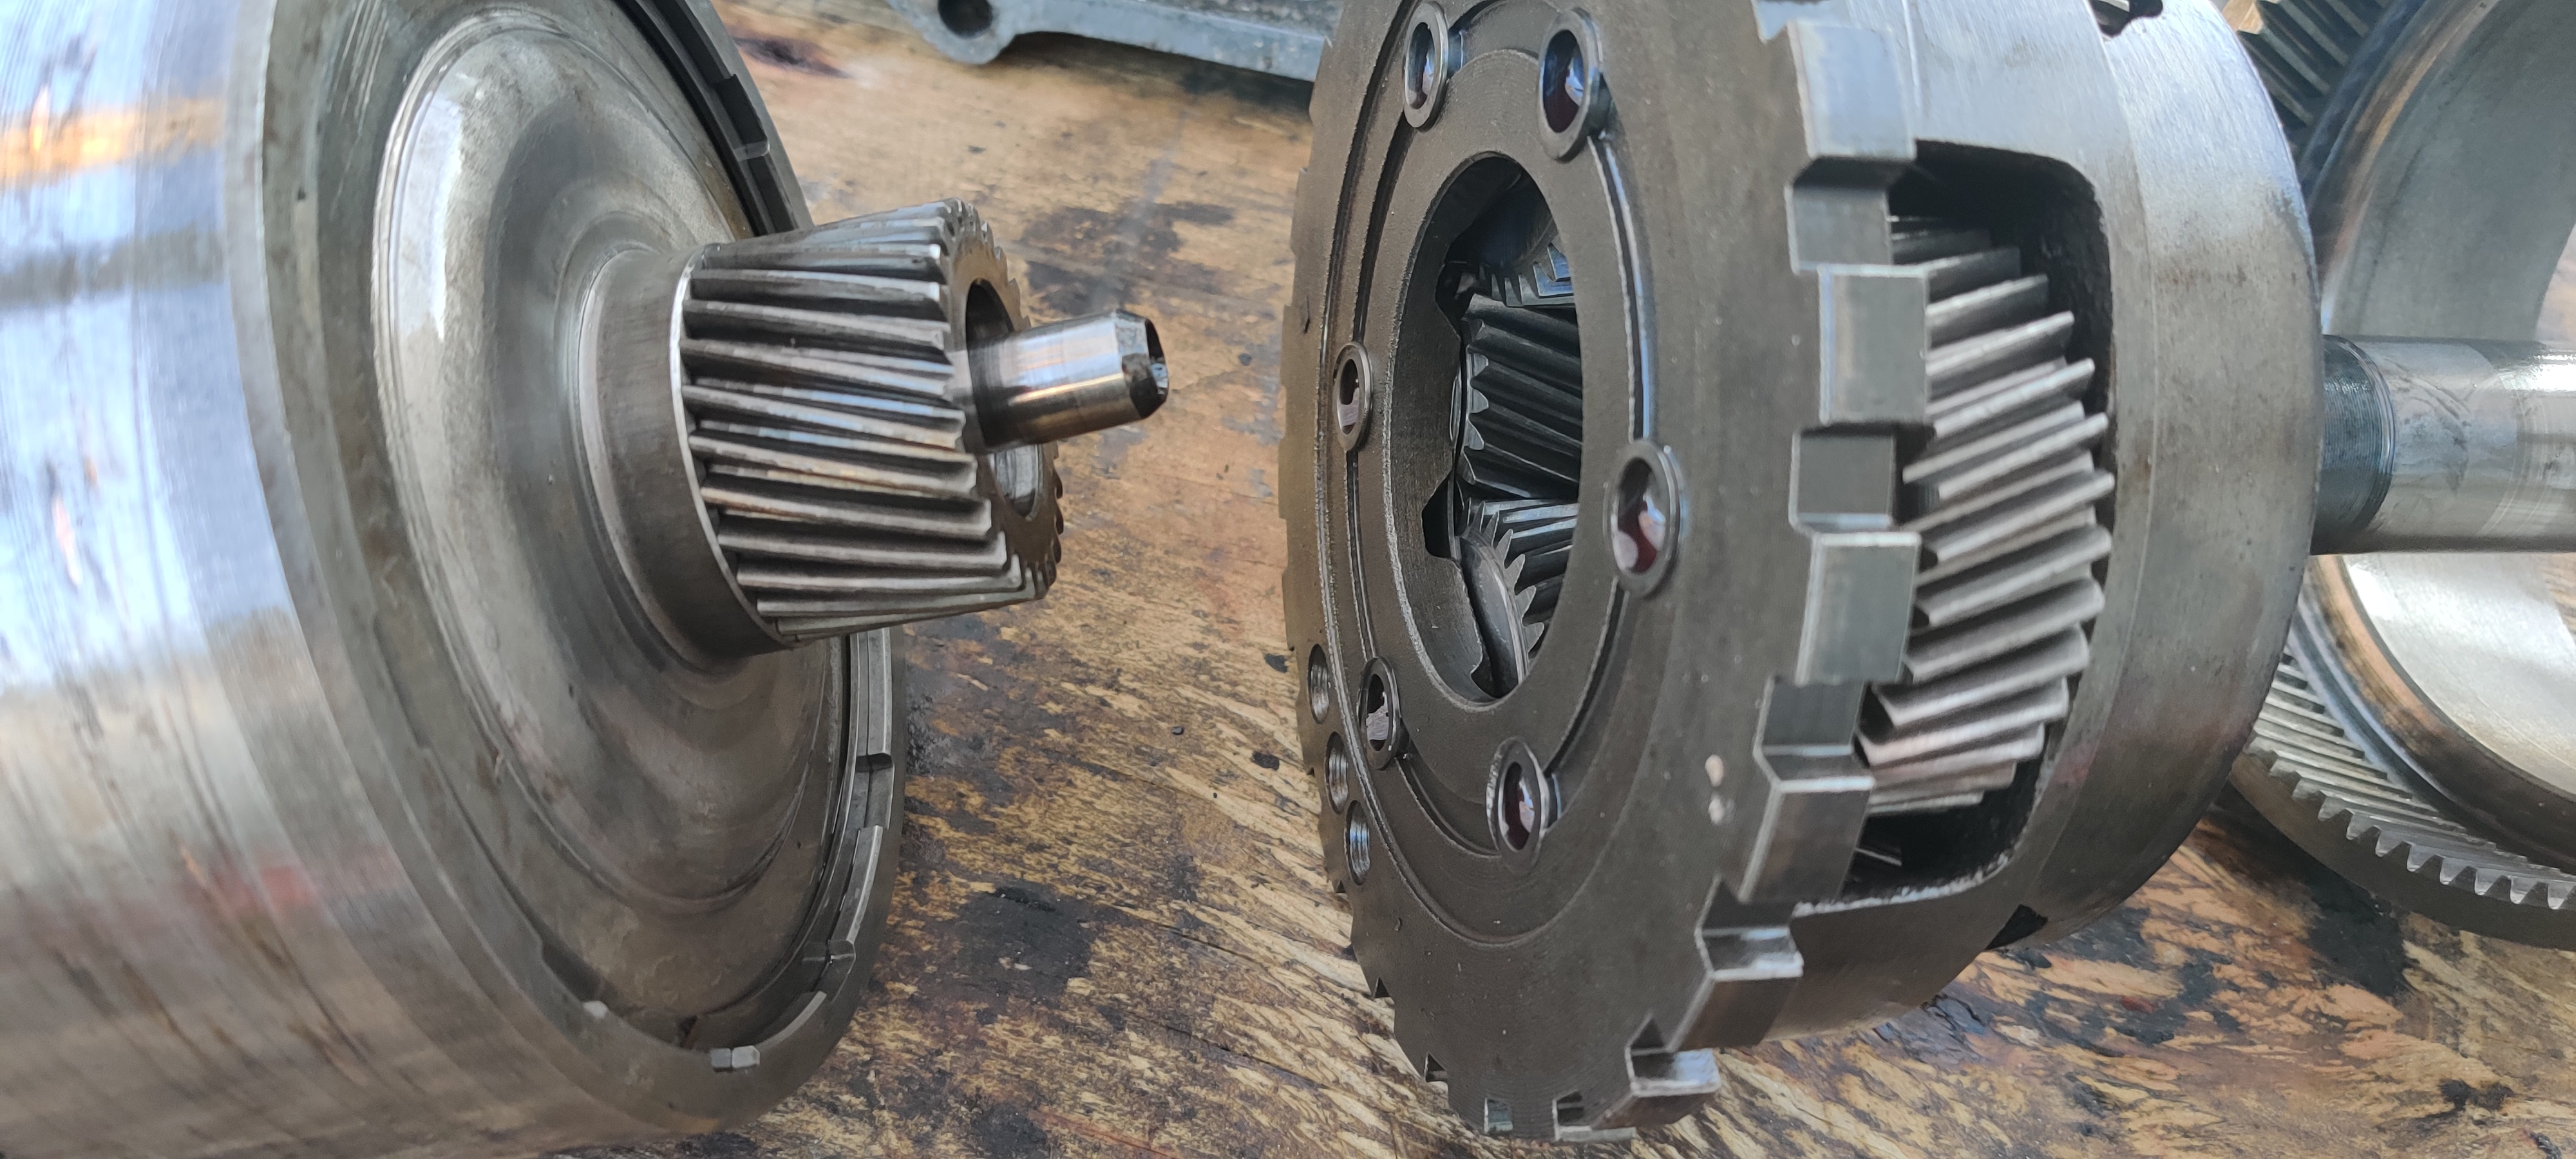
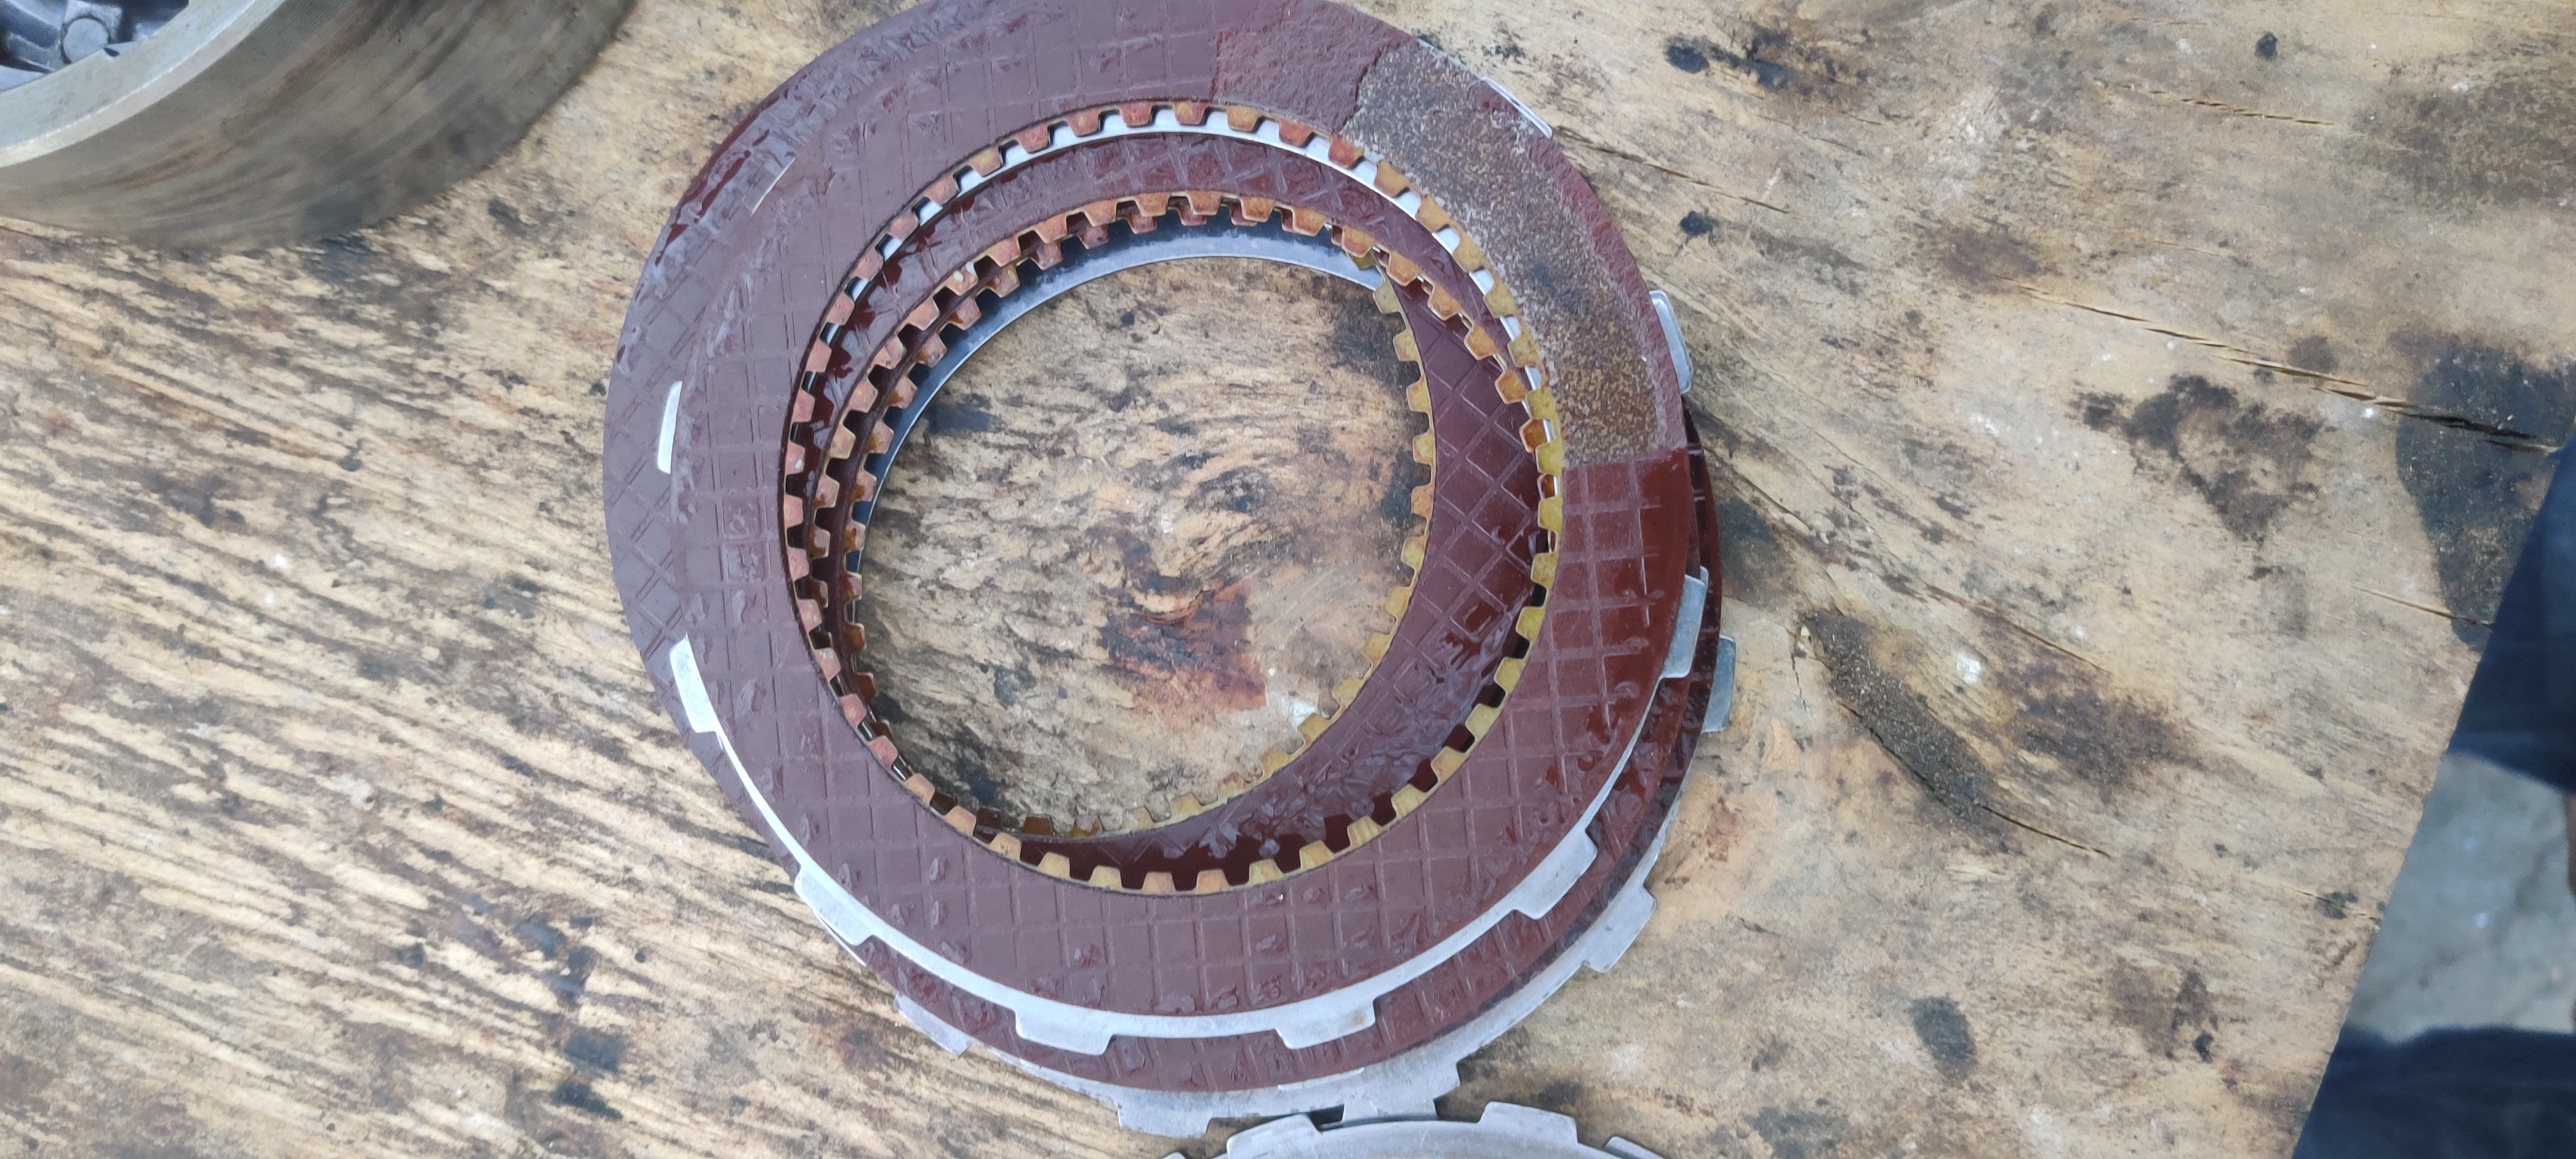
At first glance, things looked pretty good, but as we started looking closer, the teeth on the planetary gear and clutch pack were pretty worn. One friction plate was damaged.
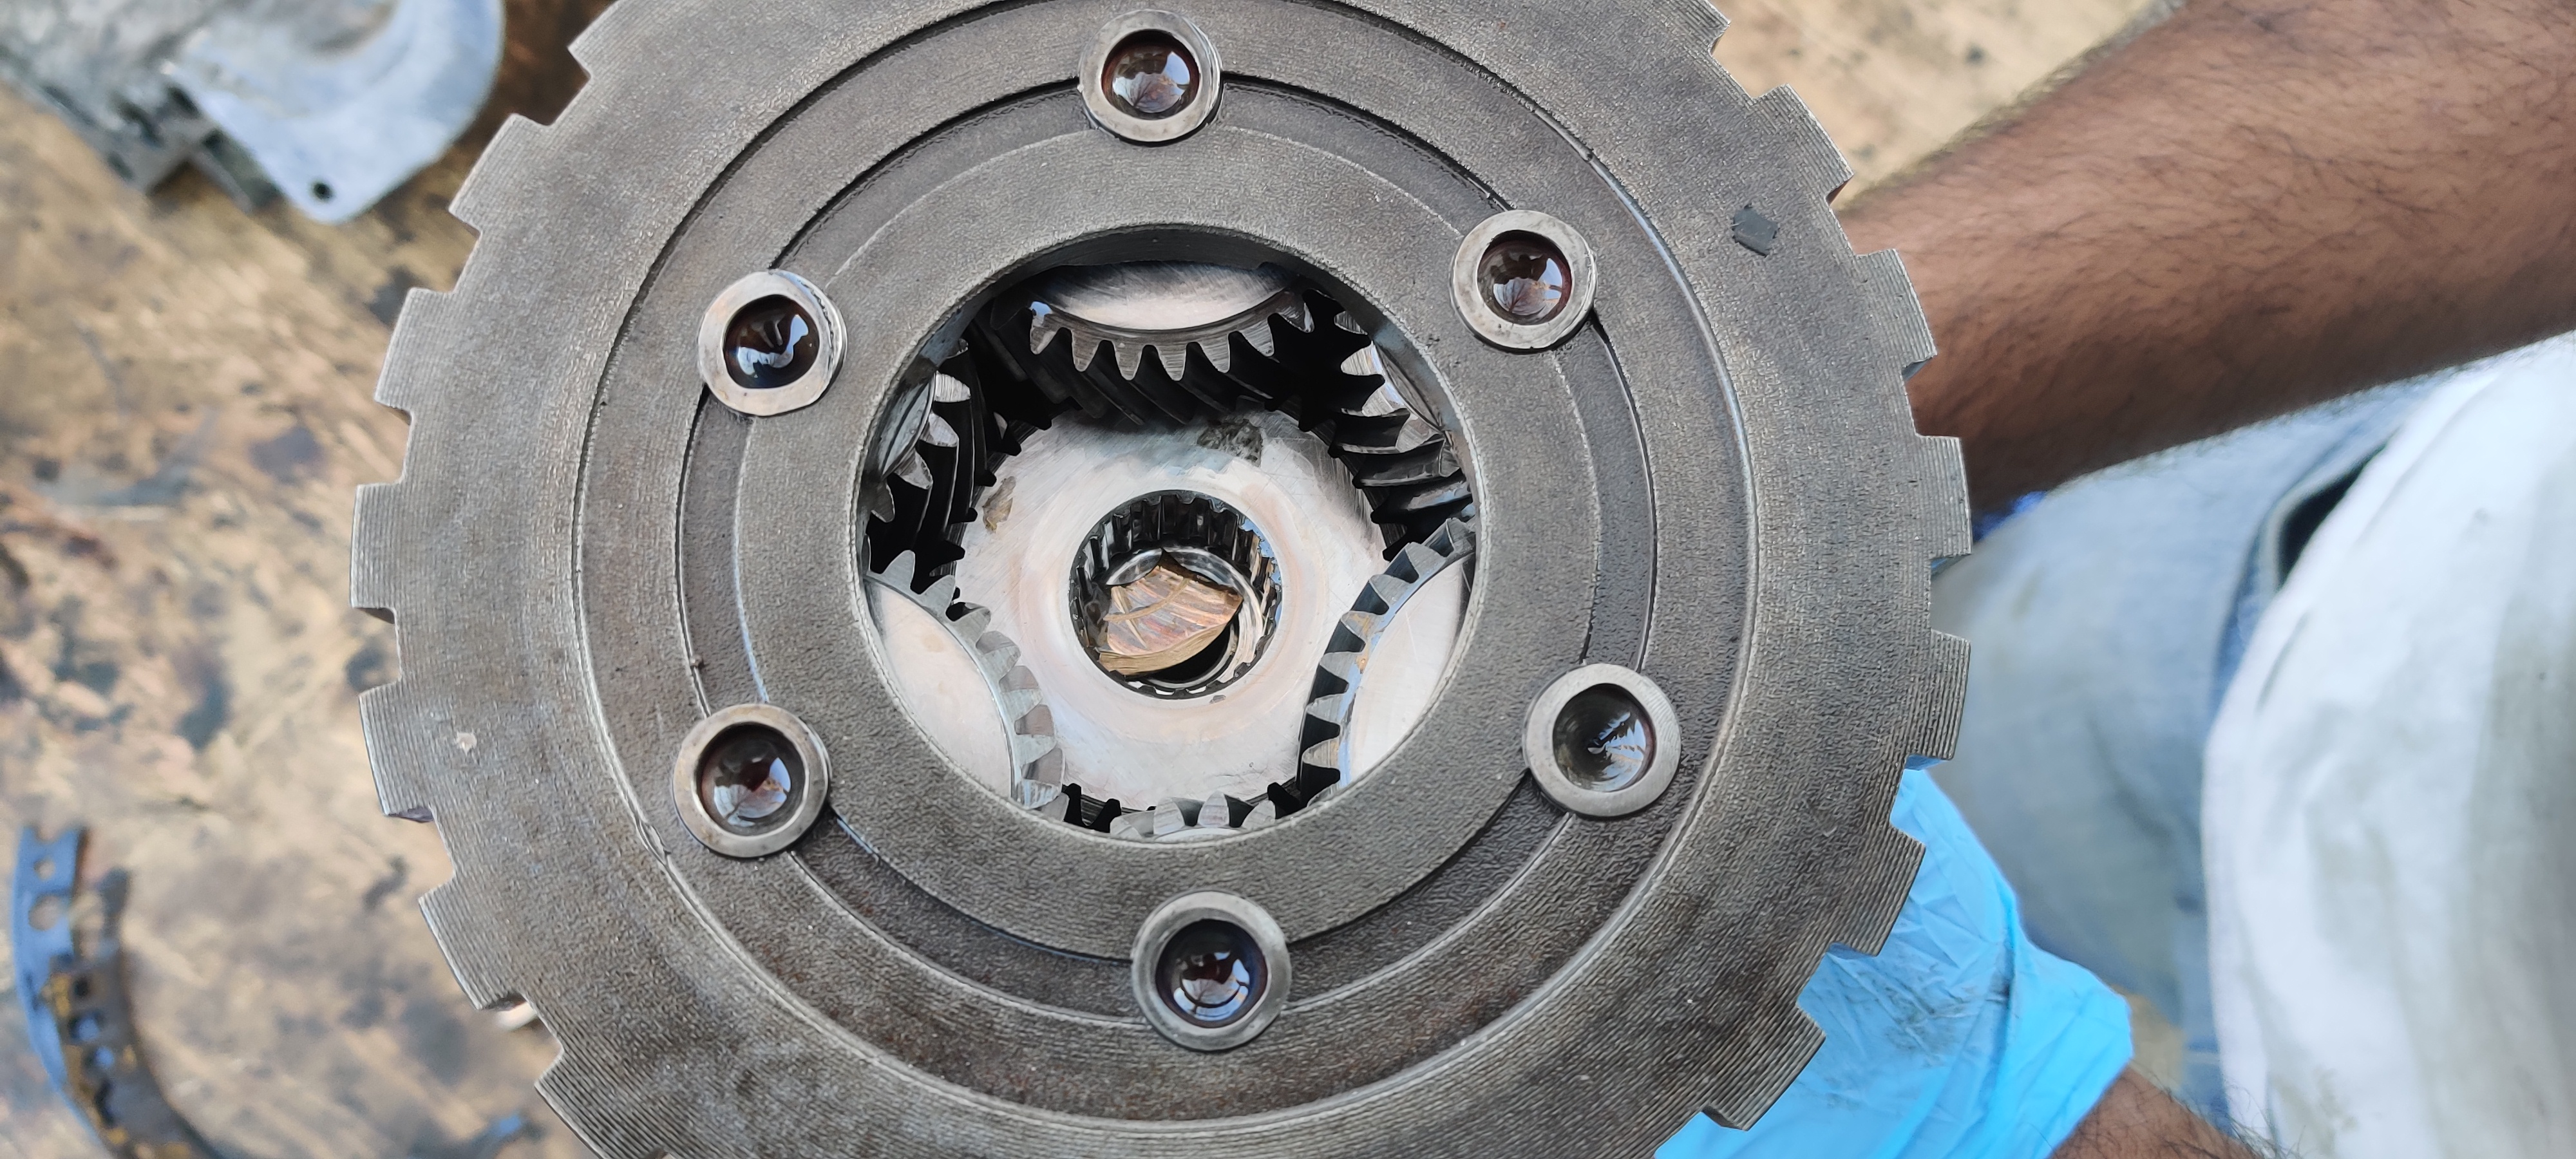
As we continued to inspect each part, we heard a rattling sound in the planetary gear set and found that a brass washer or bearing was shattered and freely moving within the gears which meant that it was no good and will need to be replaced. The Current gear ratio for 1st gear is 1.82:1, and since we now have to get a new planetary gear, I decided we'd get a better set. Looking at a 1.69:1 ratio which will give us more power. Every cloud has a silver lining, am I right?
I have to say, compared to today's 6 or 8 speed transmissions, this was a very simple tear down. Ordered the rebuild kit from rock auto and a new clutch pack. Waiting for payday to order the new Planetary gear.
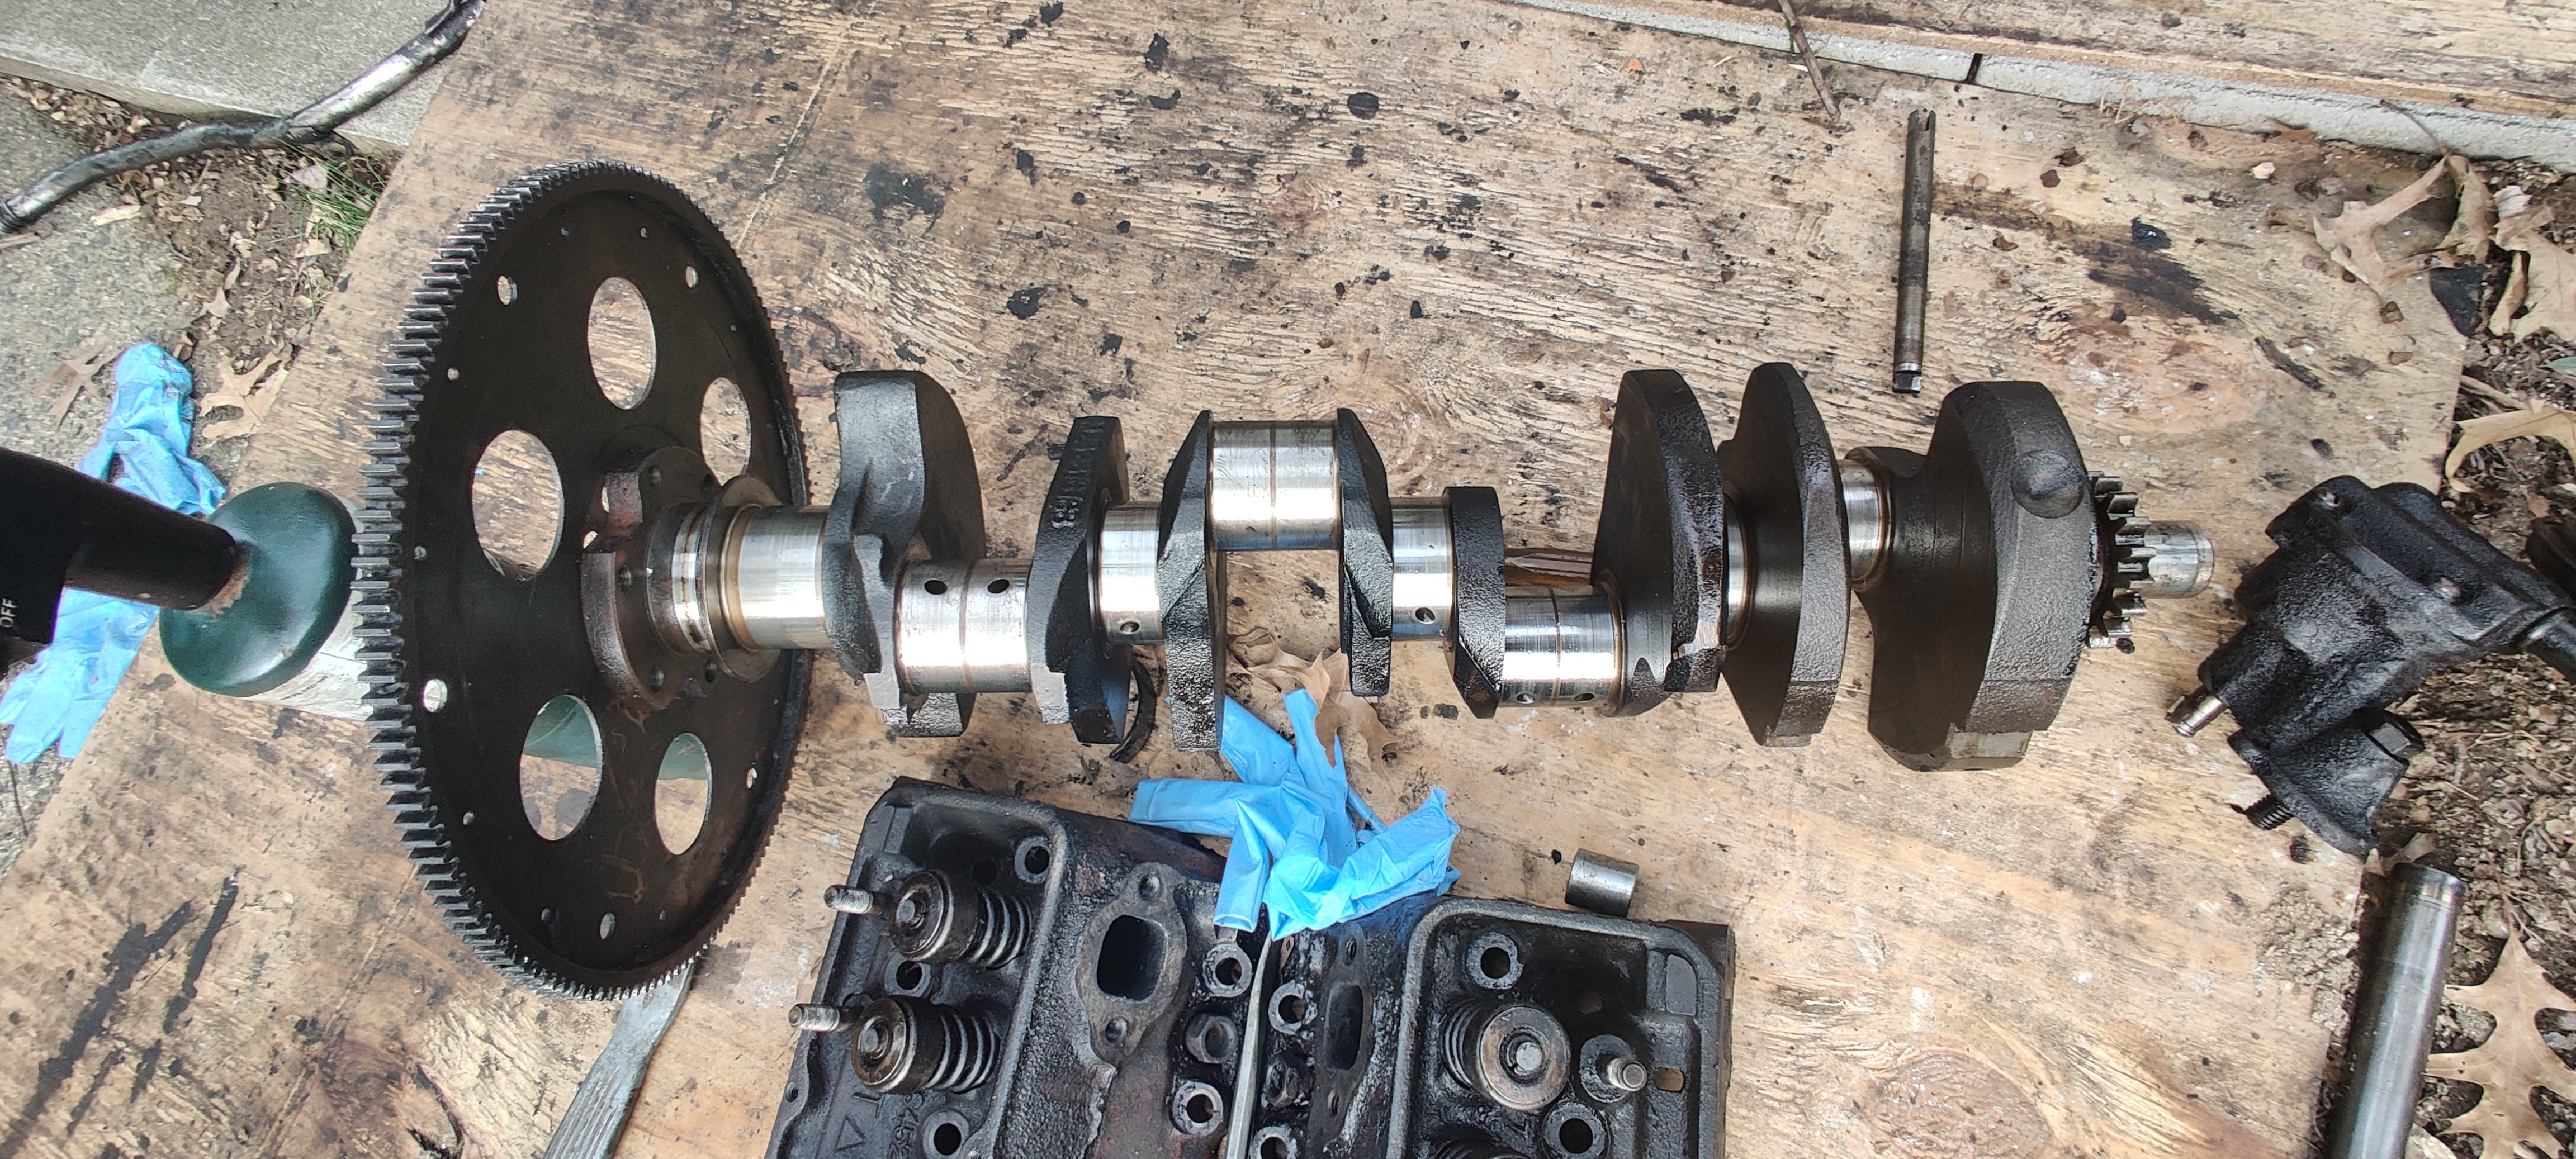
As for the engine, I ordered and shipped the pistons and rings, the connecting rods, crankshaft and it's bearings to Philadelphia Racing Engines to finish the honing and balancing of the crankshaft. Since we're .030 over the factory size for the pistons, the new crankshaft needs to be tuned to handle the offset and minimize engine noise.
Next step is to put the transmission back together and then pick up the engine. Stay tuned!
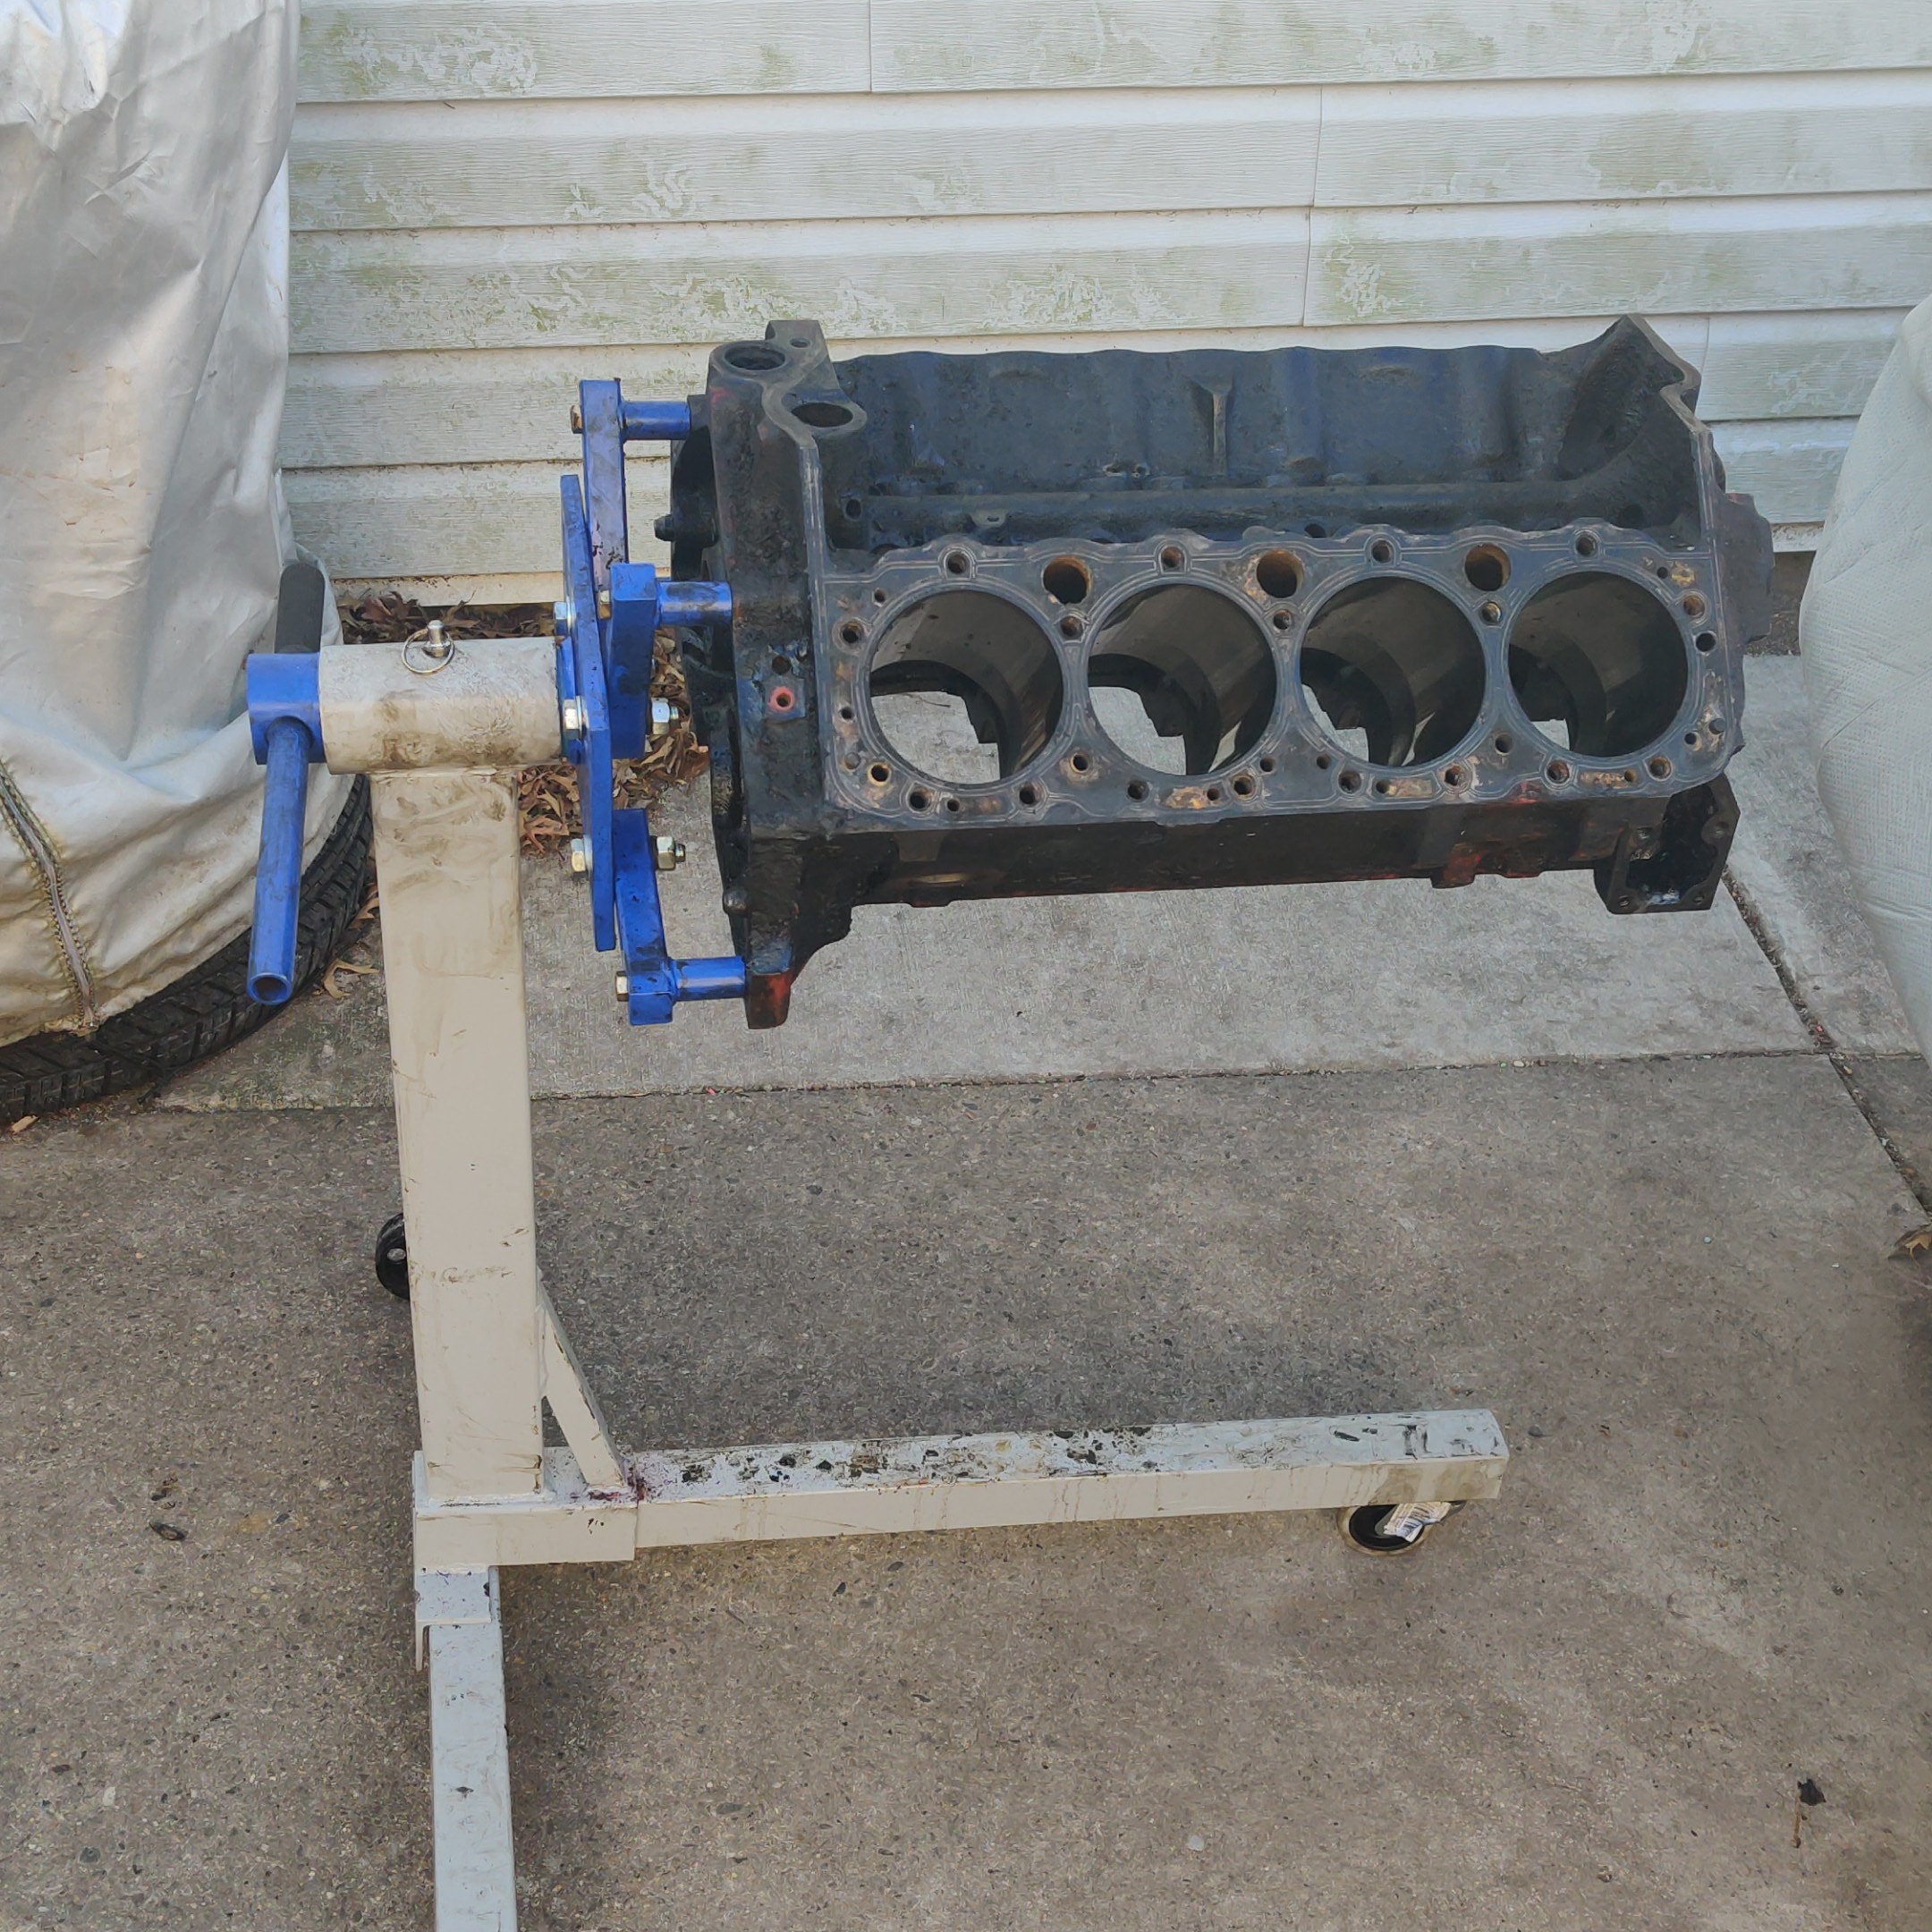
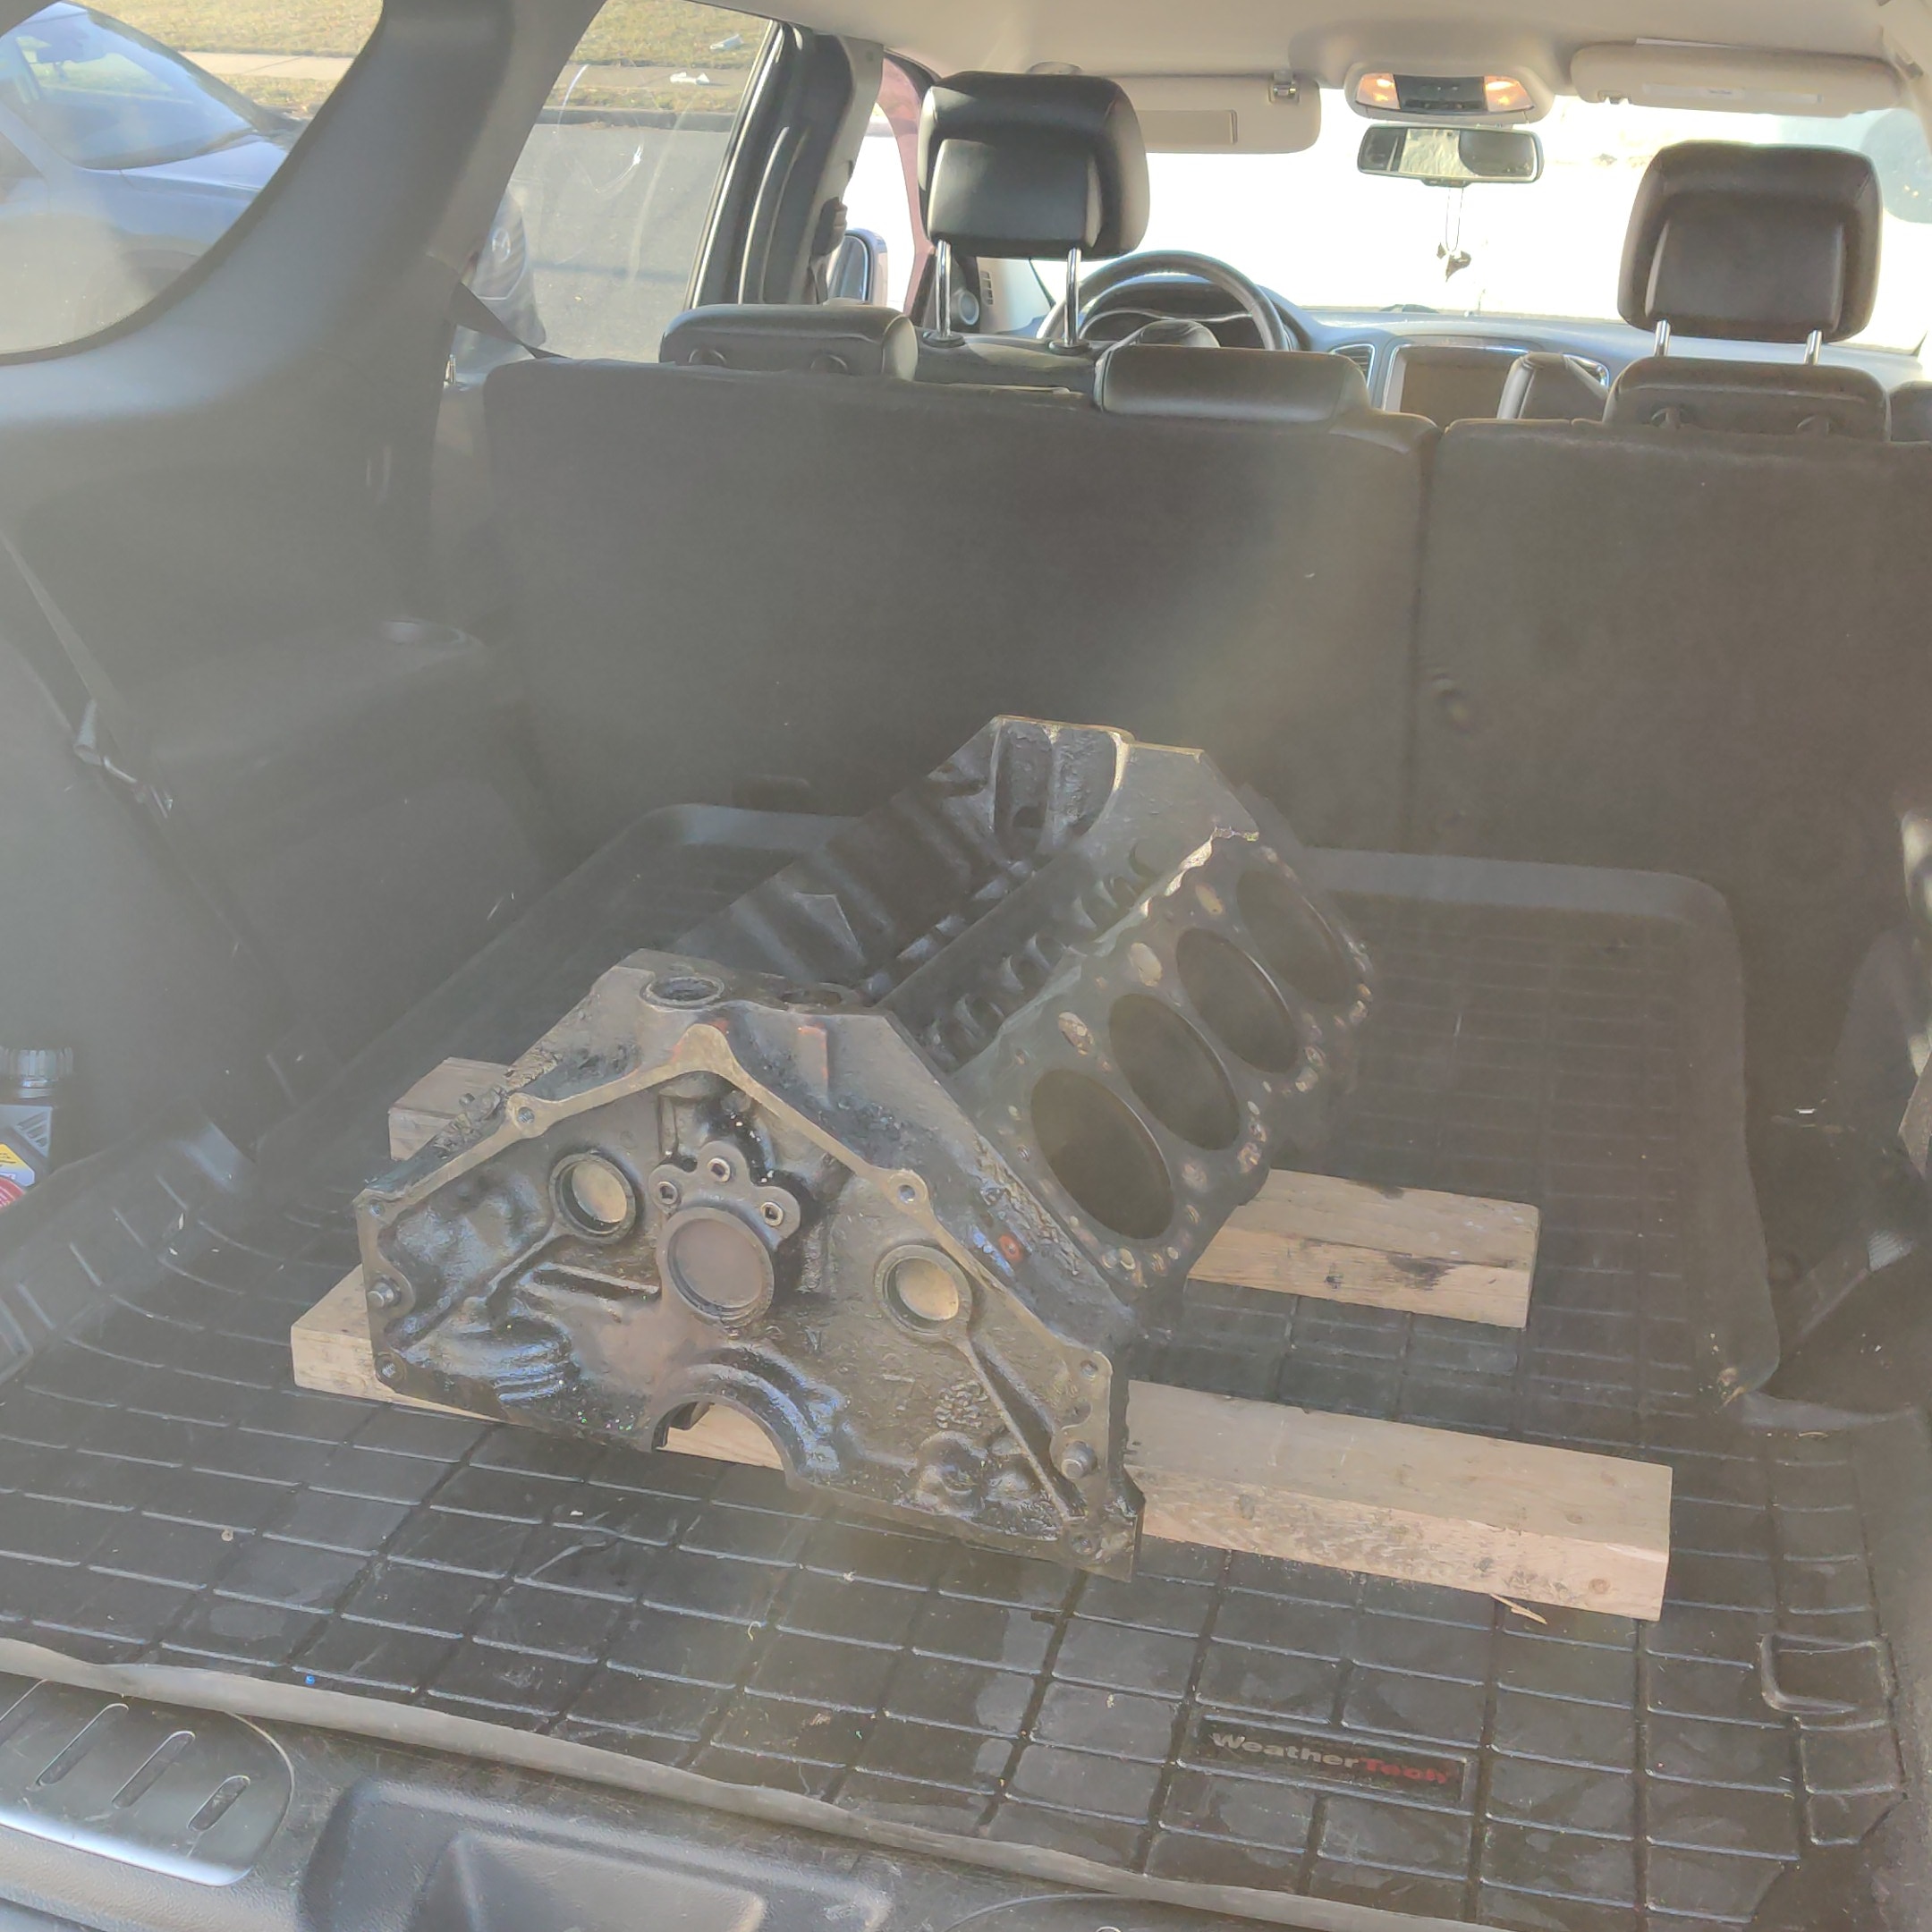
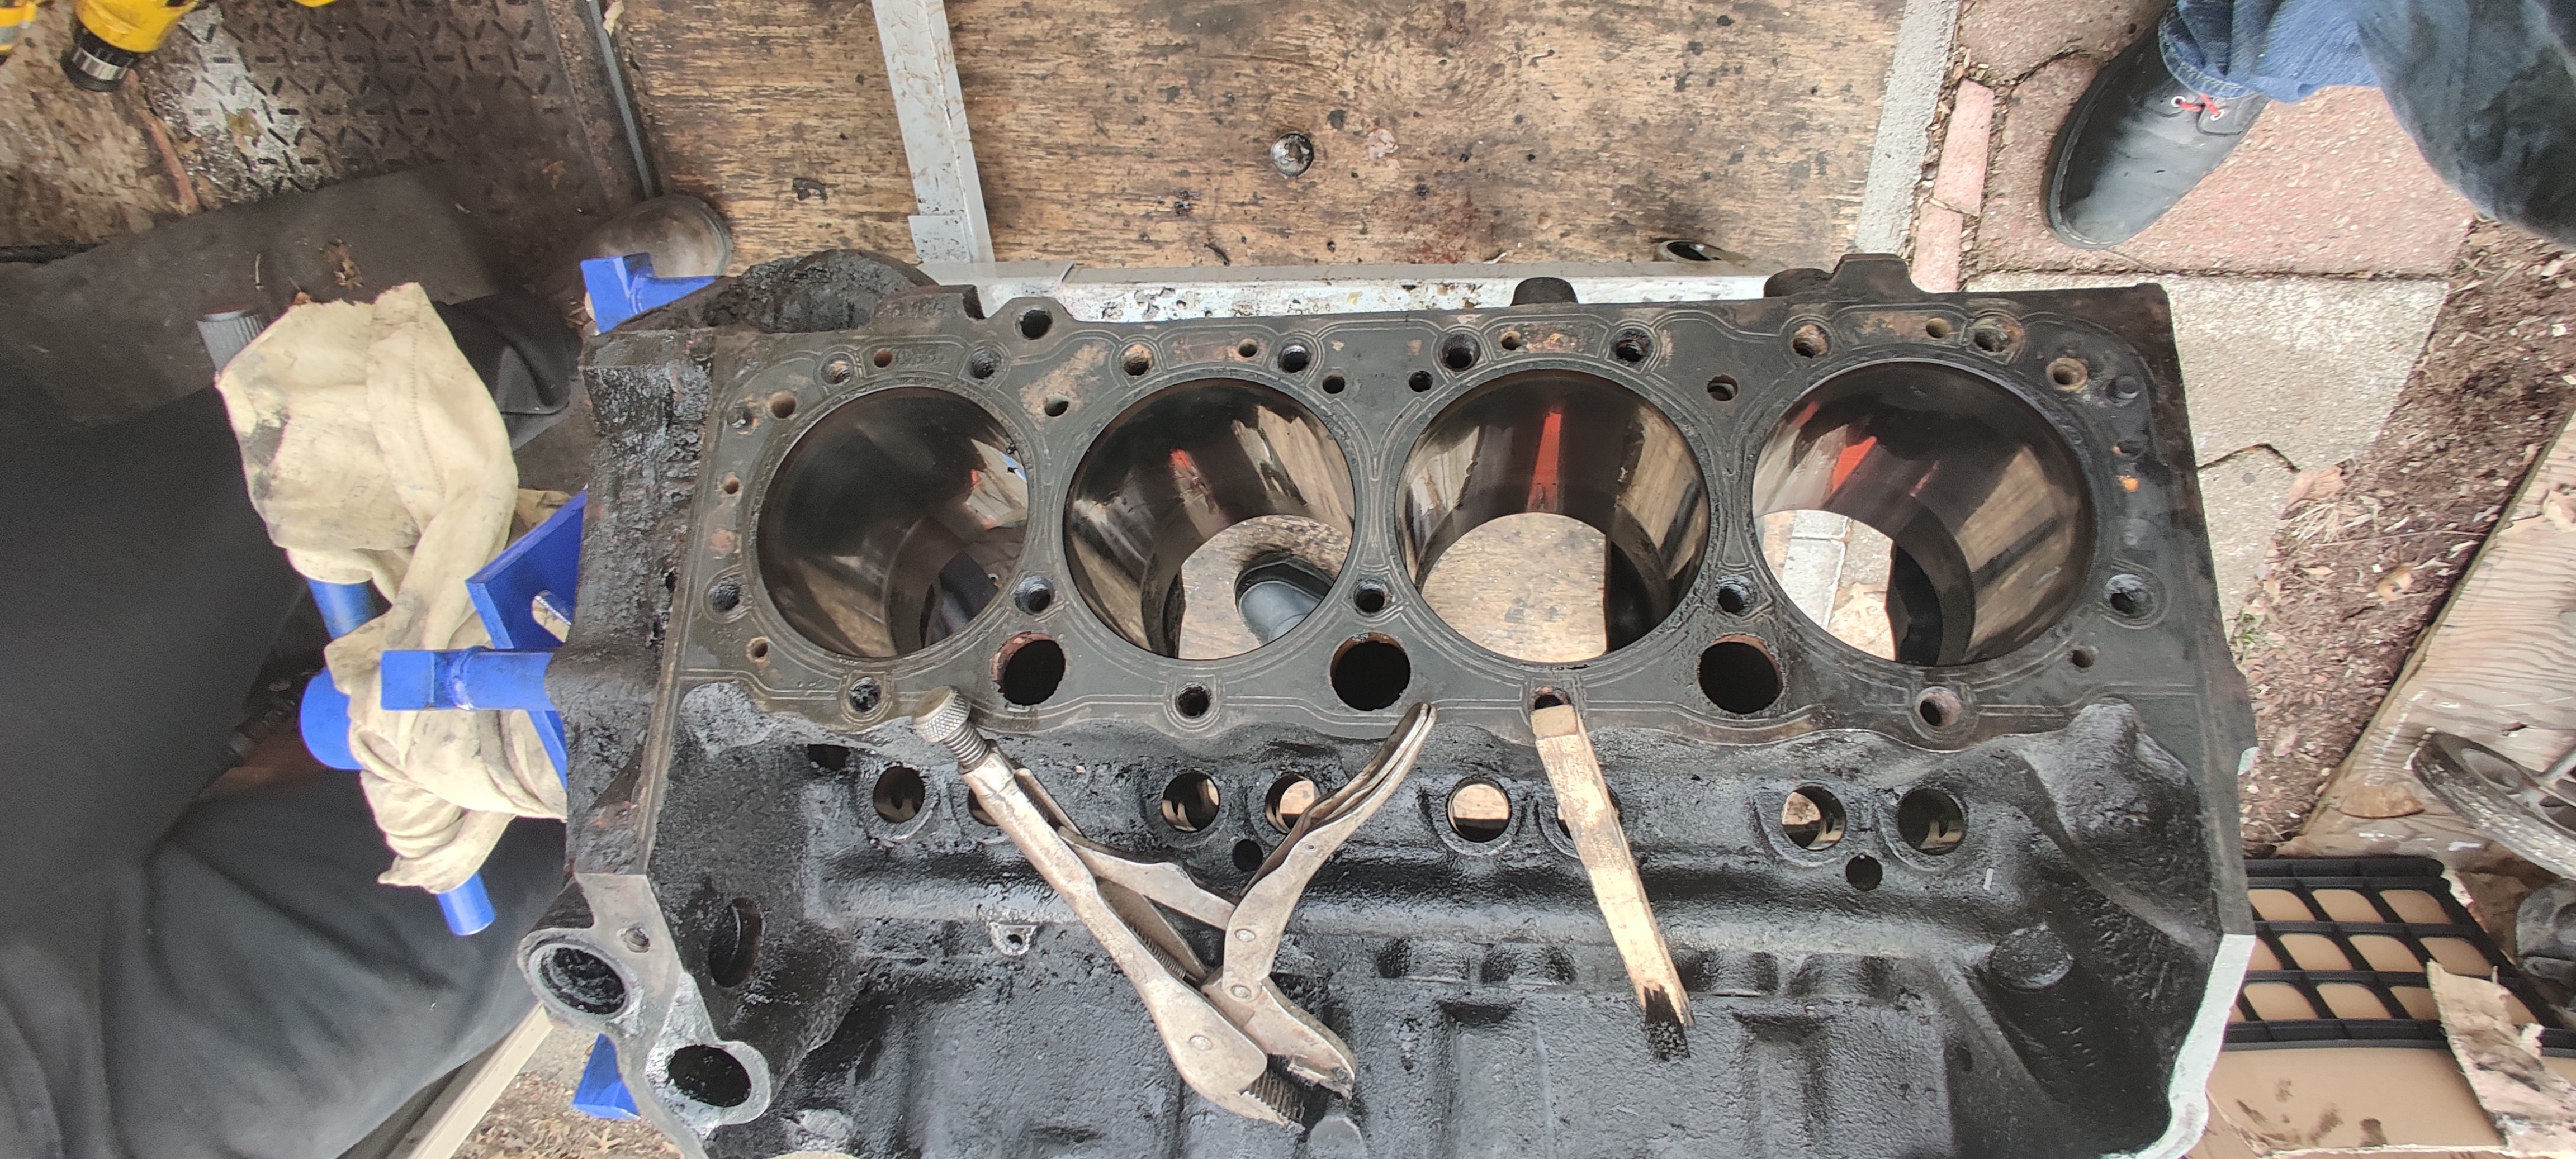
Philadelphia Racing Engines successfully cleaned, bored, and honed the engine block! Cylinders are .030 over so I will have to order new pistons. Next step is to ship them the pistons, rings, connecting rods, crankshaft and it's bearing. The shop is going to finish honing the pistons and balance the crankshaft. I have everything ready to order except for the connecting rods, as there's only 1 in stock through rock auto, hoping more are added soon.
Next good weather weekend we have, we plan to fully disassemble the powerglide transmission and evaluate the planetary gear and related components. Going to order the rebuild kit via rock auto as well.
That's all for now! Thank you for following along with this project thus far! Please consider donating via the paypal link at the top of this page. Any money donated will go towards car parts, and the first couple donors get a shoutout and an original engine part shipped to them as a thank you! Plus you'll be offered a ride in the finished product and a chance to drive it yourself!
Just a brief entry, we dropped off the engine block to Philadelphia Racing Engines for the cleaning, boring, and honing. Waiting to hear back regarding the new cylinder size so I can order the appropriate oversized pistons. hoping it's just a 0.030" or 0.040" increase. Once they bore the cylinders, I'll ship 8 pistons over to them to complete the honing. PRE really impressed me and I'm confident they'll come through.
Stay tuned!
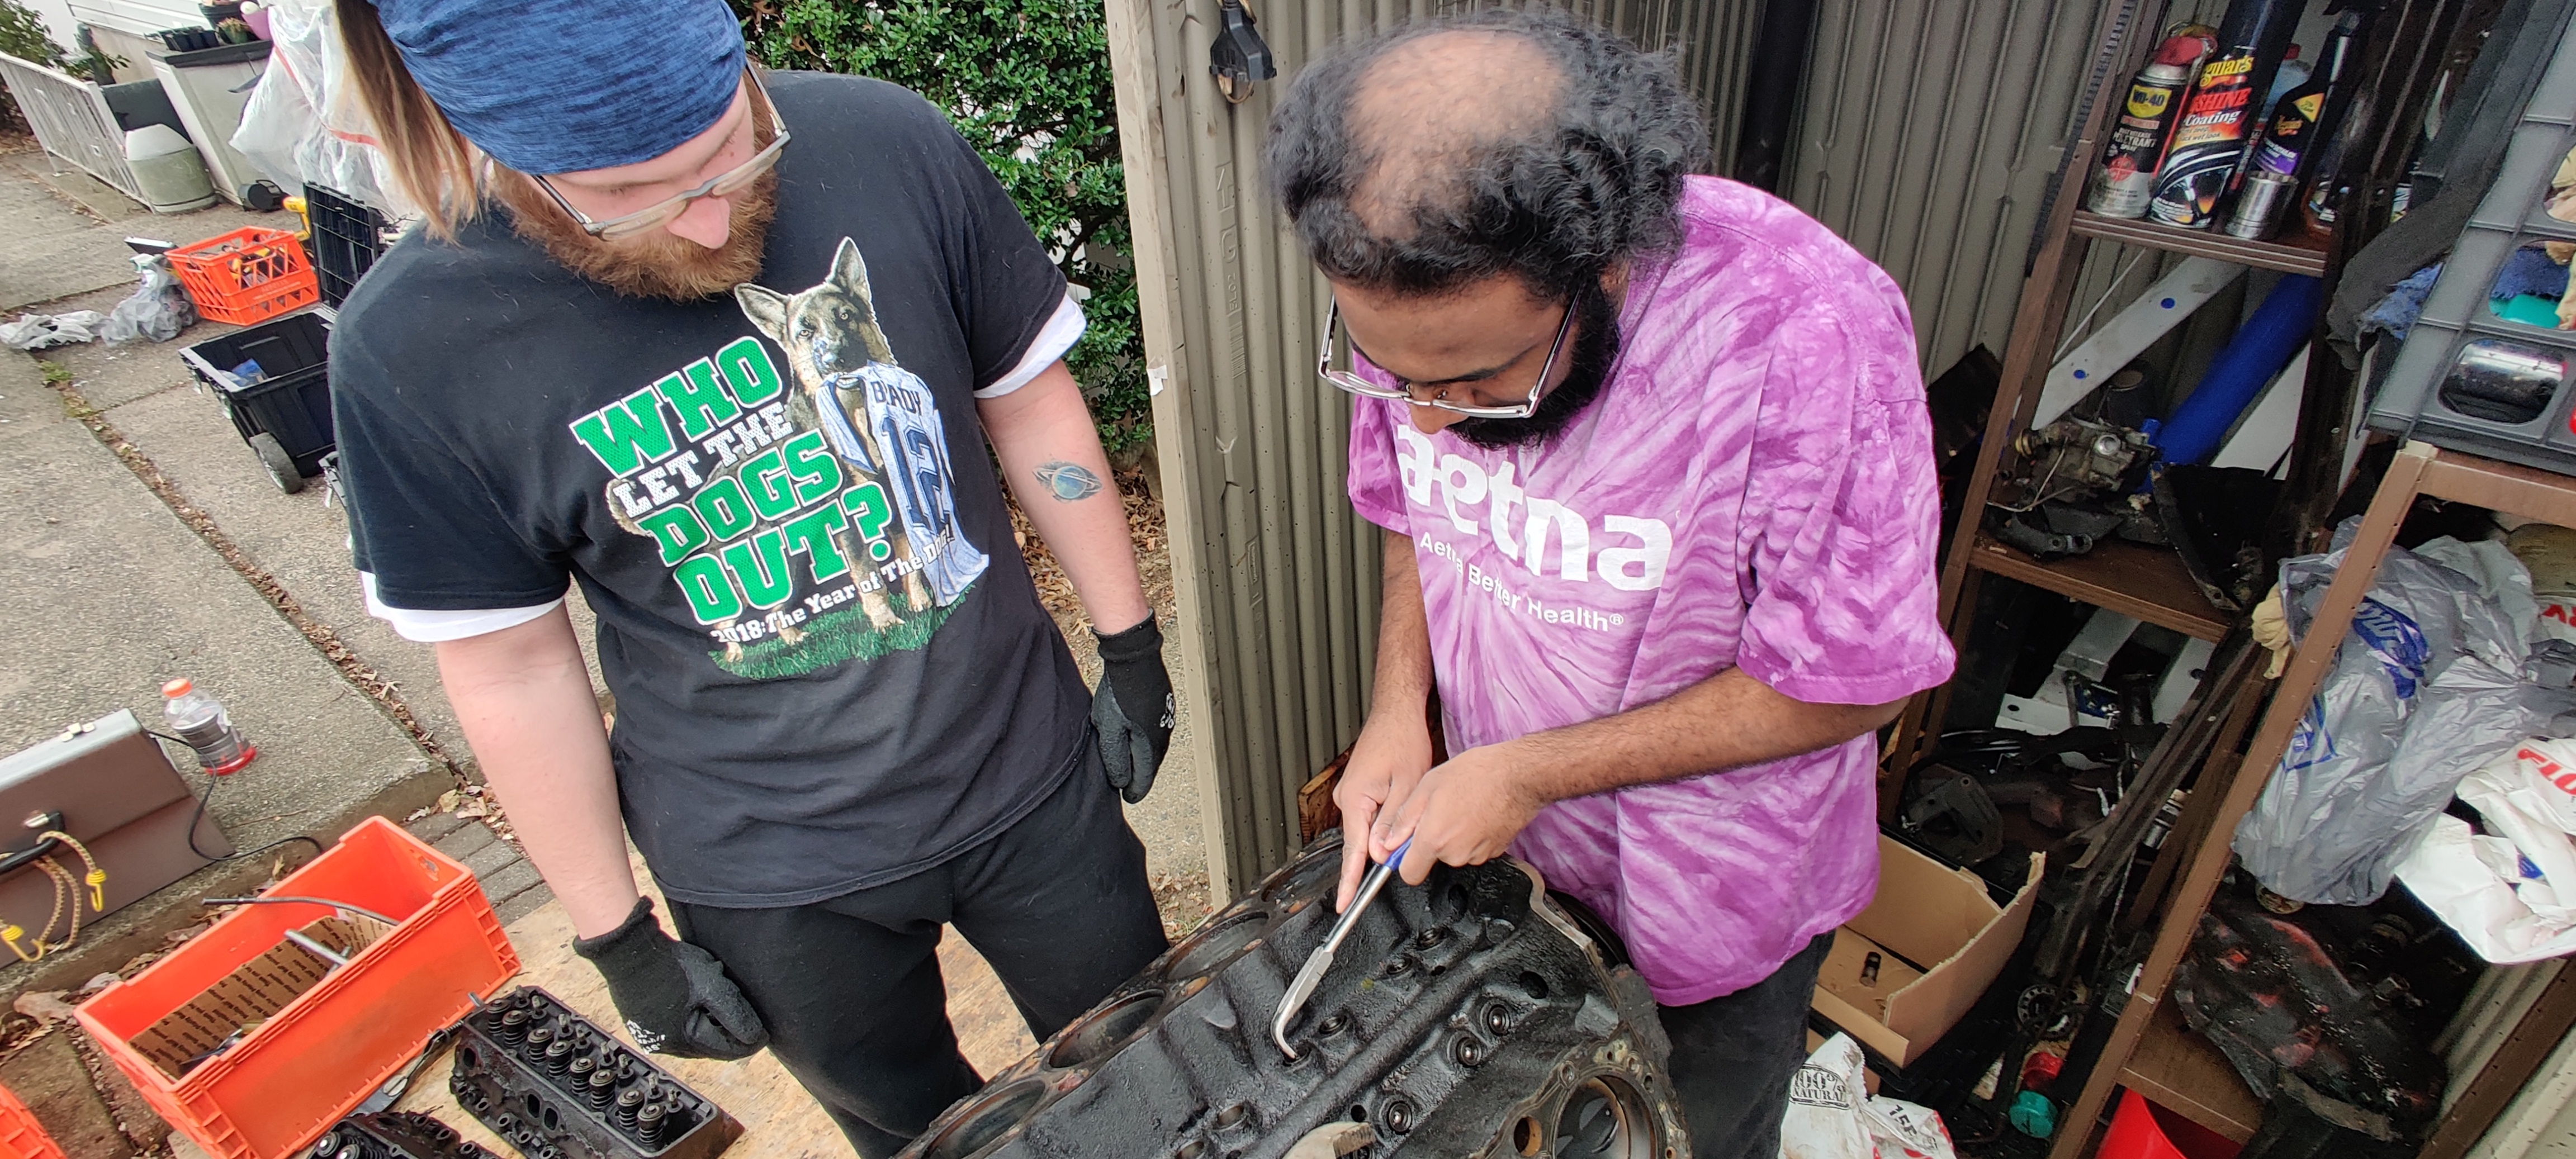
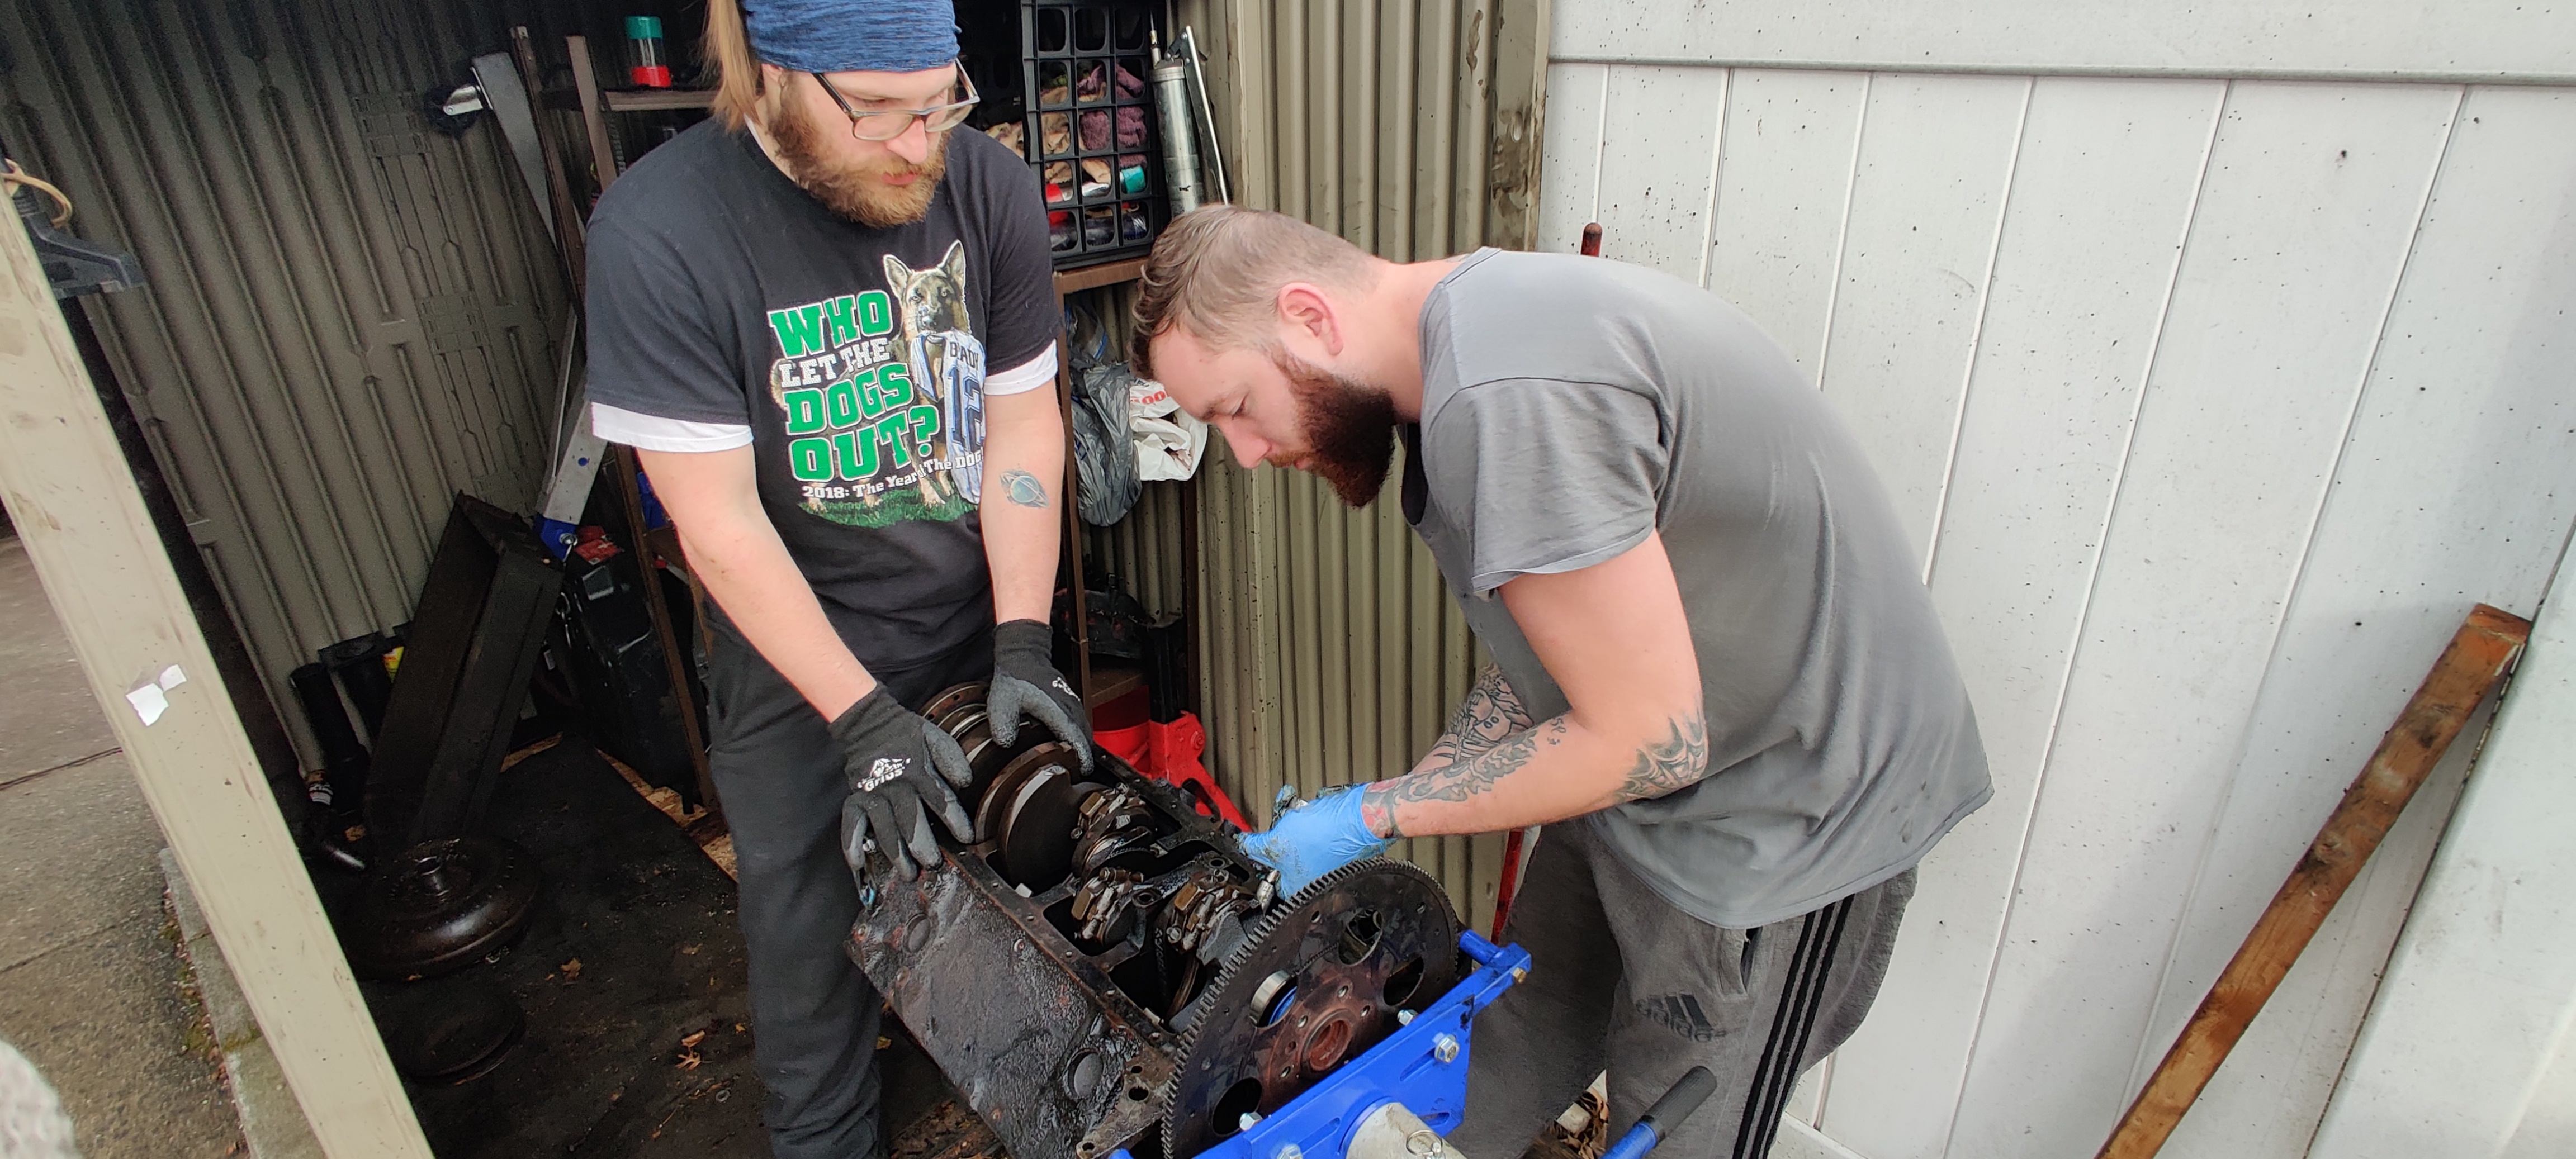
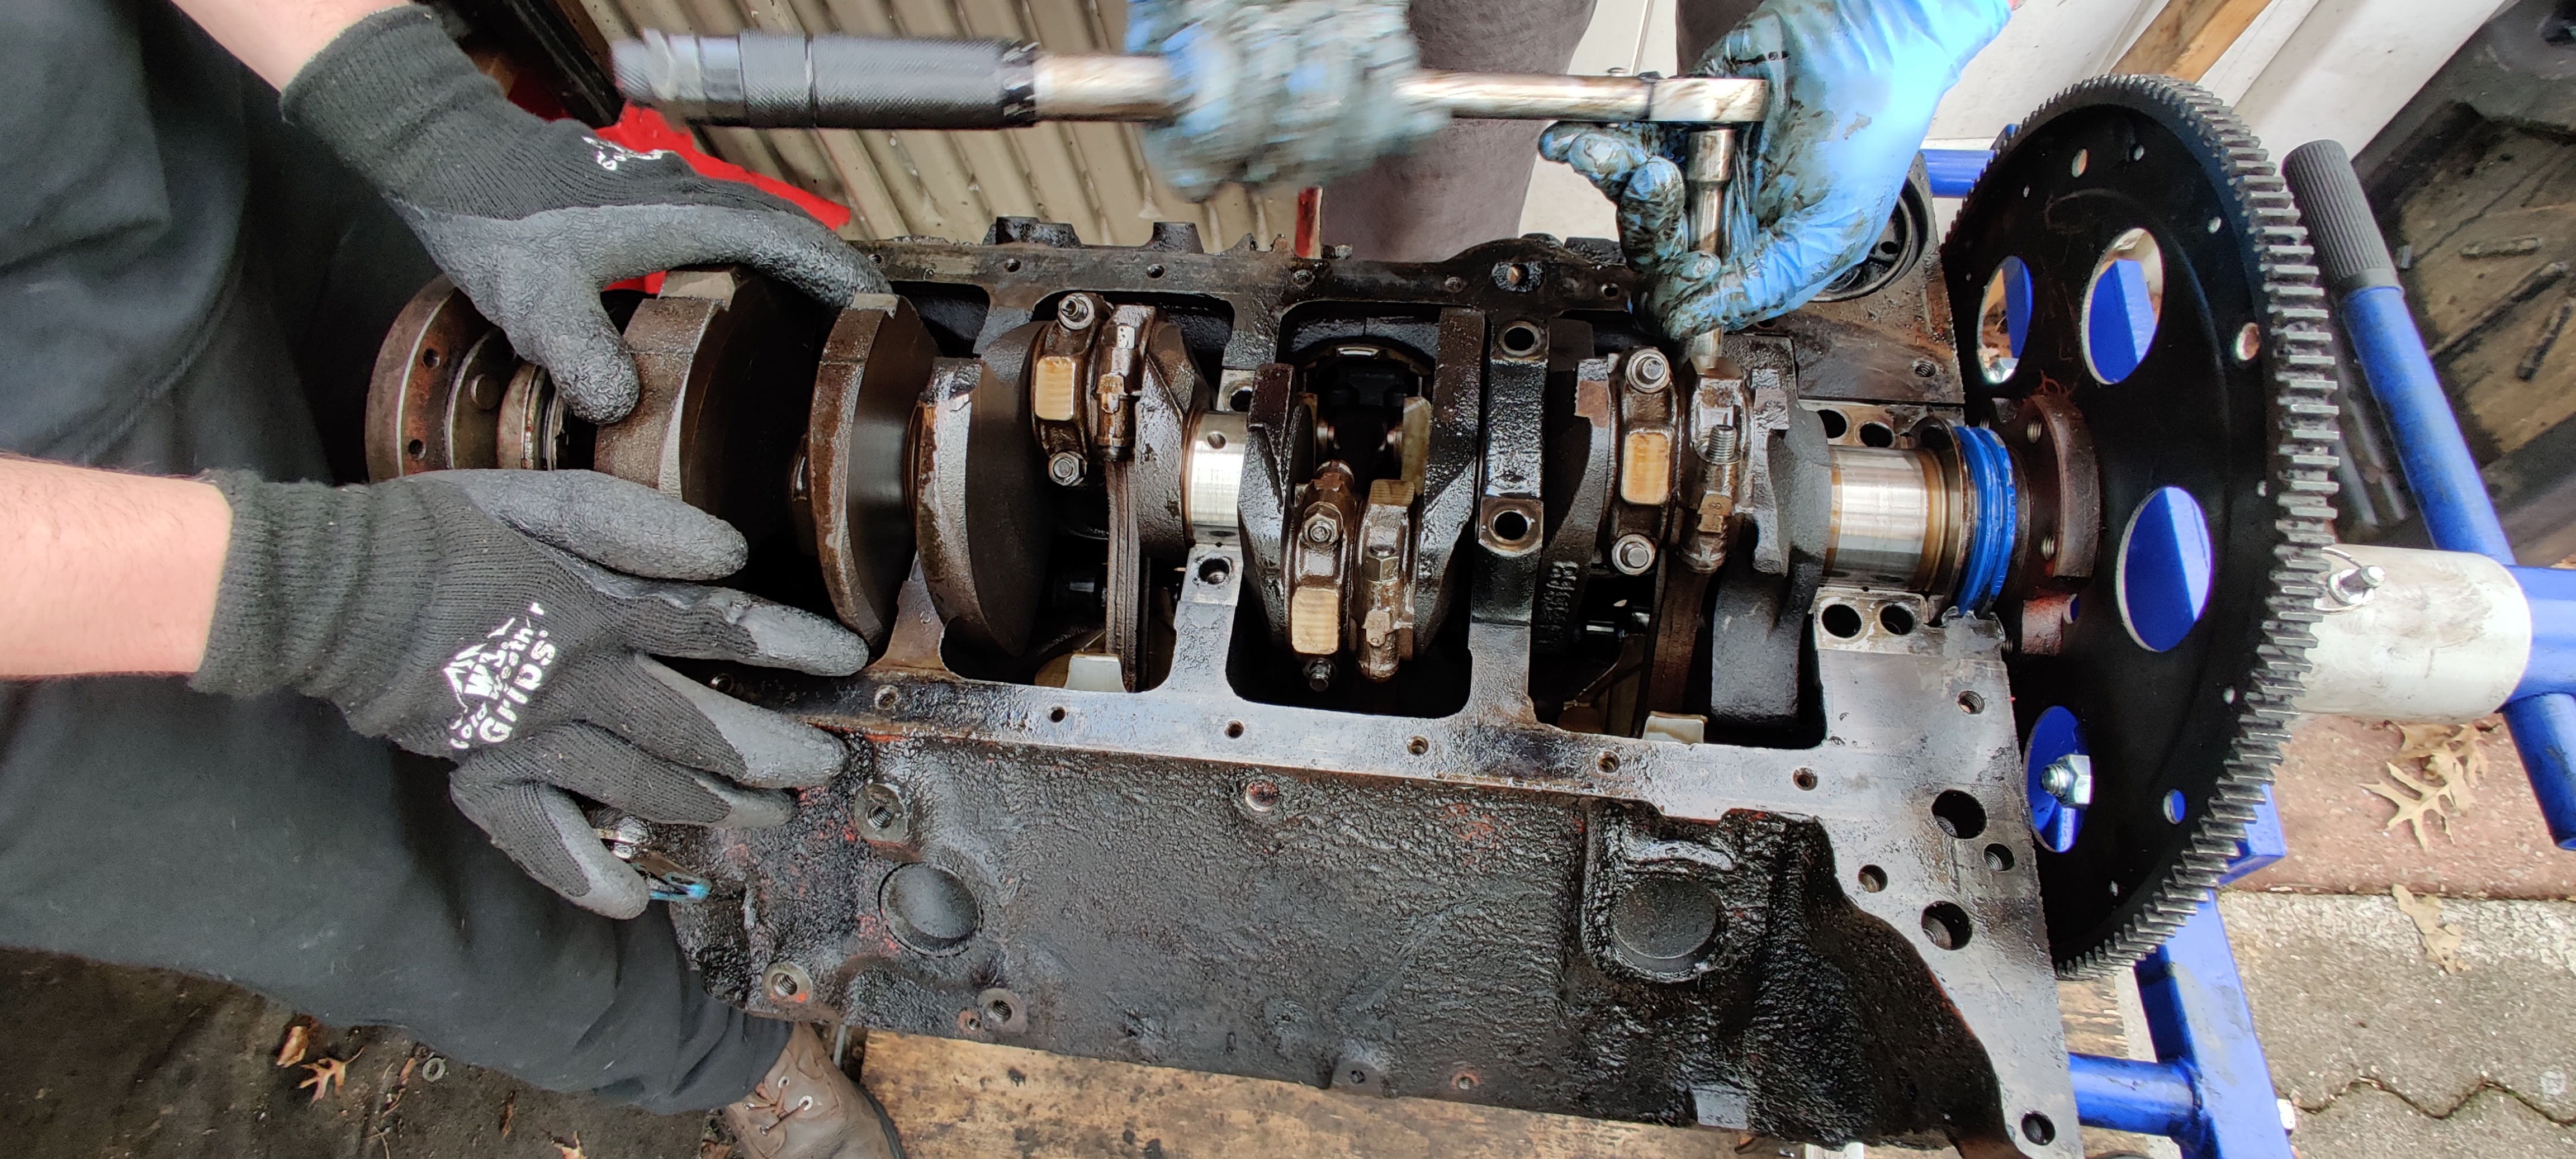
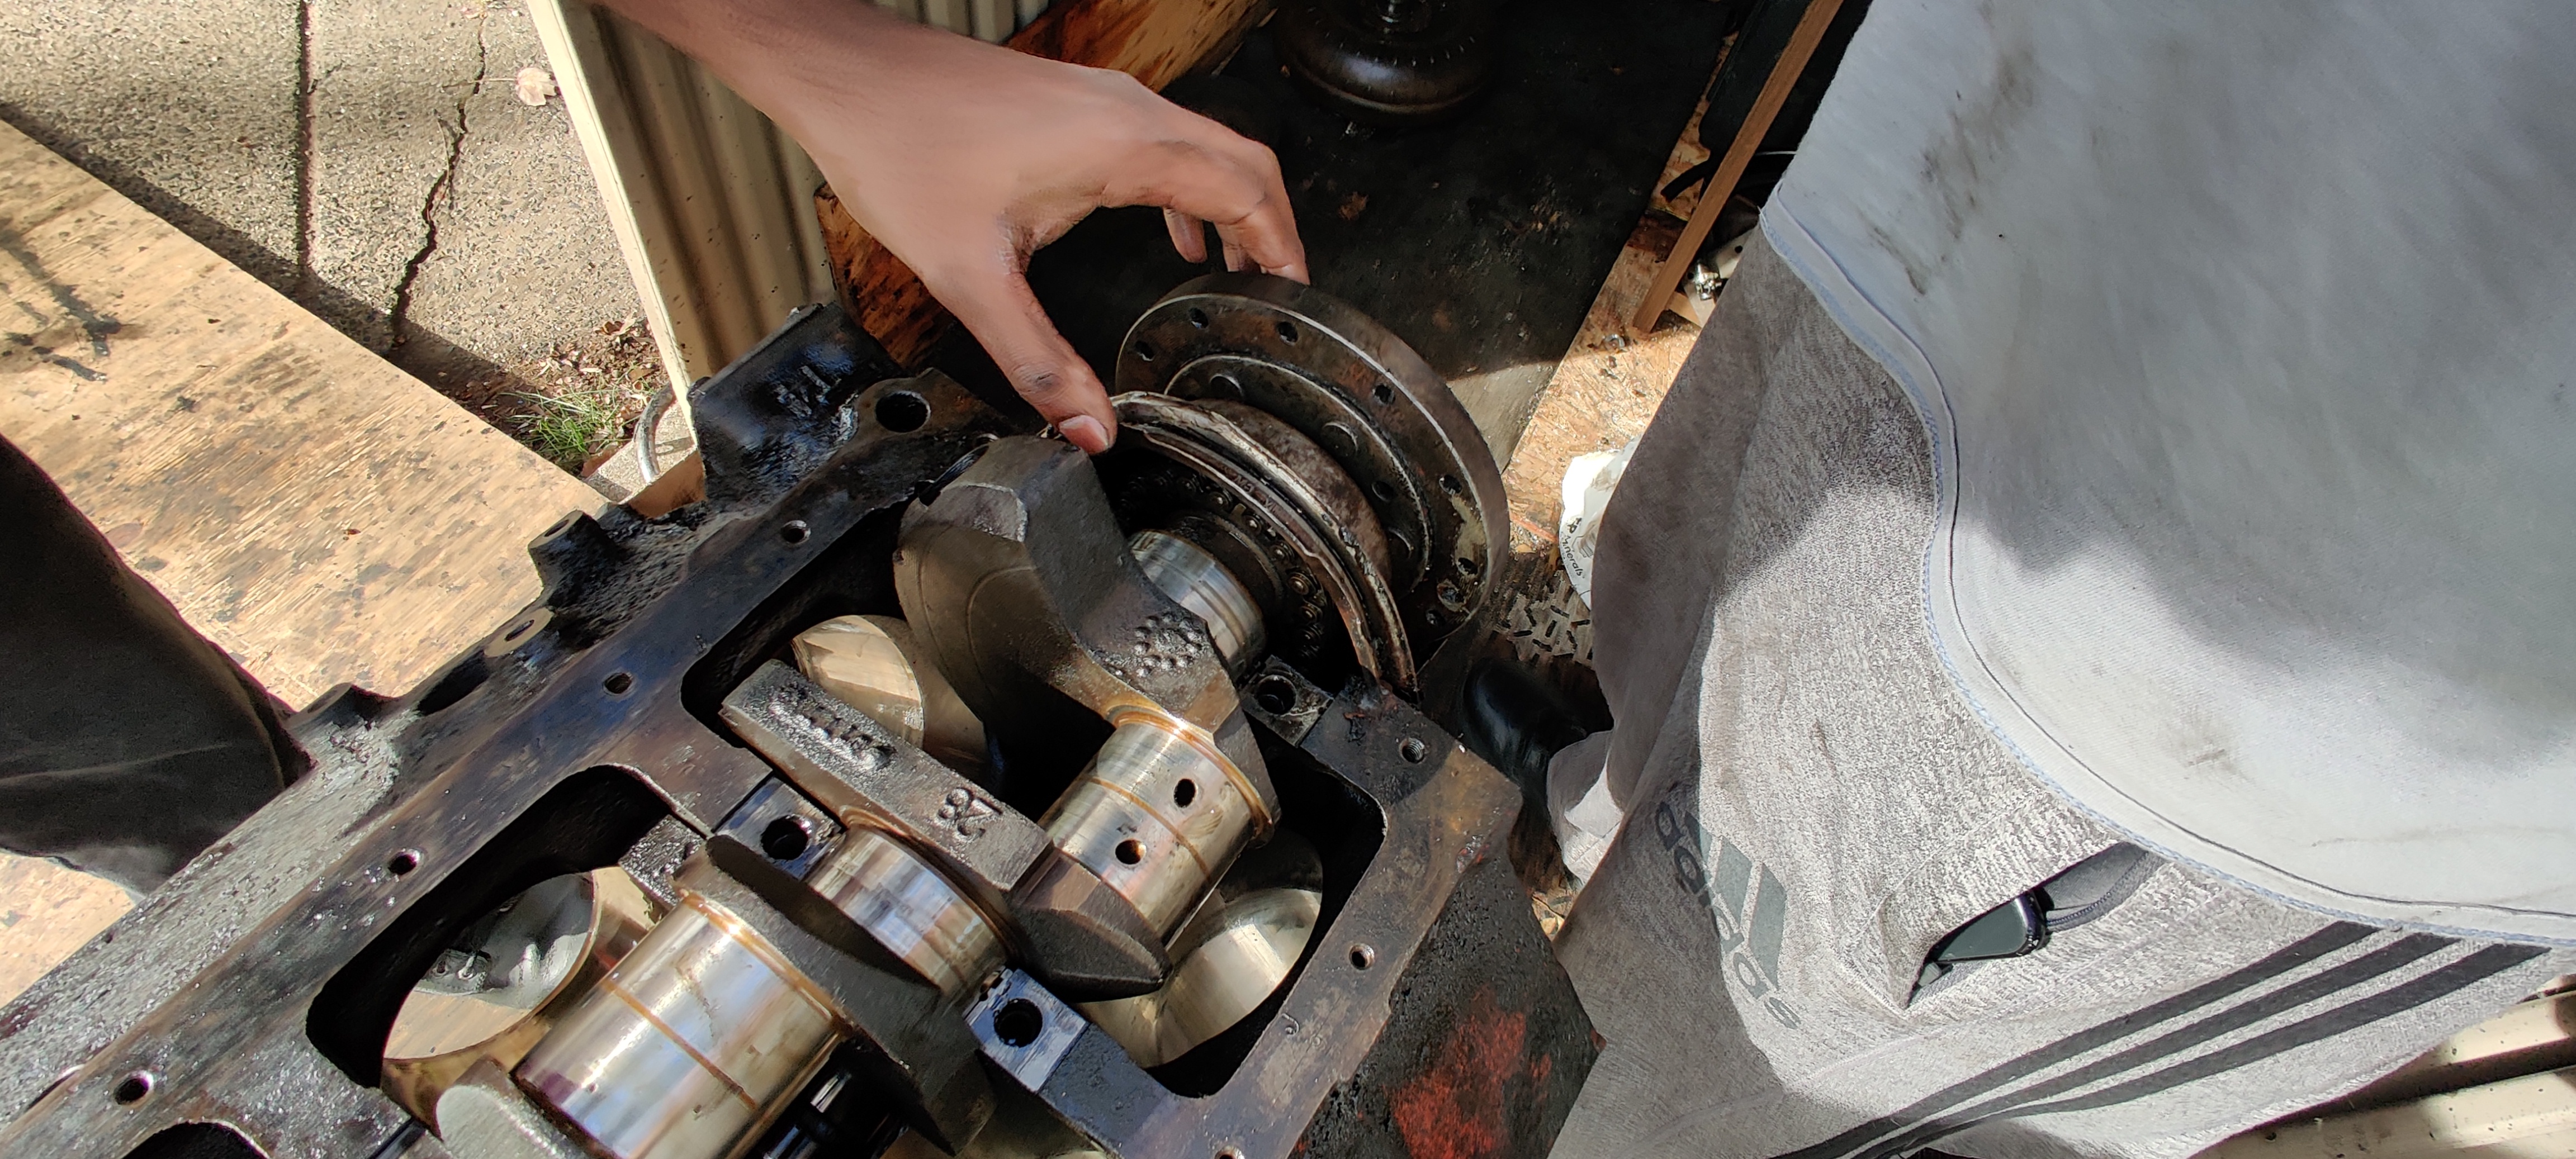
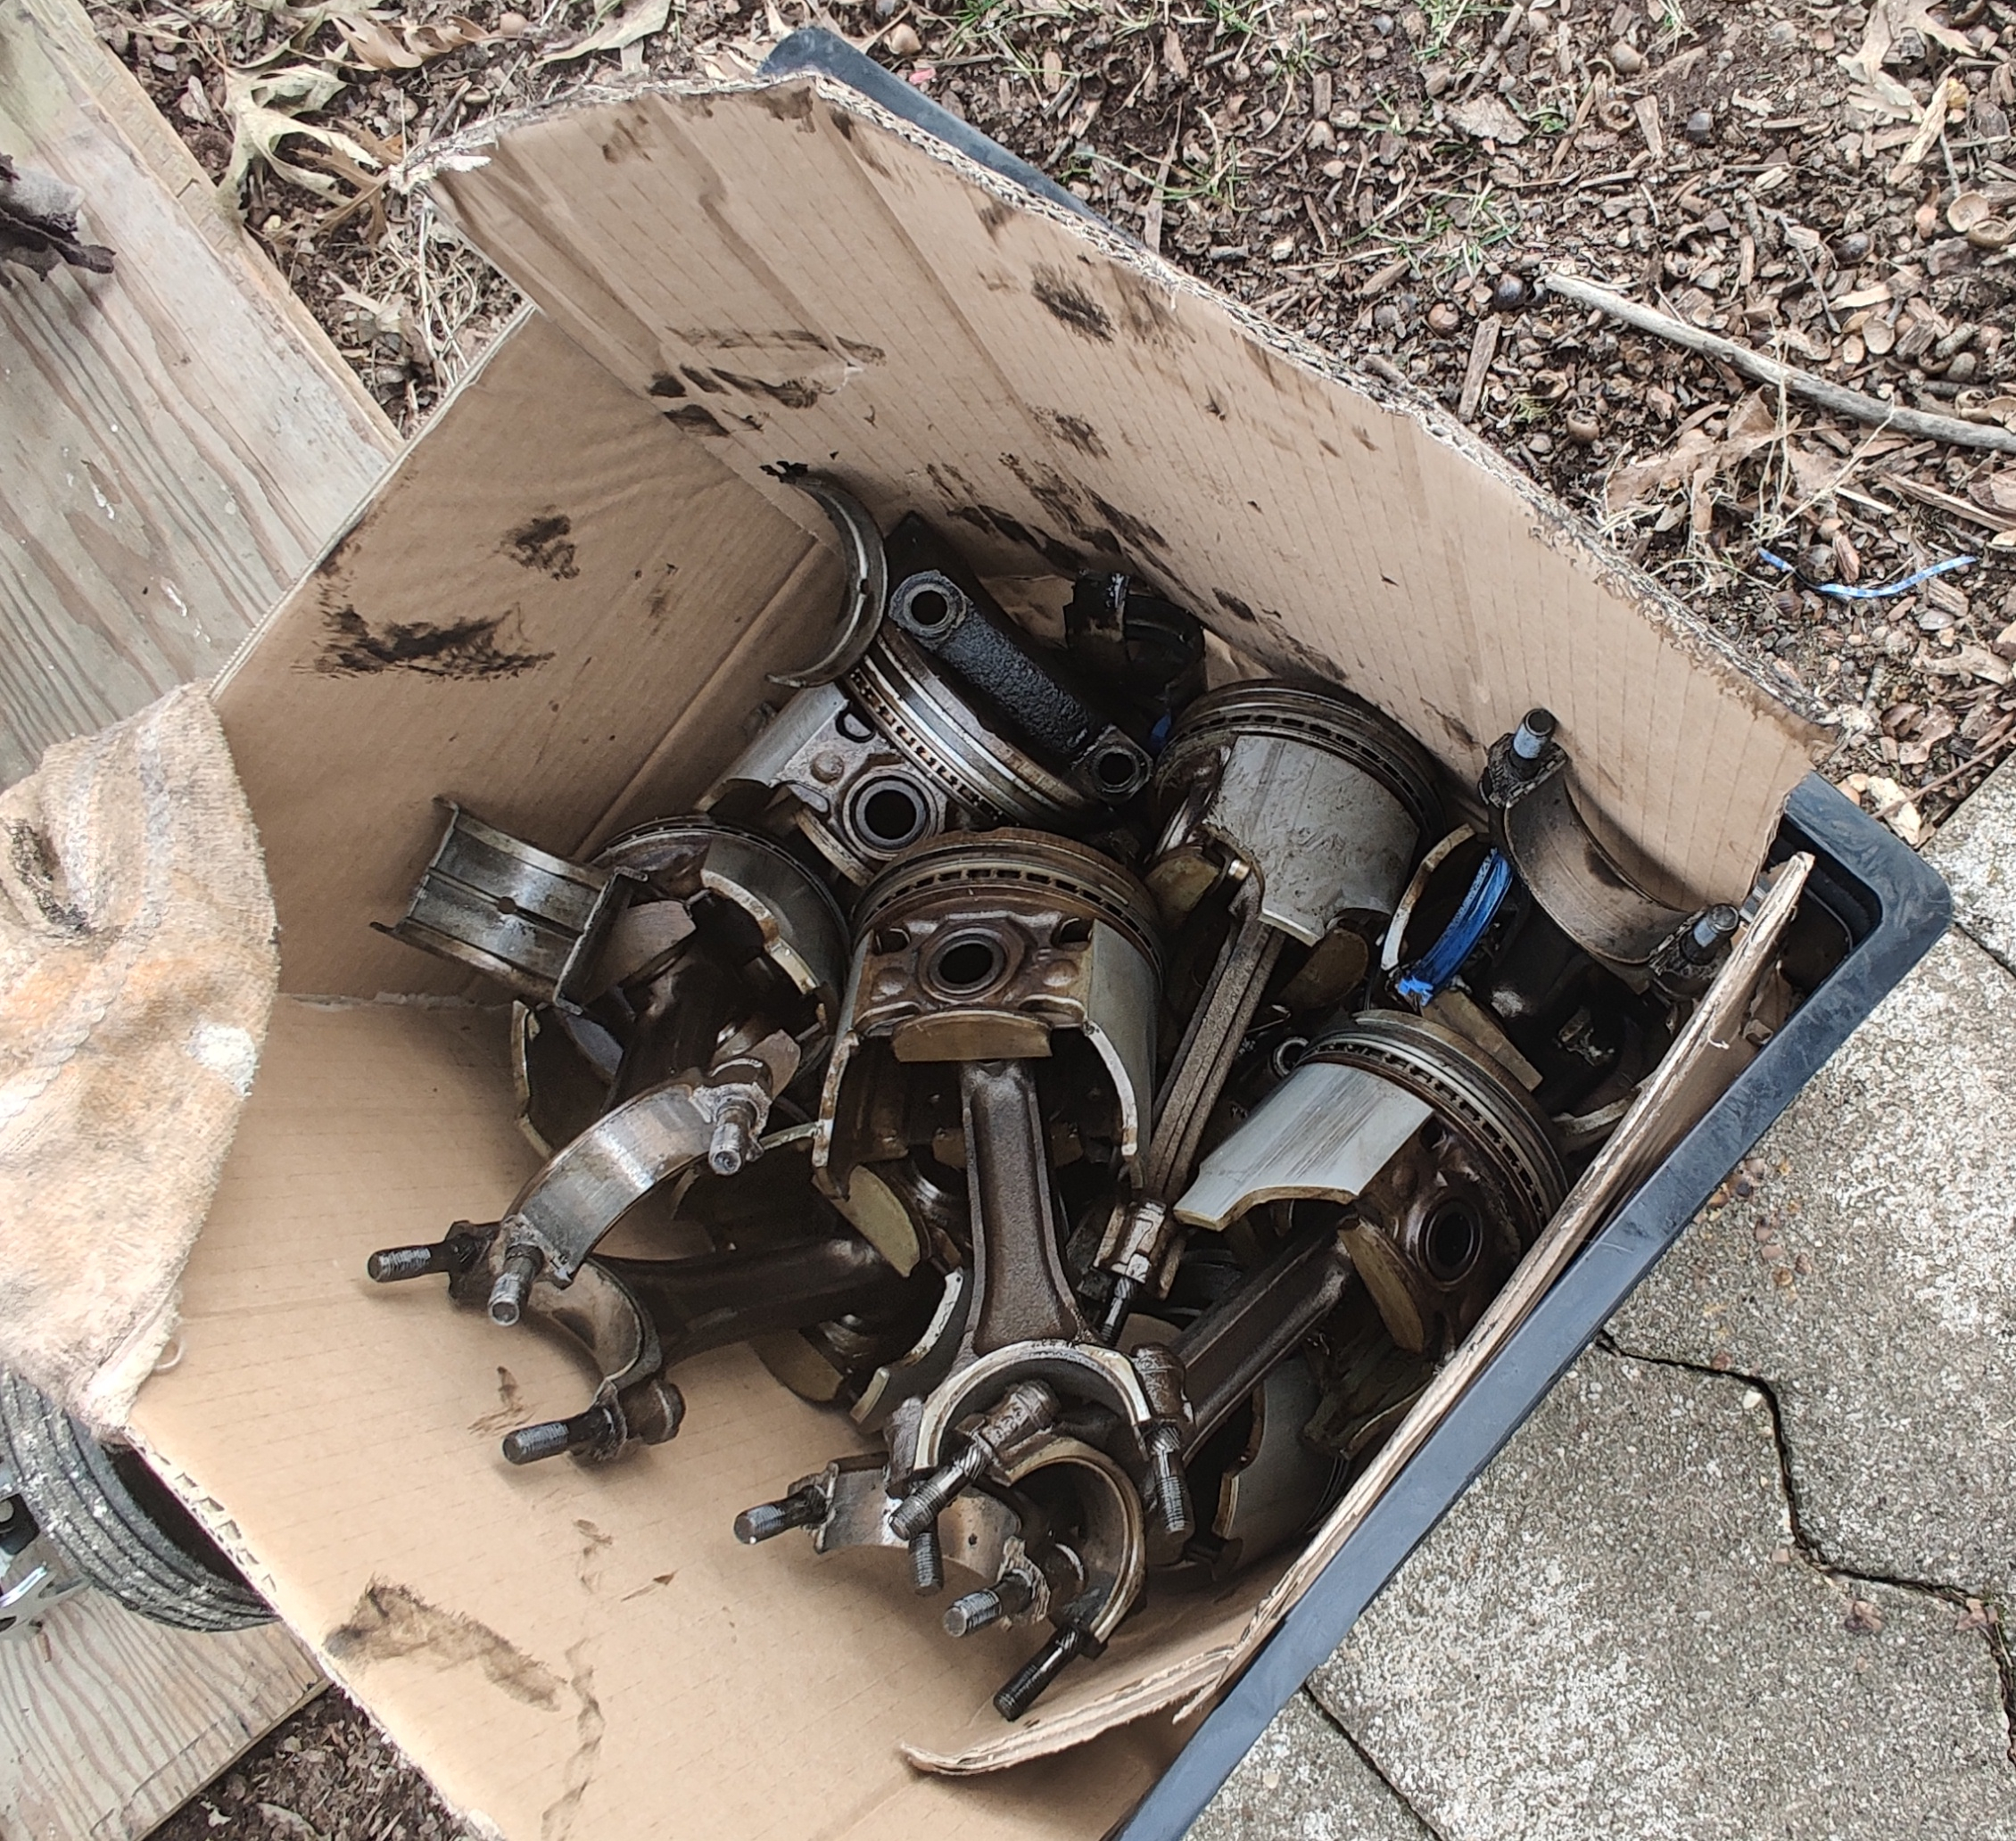
In taking advantage of the oddly unseasonal weather, we took the crankshaft, pistons, and camshaft out of the engines, along with the freeze plugs. Before we started with the crankshaft, we removed the hydraulic lifters from the block. Next we started on the crankshaft. First step was disconnecting the connector rods from the crankshaft, which went off without a hitch. next was pushing the pistons out of their cylinders. During the removal of the pistons, a lot of piston rings fell off, which explains some of the problems we were having. Then the removal of the crankshaft bearings and brackets. Now the crankshaft was ready to come out... almost
The timing chain was proving to be a little difficult, because one of the pullys were still attached, keeping us from being able to remove the timing chain cover. After a quick run to Advanced auto for a gear extractor, we were able to pull the pully off, and then disconnect the chain and lift the crankshaft out. Cam shaft was an easy removal that Stephen pulled out with little to no issues.
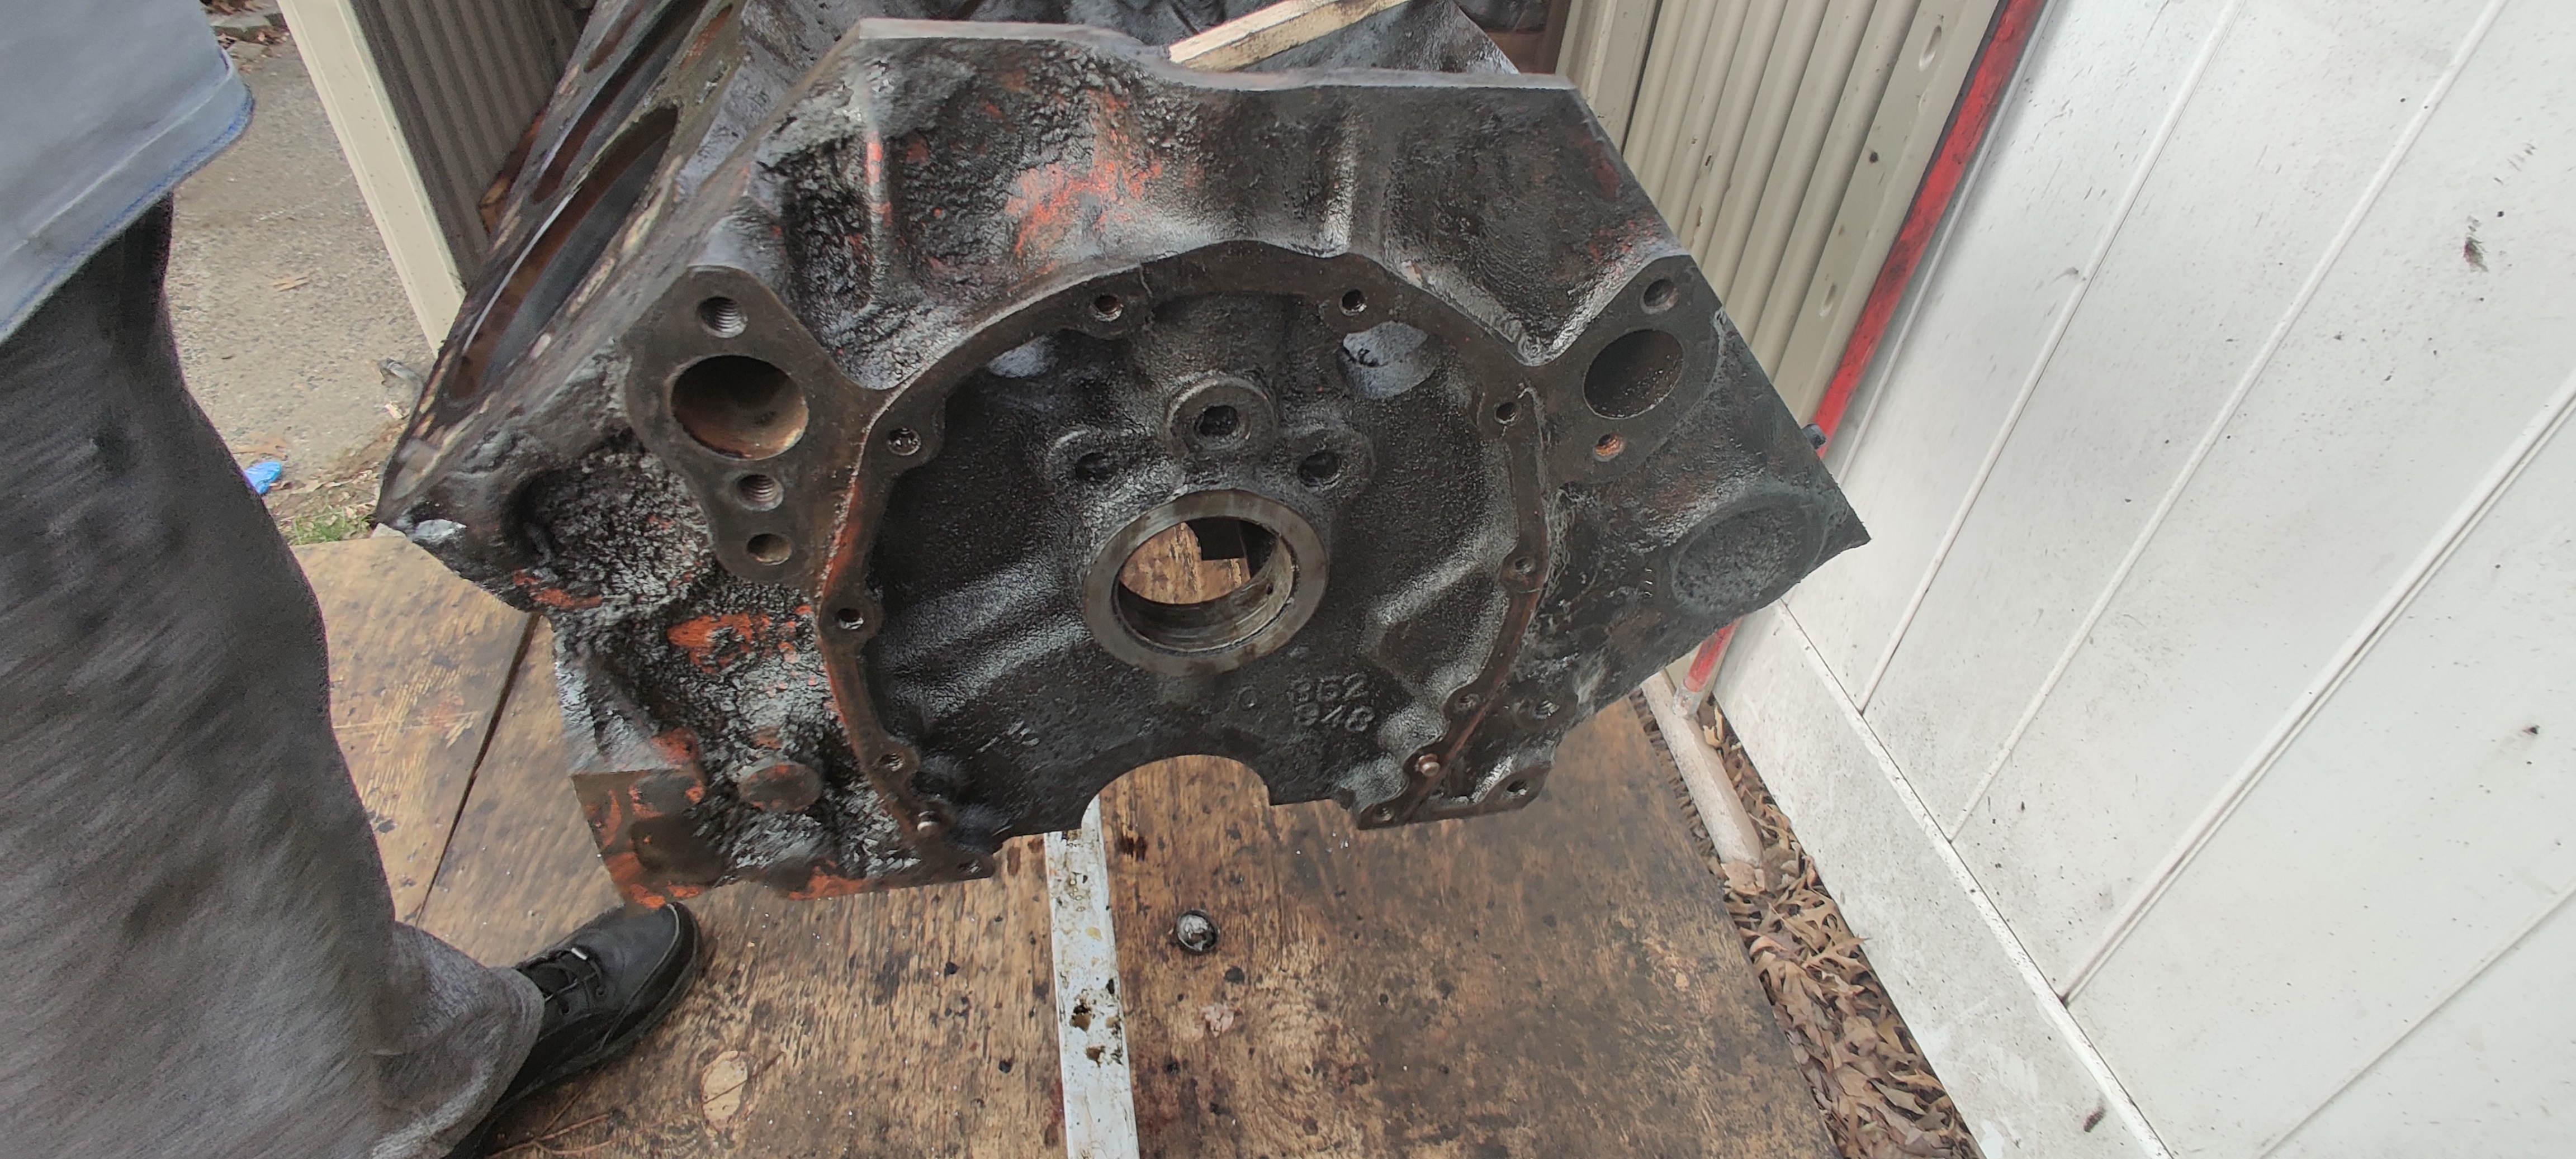
Next was the freeze plugs. By design these things are pressed into the block and are designed to only come out when water starts freezing inside the engine block. More of a safety feature to prevent the block from cracking in the winter. Now getting these suckers out proved difficult. First these were caked in a layer of oil and grease, and second, they were hydraulically pressed. After some attempts at various different techniques to removing these, we eventually did the following. Drilled a hole into the freeze plug, off centered. Then took a blowtorch to heat up and melt any grease or oil acting as an adhesive. Then, using needle nose plyers bent at 90 degrees, we pryed off the plug. Got them all out this way.
At this point the block was ready for Philadelphia Racing Engines to clean, bore, and hone. We'll be taking it over there on the 20th.
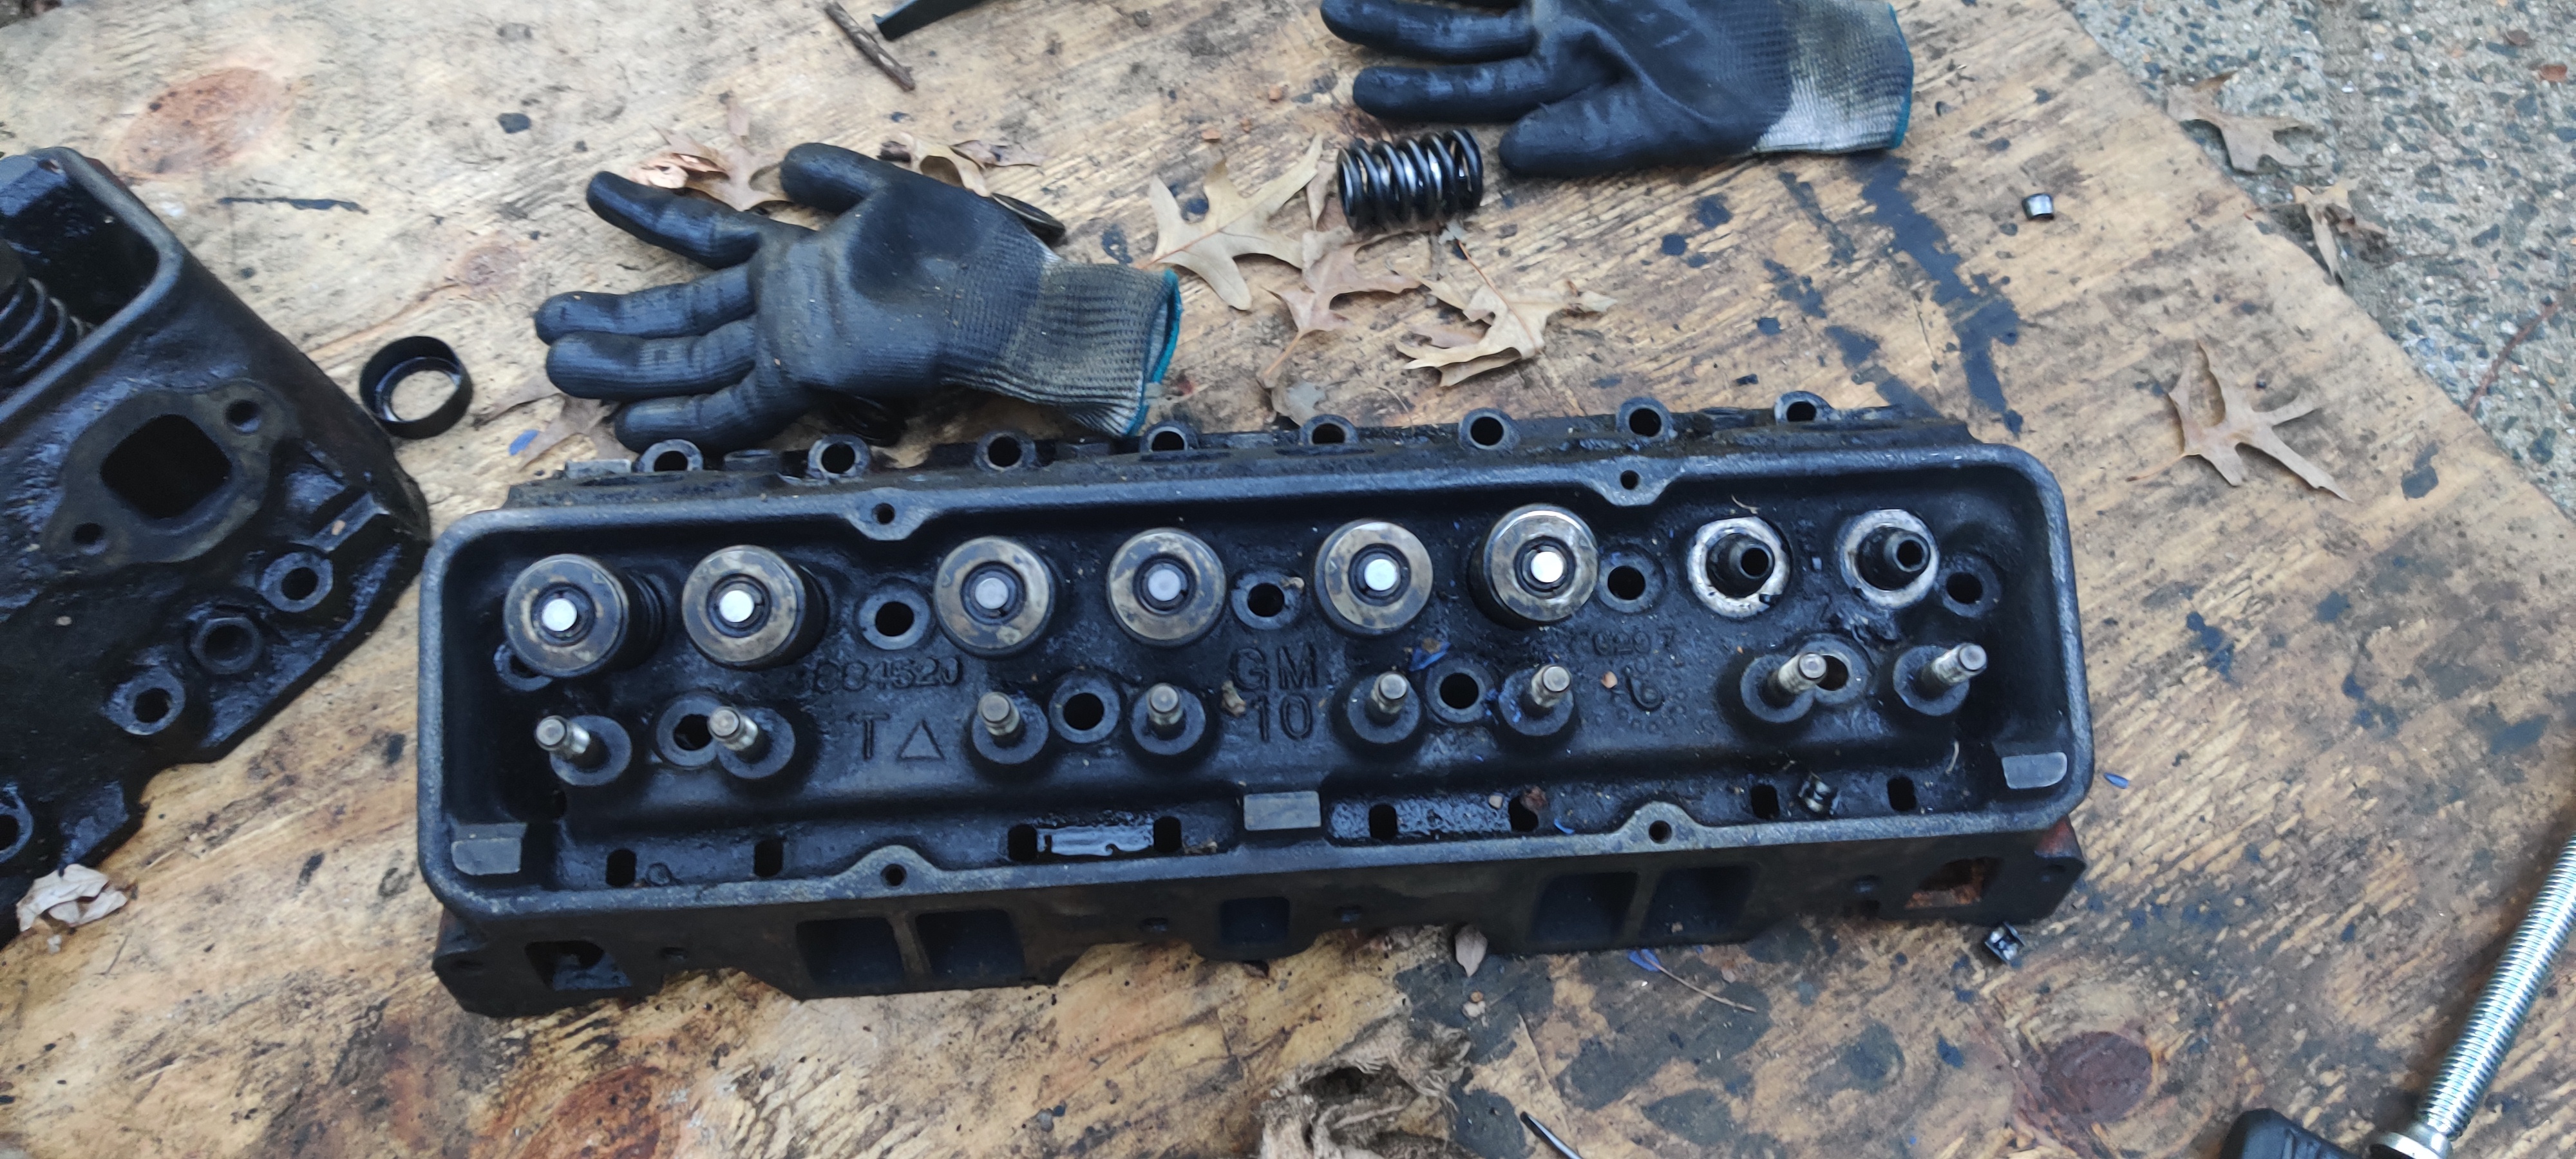
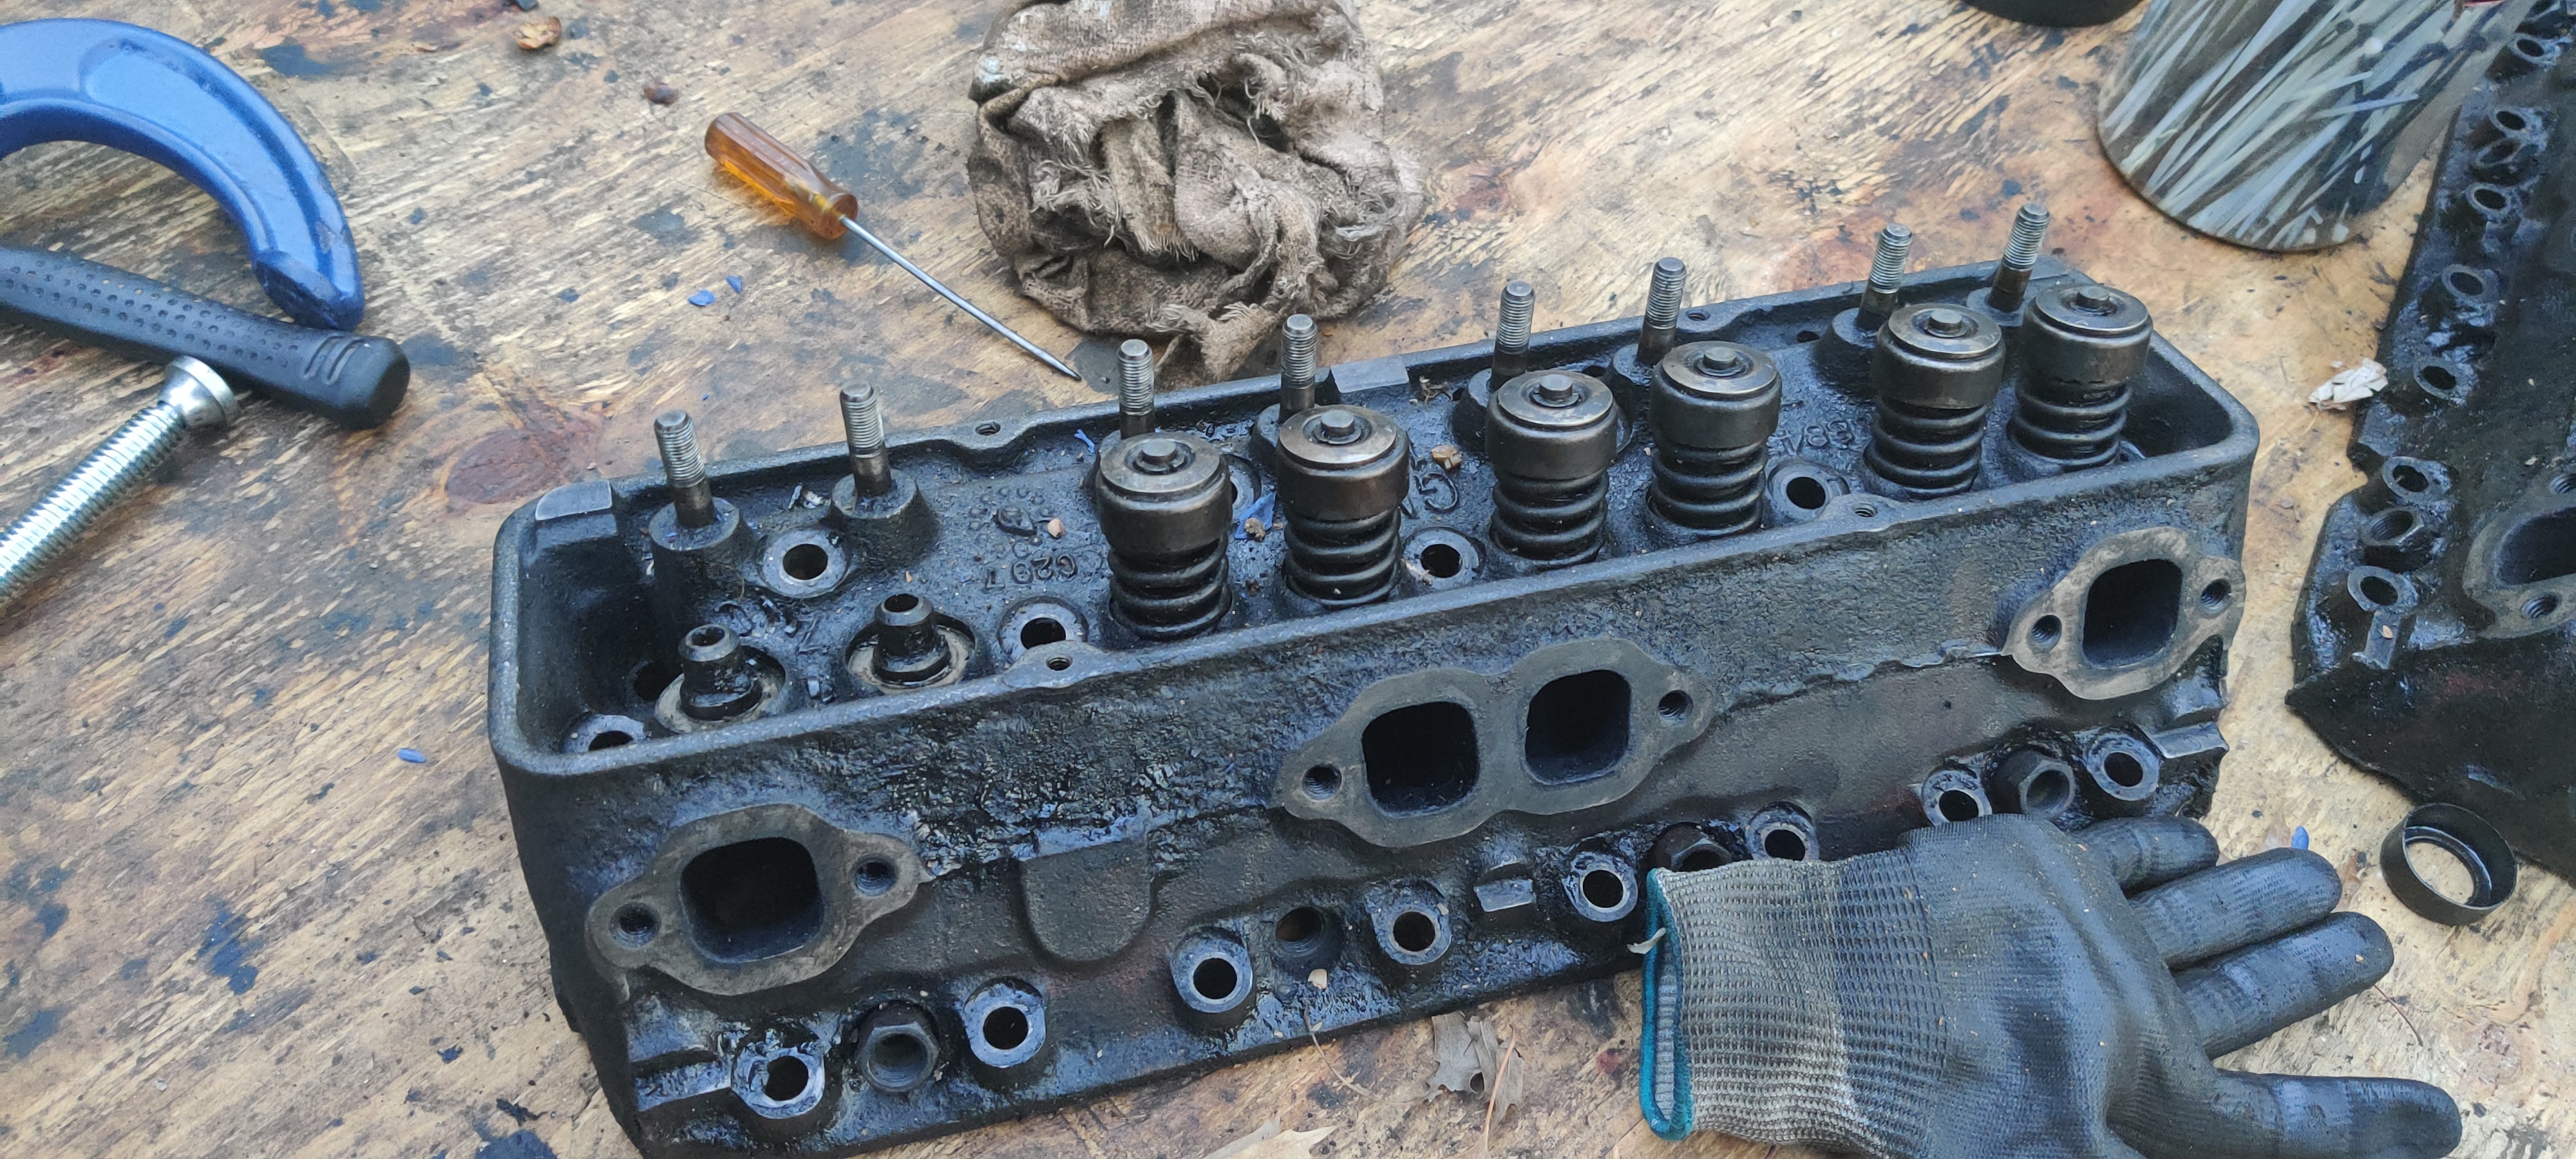
Next we attempted to remove the valve springs off the cylinder heads. We only managed to get two off as we did not have access to proper tools. Will revisit this later.
Lastly, we decided we start inspecting the transmission. Popped the transmission fluid pan off the bottom and found some metal flaking. Appears something was grinding, will have to replace what ever that was. Then we started removing the bell housing to the driveshaft side of the transmission. Something as simple as taking off a few bolts proved to take way longer than we planned. One bolt was damaged and would not come off. no socket could grip it to remove it. So we eneded up grinding the head off and drilling out the bolt. We'll tap new threads into the hole we made.
At this point, it was getting close to beer-thirty and we were losing daylight so we cleaned up everything and called it a day.
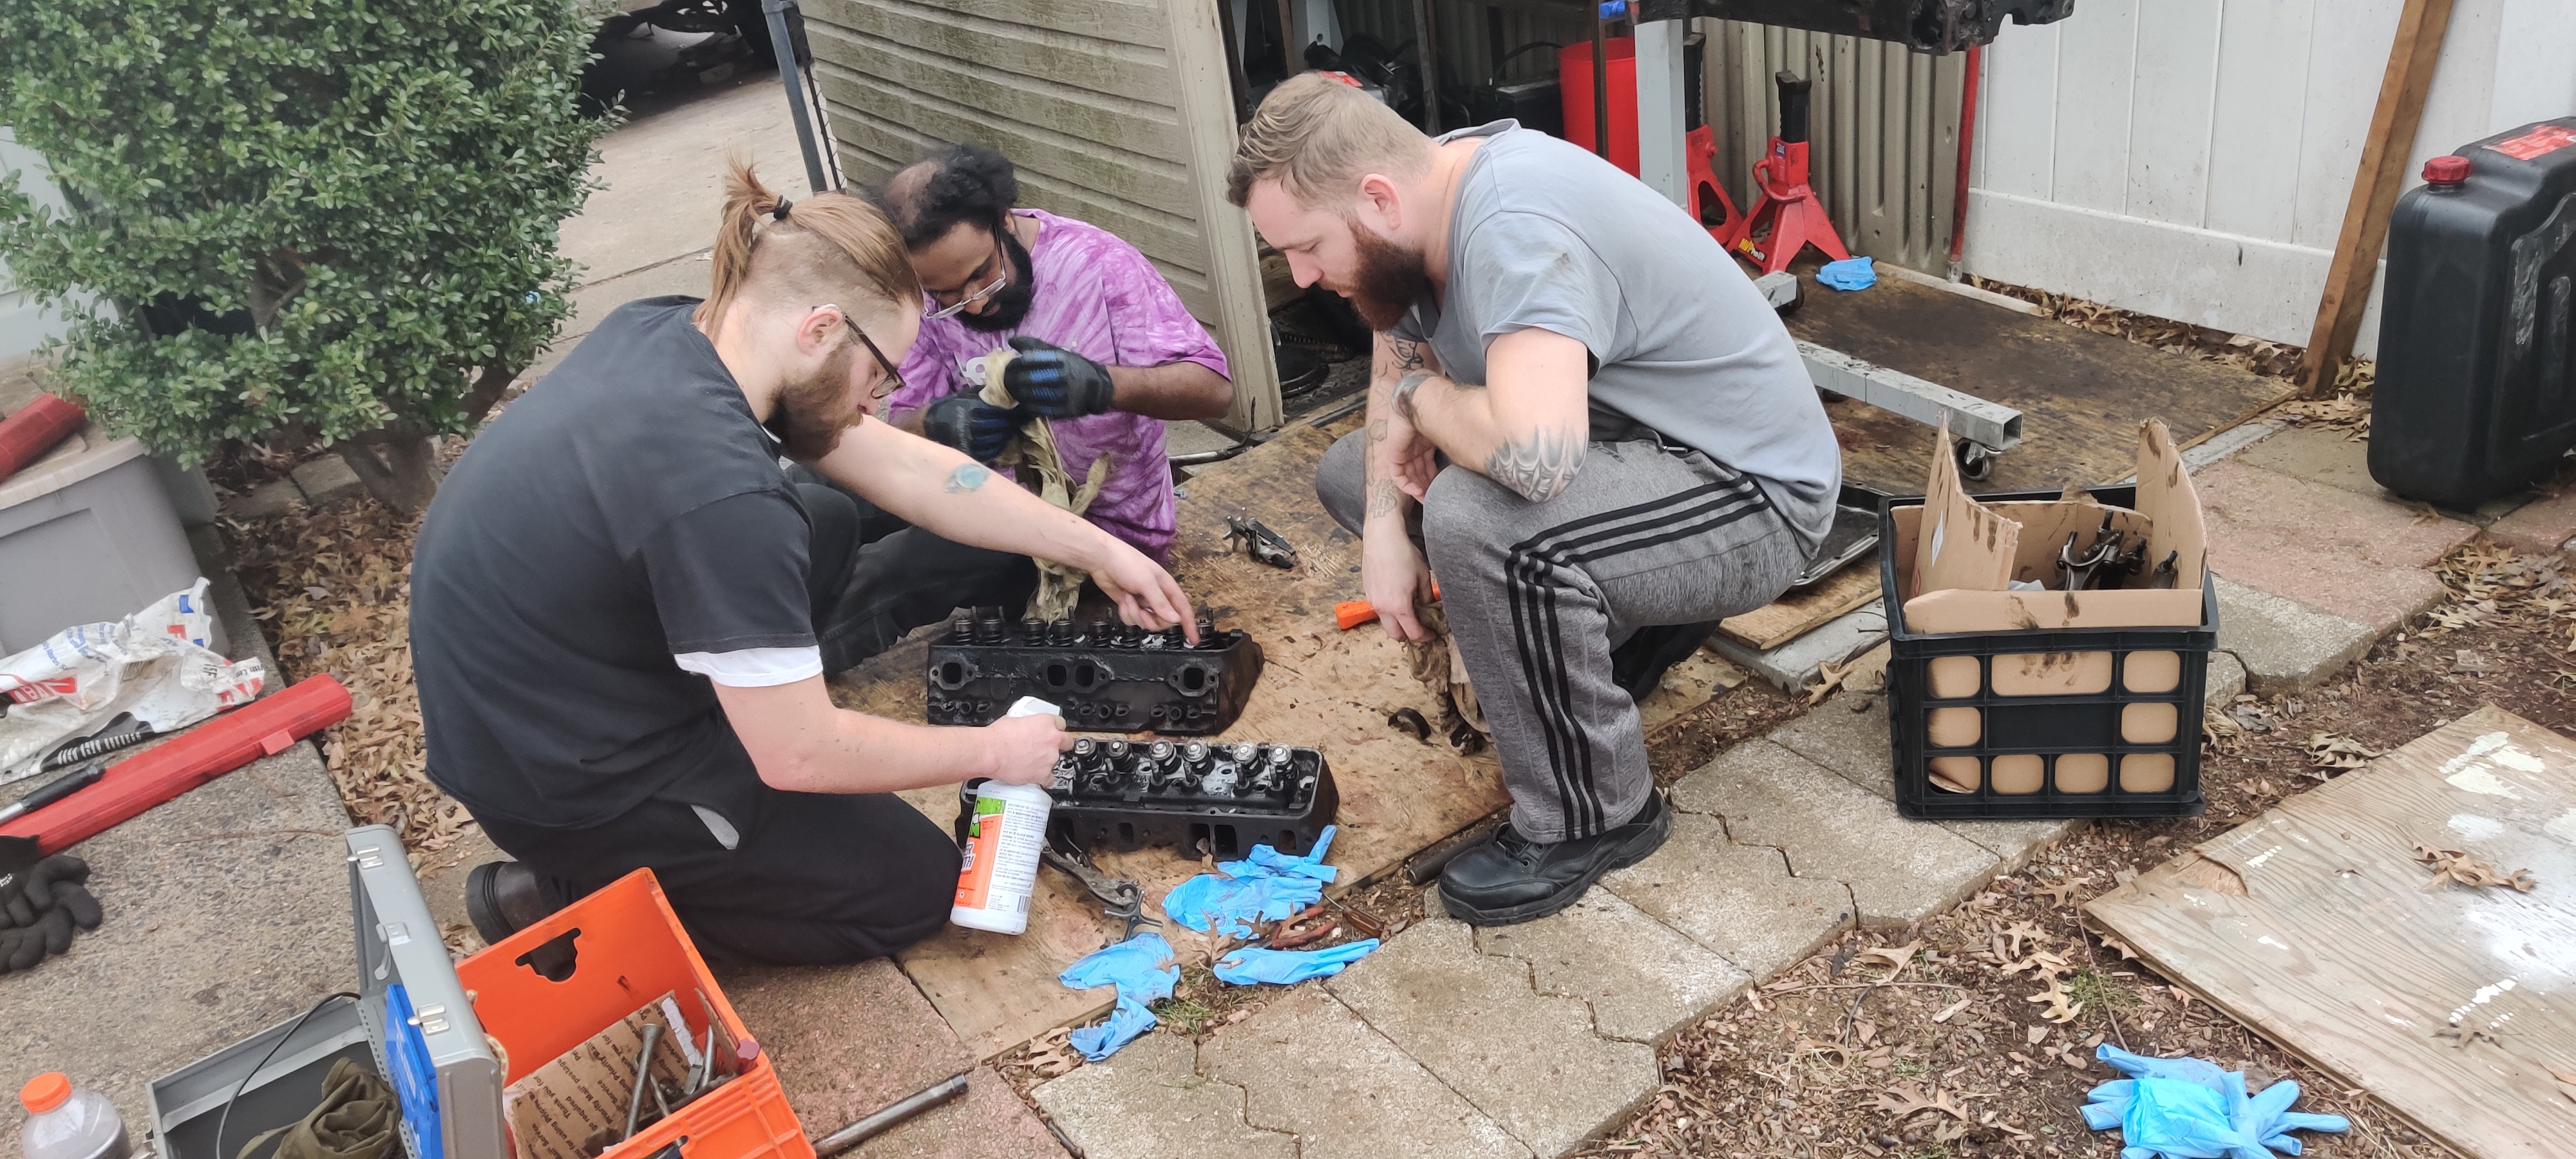
Budgeted out every component needed for the engine rebuild, comes close to $1,700 for parts alone. Decided to get the 283 smallblock cleaned, bored, and honed by Philadelphia Racing Engines for a little over $400. They're a performance shop in NorthEast Philadelphia, where we're based out of. They'll also check out the cylinder heads for us to see if they're still good.
After a few hours of research (which may or may not have included youtube videos) we've realized that we can rebuild the 2 speed powerglide ourselves. This will save us a lot of money and we get experience from it (as well as bragging rights.
We're meeting up on Saturday the 11th to finish stripping the engine down to the block for the cleaning. (it's going to be 66 degrees out!) wack.Originally we were going to leave the crankshaft, cam, and pistons in, but the cam and crankshaft are worn and the pistons won't be the right size after the boring. At this point, we're at the mindset that if the original part was supposed to move, it will be replaced with a new part.
Most of our parts are being ordered from Rock Auto with the exception of the carburator, intake and exhaust manifolds; being ordered through Summit Racing.
I've decided on an Edlebrock intake manifold and their 4BBL carburator. Pistons, rings, connecting rods, and Camshaft made by Enginetech, as well as the oil pump. Crankshaft coming from Crankshaft Supply. Valves and related parts are manufactured by Qualcast. Gaskets by Mahle, and the timing chain by Cloyes. Current cylinder heads may be repurposed depending on what Phila. Racing Engines finds.
Expect more pictures by the end of the weekend!
Things have slowed down a lot due to the cold weather and frequent rain storms.
Planning to take the Engine to a local shop and the PowerGlide Transmission to "Northeast Transmissions" in Philadelphia PA. Spent the beginning of the winter season gathering up more tools, reading rebuild manuals, and researching various types of headers and manifolds.
Once March hits and we get some good weather, my plan is to power wash and sand down the engine bay to get it ready for a primer coat and then a black coat of paint. Once the engine comes back from the shop, I plan to do a chevy engine orange coat on the block and do silver on the cylinder heads and engine orange valve covers with black "CHEVROLET" lettering. We'll see if I stick with that
stay tuned for more updates as we slowly inch our way towards spring!
Also planning on building a carport over the driveway so I can work on it in any weather conditions.